Introduction
Along with Fasteners and fittings, getting the right tools to make armour reproductions can seem to be an almost insurmountable hurdle for many armourers. We have all seen pictures of the shops of armourers who have been building armour for decades, and the myriad tools, anvil stakes and specialized forms often puts me in the mindset of a 5-year-old looking into the window of a particularly well endowed candy store. For armourers who are also blacksmiths, making tools is relatively straightforward. For armourers working out of our garages as a hobby, building a forge and hammering on “heavy metal” seems like a bit much. This article is intended to show you how to make a mushroom stake, which can be used for planishing or raising, without needing to become a blacksmith (or a blacksmiths friend)
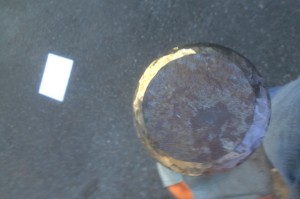
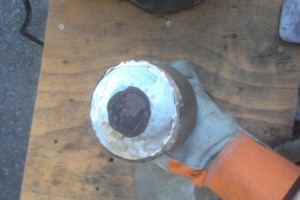
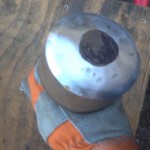
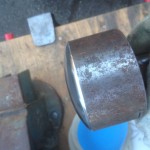
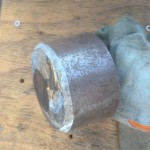
So what’s a mushroom stake anyway? one end needs to have a nice smooth curve, and there needs to be some method of fixing the stake in place so that you can hammer on it. The stake that I demonstrate started life as an off-cut of 3″ diameter round stock and some 1″ square tubular stock in a metal fabrication shop – I asked if they could weld me up a couple of stakes, and $20 later (including the welding – I carefully didn’t ask for a receipt) I walked away with two pieces of metal on sticks.
One of these I carved into a planishing stake immediately, the other languished in my shop with some light duty as a rivet set for a number of years, until I needed to planish some gauntlet pieces with my planishing stake at a friends house. I started to grind the edges, and then realized that if I was going to go to the trouble I should take pictures and show other folks how to do this, since once you have one of these you really don’t tend to need another.
Technical Overview
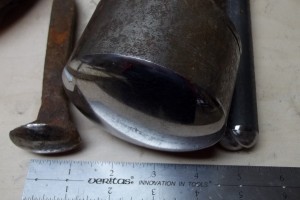 We’re making a tool to smash metal on, so this isn’t rocket science. The stake I’m demonstrating is a basic mushroom stake, which is about the simplest tool of this type that you can make. That said you can make tools to set flutes, hammer anticlastic curves and do all sorts of weird and wonderful things with only a bit more effort. The important thing to keep in mind is that you generally want the shape to be symmetric, and the best way to do this is to have a method to force you to be consistent – measurably consistent. Some guys can just whip these things out, but I’m terribly left-brained (just ask Mac or Wade) so I am very methodical about my approach. most stake forms will start from a rough dome, so make the dome first, then do your additional shaping. As you can see there are a few stake tools here, one made from a railroad spike, the big one is the one I demonstrate here, and the small one on the right is a stake I made to help set knuckle creases in gauntlets – but it started as a simple dome.
Procedure
You should start by making sure that you have all of the tools and materials available and ready to use – it’s frustrating to have to stop a project to go looking for that dang 240 grit abrasive!
Materials:
- A chunk of bar or square stock for a mounting shaft
- A chunk of round stock from 2″-4″ in diameter from 1″ to 4″ thick
- OR
- Get a fabrication shop to weld you up a mushroom with the above (preferred)
Tools
- Appropriate safety gear
- Hearing protection
- Eye protection
- Hand Protection
- Respirator / breathing protection
- Welder (if you need to weld the stake together – really, just use the fab shop…)
- A vice
- An angle grinder or bench grinder for coarse stock removal
- An autobody sander for fine stock removal
- A ”hook and loop” backing pad for the angle grinder
- Various grits of abrasive for the sander – I used
- 100 grit
- 120 grit
- 150 grit
- 180 grit
- 240 grit
- 320 grit
- A polishing buff and white tripoli (you can also use green tripoli, but it’s mostly chromium oxide…)
- A bucket to quench the metal in – yes, it will get too hot to hold with gloves
- OR
- Just use a lathe – if you have access to one of these, you may want to skip to the “polishing” part
Layout
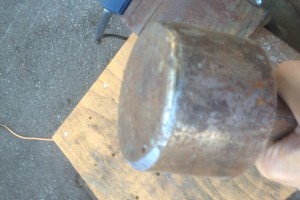 Before you start, figure out how deep you want the stake. If this is for planishing helm tops and breastplates, then you want a very gentle curve – perhaps 1/2″ of depth across a 5″ diameter stake – this is the stake that I model here. If you are working tighter radii, like elbows or knees, then you probably want a 3-4″ radius and may want to start by getting a bearing welded to a chunk of steel, since this is a lot of work to grind out. For very tight radii, such as gauntlet knuckle plates you may want to start with 1″ round stock and grind clamp points onto it. Regardless, figure out your depth of curvature FIRST since this a lot of work to change once you are past the coarse grinding stage, and making the curvature deeper is always easier than making it shallower. Given a choice, make mistakes on the side of “not deep enough”. One of the driving factors for the curvature of this stake was its former life as a rivet set – the stake needed to be ground enough so that the “dimple” for the rivet was completely removed.
Rough Shaping
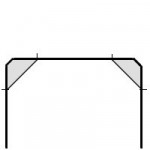
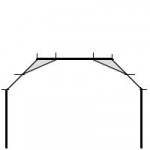
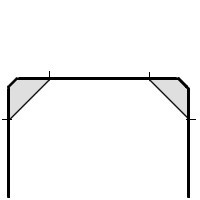
To ensure that the shape is consistent, we’re going to make the shape in a number of steps, each of which can be checked to make sure that it’s consistent. The rough shaping is in two stages, the first will remove a 45 degree shoulder around the outer radius, and the second will “blend” this by cutting halfway down this 45 degree slope and halfway between the cut edge and the center of the stake.
 |
 |
| The first pass cuts the outside corners at 45 degrees | The second pass removes additional material halfway from the “shoulder” to halfway to the center |
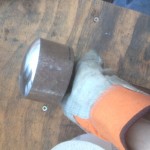
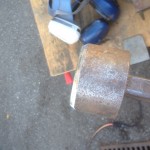
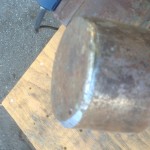
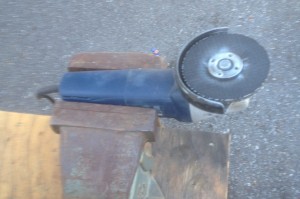
To start, measure the depth you had decided on (in my case 1/2″) from the top of the stake and draw a line all the way around the stake. Once you have done this measure the same distance in from the edge and mark (this will be a circle when seen from the top). Note that this stage can easily be “eyeballed” since almost anyone can keep a 45 degree angle consistent. I use an angle grinder mounted in a bench vice instead of using a bench grinder because the angle grinder is much more aggressive for bulk stock removal. I don’t clamp the stock in the vice (which is the “correct” thing to do) because it is much easier to rotate the stake and get a consistent cut than to use the angle grinder to get a consistent cut with the stake held in a fixed position.
 |
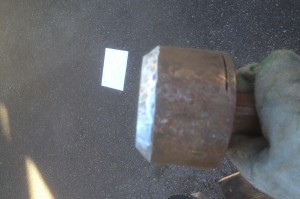 |
| Grinder in a vice | The stake after the first pass |
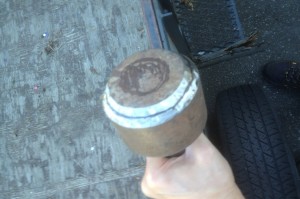
Once I have ground this 45 degree bevel to the appropriate depth, I mark a line on the halfway point on the bevel, and a second line halfway between the inside of the bevel and the stake center. I then grind this material in a second “step”. Be careful not to touch any of the inner area (near the center) since any nicks or scuffs in the middle will require you to rip a LOT of material down so that you can properly finish the center of the stake. Once you have finished, your stake should have a flat top and two clean and hopefully consistent bevels.
 |
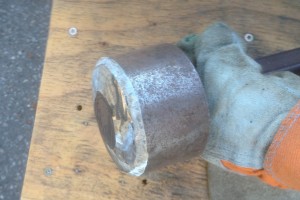 |
| Second pass marked | The second pass |
Note that from the top, the passes remain as symmetric as possible, giving you a “bulls eye” pattern as you remove these discrete “steps” of metal
Fine shaping
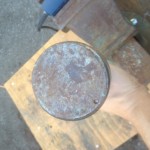
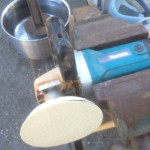
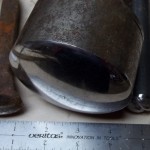
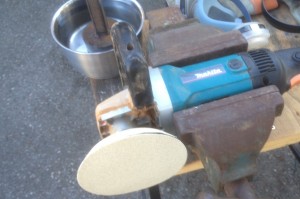
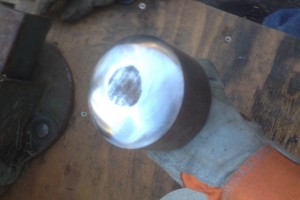
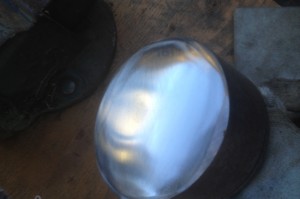
Once I have consistent bevels, I switch my angle grinder out for my autobody sander. The autobody sander pad that I use is about 1/4″ – 1/2″ of foam so it has a bit of “give” and is a beautiful thing for grinding smooth curves – including helmets. Starting with 100 grit I slowly blend the bevel lines down into a smooth consistent curve, as shown in the stages below. Note that I don’t touch anywhere near the center of the tool until I am working with 150 grit, and most of the “shaping” in the middle is done with 180 grit. Notably after the 180 grit the stake was too hot for me to hold, even with gloves, so it got dunked in a bucket of water for 10 minutes. As you can see, that was enough time for rust to develop (which came right off with the judicious re-application of 180 grit, but makes one appreciate why you don’t leave these things lying around in the damp)
 |
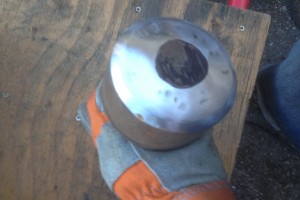 |
| Autobody sander in the vice | Blending to 100 grit |
 |
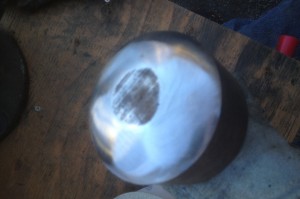 |
| Blended with 120 grit | Blended with 150 grit |
 |
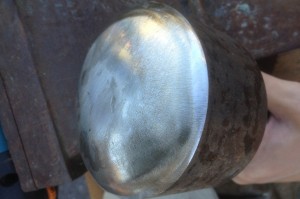 |
| Blended with 180 grit – and hot! | 180 grit after a 10 minute bath |
While you can stop at about 180 – 240 grit, I always go through to 320 or 400 grit so that I can polish. While your curve may look fine to the “uneducated” eye, if you don’t polish it to see all of the imperfections (and then take them out if needed) then you will never know whether your planishing oddities are because of your technique or your tools. This stake has a distinct flat area in the middle since I needed to stop before finishing with the 180 grit, but as you will see below, finishing with 180-320 grit blended the curve in fairly well.
Polishing
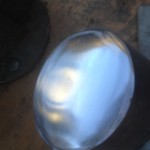
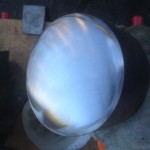
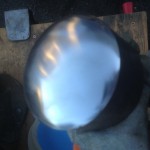
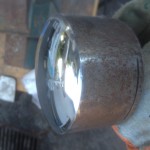
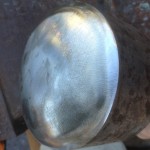
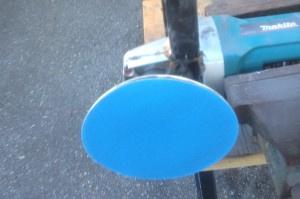
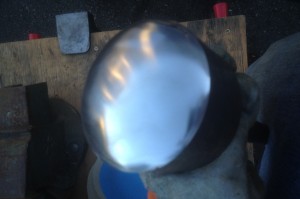
Once you finish with about 180 grit, the main thing that you are doing is removing scratches, so you need to continue the progression of grits about 40-60 grits at a time: I use a 180-240-320-400 grit progression although in this case I stopped at 320 since small imperfections in my polish job will be quickly obliterated once an edge digs into the stake while planishing. Here is the remaining progression from 240-320 grit, and notice that I am now using an aluminum oxide paper (blue) instead of a multipurpose sandpaper since I have found that this gives faster and more even results on steel and stainless steel, although it gives wood an odd finish. I have also included a “side” view of the 320 grit, to show how smooth the curve is at this point. If there is are discernible “bumpiness” or flat spots at this point go back to 180 grit to clean them up – they will be even more obvious after polishing, and you will still have to go back and resurface, but the stake will be warmer and the day will be later.
 |
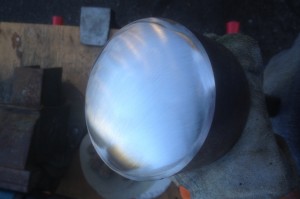 |
| High grit aluminum oxide paper | 240 Grit pass finished |
 |
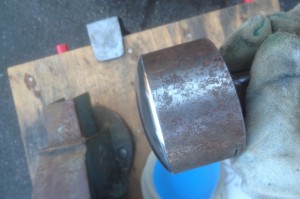 |
| 320 grit pass finished | Smooth curvature prior to polish |
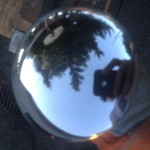
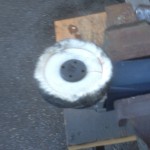
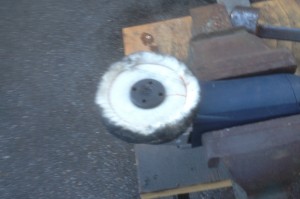
Once you are satisfied with the curvature (and 320 grit is fairly reflective so you can see if there are any “ripples” you need to remove) it’s time to polish. Some folks have big polishers, others mount 8-10″ buffs on industrial motors, I have a “sacrificial” 5 inch angle grinder which I mount 6″ muslin buffs on – it’s messy but the incredibly high speed cuts a polish beautifully and the time saved is well worth the replacement grinder every few years that gets destroyed by sucking abrasives through it. Again, I mount the grinder in the vice and move the stake, but be aware that the buffer-grinder will really “grab” if it catches an edge, and even though this stake weighs the better part of 10 pounds, it will still throw it around so make sure that the direction of rotation is down towards the floor or laterally away from your body, not up towards your face!
 |
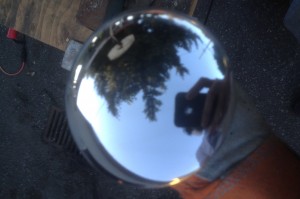 |
| The “Sacrificial” polisher | the final finish – yup, I’m outside! |
And that’s it, a nice new mushroom stake with a total time investment of about 2 hours (plus however long it takes you to read this)
And an image gallery in case you want to look at the photos that didn’t make the article…
Copyright 2013 Scott Martin
