Jan 2024 Tool Construction Workshop

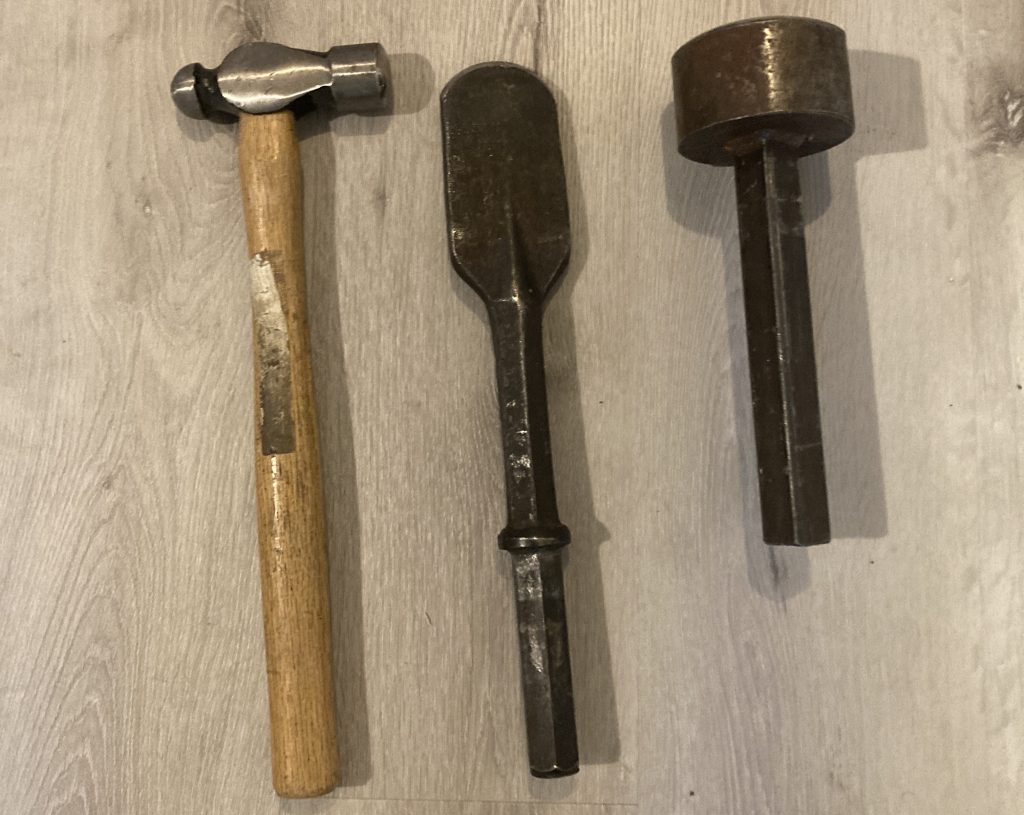
Sinking hammer, Fluting stake and planishing stake

It’s been a while since I posted an update, lots on the go including a move back to British Columbia. On the 20th of January I’m planning to run an armour tool workshop to help folks make some basic tools. The focus will be on making a sinking hammer, fluting stake and planishing stake. There is an older article on making a sinking hammer and I will link articles to the fluting stake and planishing stake once I have completed the workshop and have some appropriate pictures to finish the post.

Fluting Stake
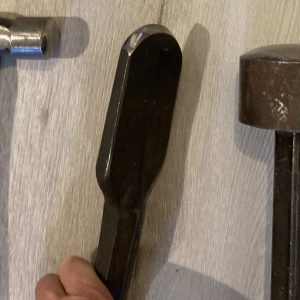
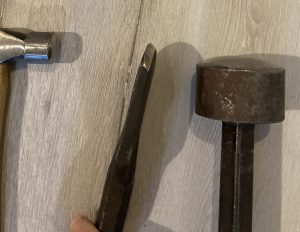
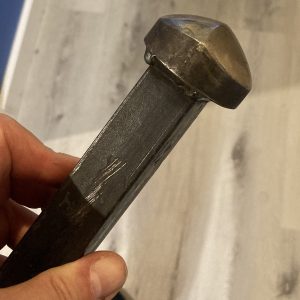
Fluting stake profile Fluting stake edge profile

The fluting stake I use is a converted jackhammer bit originally used for removing asphalt, but any wide-bladed jackhammer bit will work. The above photo shows the 1/4 and edge profiles to give a better idea of the overall shape, and also shows the abuse to the mirror finish that this tool should have.

Cresting Stake
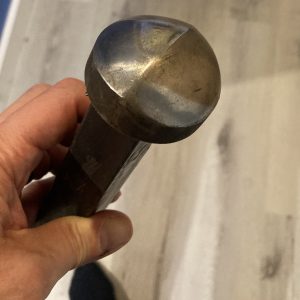
Cresting stake Cresting stake profile

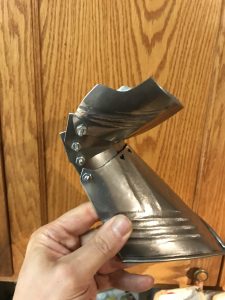
If there is time, I’d also like to make some cresting stakes, since these are invaluable for items such as gauntlets, helmets, greaves and breastplates to help form a clean crest line. These are made in a similar fashion to the planishing stakes with stock removal, but instead of removing material and making a dome, these are made with curved segments on each side intersecting to form a crest. Depending on the intent, this can be built (as this one is) with two intersecting sphere segments, suitable for elbows, knees or helmets, or it can be built with a straight profile (2 cylinder sections intersecting) much like back-to-back fluting stakes, which is appropriate for gauntlet sections.
Heat Treating Finger Plates

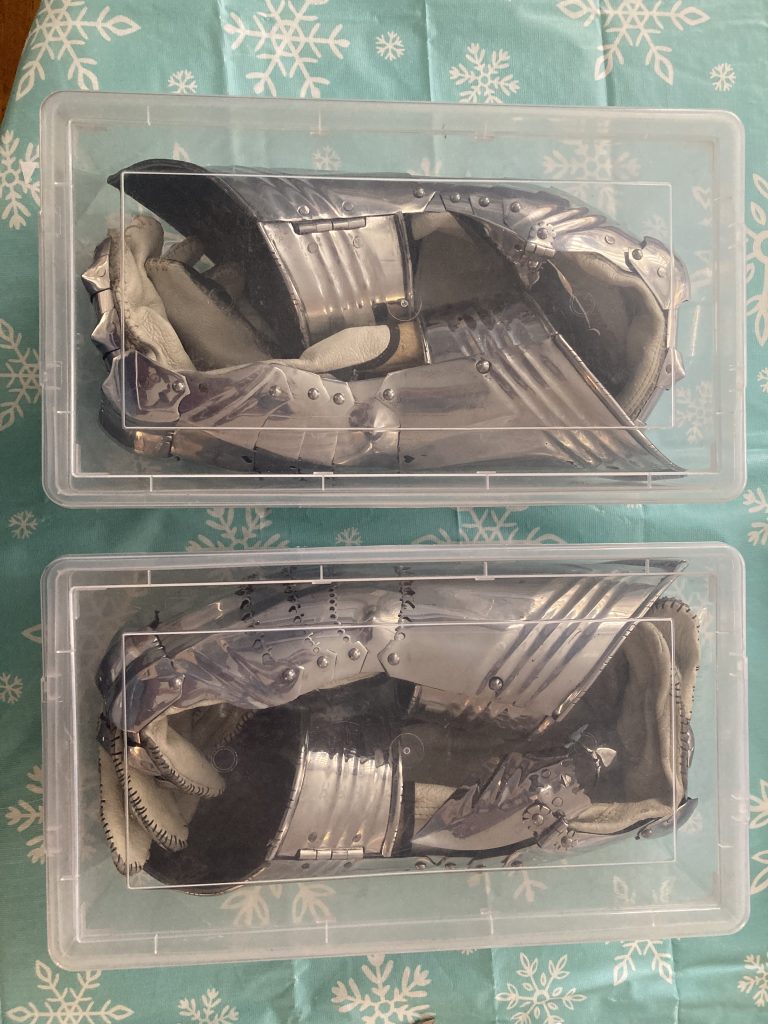
If you are using carbon steel for gauntlets then you will want to heat treat your plates before assembling them. While I had originally included this in an article on finger assembly, the length of both articles has led me to publish this as a separate article, which will be referenced from that post. It is important to make sure that the plates are completely formed before you heat treat them, because once these are heat treated they will be very difficult (or impossible) to reshape. I once forgot to countersink my rivet holes before heat treating, and destroyed a number of titanium coated drill bits rectifying this oversight. Heat treating the finger plates has 3 main parts, each of which are illustrated below.

  • Heat treat and quench
  • Tempering
  • Clean-up and polishing
Continue reading Heat Treating Finger Plates

Turning Pin Construction

Turning pins are a method of attaching components of armour to one another, first showing up in the 15th century (often for greaves) and later used in exchange armours. An example can be found on Wade Allen’s website for the A155 (picture and link to site below). These became more common in “Garnitures” as harnesses were built to have exchange pieces to customize them for specific purposes, including specific types of tournament.

An image of the (disassembled) A 155 knee assembly showing the turning pin (hook) and slotted attachment point for the fixed rivet on the main plate,

This is the first half of a 2-part article: this part is how to make the turning pin, which is symmetric, rather than a turning hook as seen above. The second part (which I will link once it is complete) is how to install a turning pin (and associated locking rivet) and how these are used to attach armour together on an exchange piece (an arm harness) to allow the use of either a spaulder or a full pauldron.

Continue reading Turning Pin Construction

Gauntlet Fingertips

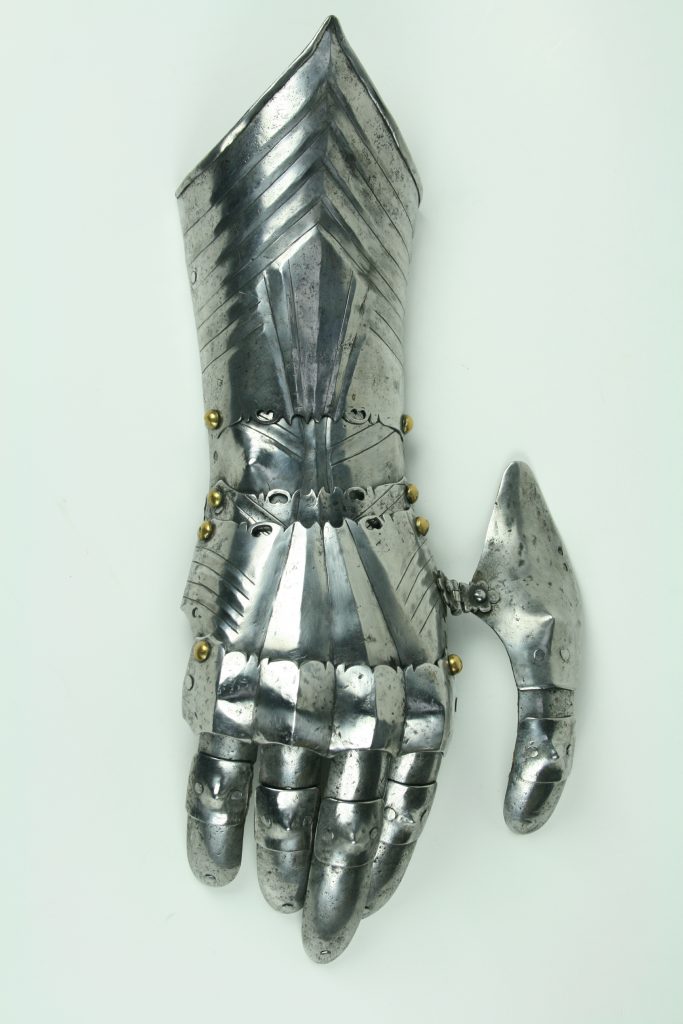
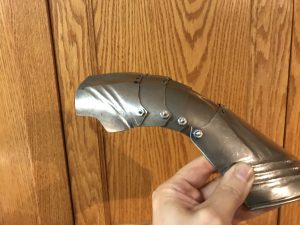
Medieval gauntlet fingertips were often much less shaped than we expect, and many gothic gauntlets did not even have fingertips – check out this one from Wade Allen’s collection, noting these have no actual fingertips, and also do not have any coverage for the second finger joints.

Wade Allen's A 213 gauntlet

While the ends appear to be domed, other photos from the side (click the gauntlet above to go to the page for the gauntlet) show that these are almost flat. Some gauntlets have considerably more shape to the fingertips, and many of these have chased and embossed fingernails. Since I am making gauntlets which are often used in combat, having protective fingertips is a definite advantage. This post details how I make finger (and thumb) tips. The major difference is that thumb tips use a larger plate, and slightly different tooling. My default finger tip plate used to be 1 1/2″ x 2″ which is now the size that I use for thumbtips, and are currently 1 1/4″ x 1 1/2″. The difference in size is important, since these are ground to shape once they are formed, and minimizing the amount of “extra” grinding saves a lot of time.

Continue reading Gauntlet Fingertips

Polishing Carbon Steel

Taking a bit of a side trip from the string of gauntlet specific posts to discuss the significant differences between polishing techniques between Carbon and Stainless steel – Carbon steel polishes in a similar manner to mild steel, so if you want to polish mild steel you can use this methodology – but Mild steel is a pretty horrible material for armour (other than costume armour) so I’d recommend spending the extra time and going to a carbon steel, since this will drop your weights by half AND increase the durability. It also doesn’t scratch if you look at it funny, which Mild (and to a lesser extent stainless) do.

Stainless versus Carbon steel – what’s the difference?

One of the major differences between stainless steel and other steels is actually how heat conductive it is. If you have welded these, stainless steel is only hot at (or very near) the point of contact, while other steels spread heat much faster. This may seem like a weird tangent, but when you are polishing steel, two things are happening: some abrasive action by the fine material that composes the polish, and heat, which is melting the surface layer. This difference in thermal conductivity is actually a big deal and makes stainless steel vastly easier to mirror finish than other steels.

Continue reading Polishing Carbon Steel

Gothic Gauntlet Fluting and Embossing

This is an article outlining the process to add the gothic flutes and embossing to the main body of a gothic gauntlet. Another post will follow outlining how to build the gauntlet cuff (including fluting and embossing) since this is a significant amount of work as well. Once these are done they should move easily through their entire range of movement with minimal effort – just a flip of the wrist.

http://borealissteel.ca/wp-content/uploads/video/Gauntlet_Movement.MOV

Video of the movement – sorry WordPress won’t allow a local video Embed anymore, so I may be looking for another alternative…

Gauntlet articulations at full flex (compression) Gauntlet articulations at full extension

Before I get into the details, be aware that this is a non-trivial amount of effort – this work is on the order of a full day for a pair of gauntlets if you are fairly experienced in the techniques, and considerably more (and more frustration) if you are new to this kind of shaping. If you haven’t done fluting or embossing before I would STRONGLY recommend that you practice by making a pair of Besegews (link).

Continue reading Gothic Gauntlet Fluting and Embossing

Creating a spacing punch for Gothic edgework

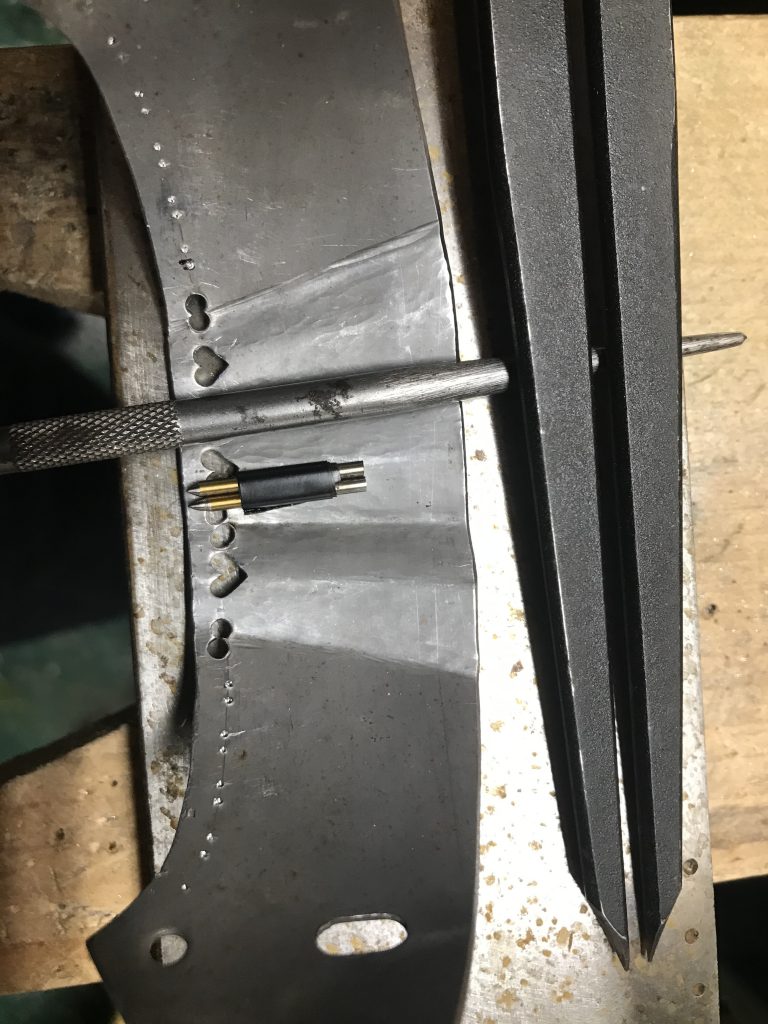
A big part of making gothic edge decoration, which are typically repeating fleur-de-lis or heart motifs (or both) is punching the holes in exactly the right spot. It’s fairly easy to get the distance from the edge consistent (by using a set of dividers) but getting the parallel spacing can be much more of a challenge. Since I was spending a lot of time doing this (I’ve been working on a number of gothic gauntlets trying to prove out a pattern and a build methodology) I thought that it was time to make this easier on myself. This is a pretty simple project, and presents 2 ways of making spacing punches from drill bits. One set of punches gives me the appropriate spacing for 3/32″ holes, the second gives appropriate spacing for 1/8″ holes.

Continue reading Creating a spacing punch for Gothic edgework

April 2021 Gauntlet Progress

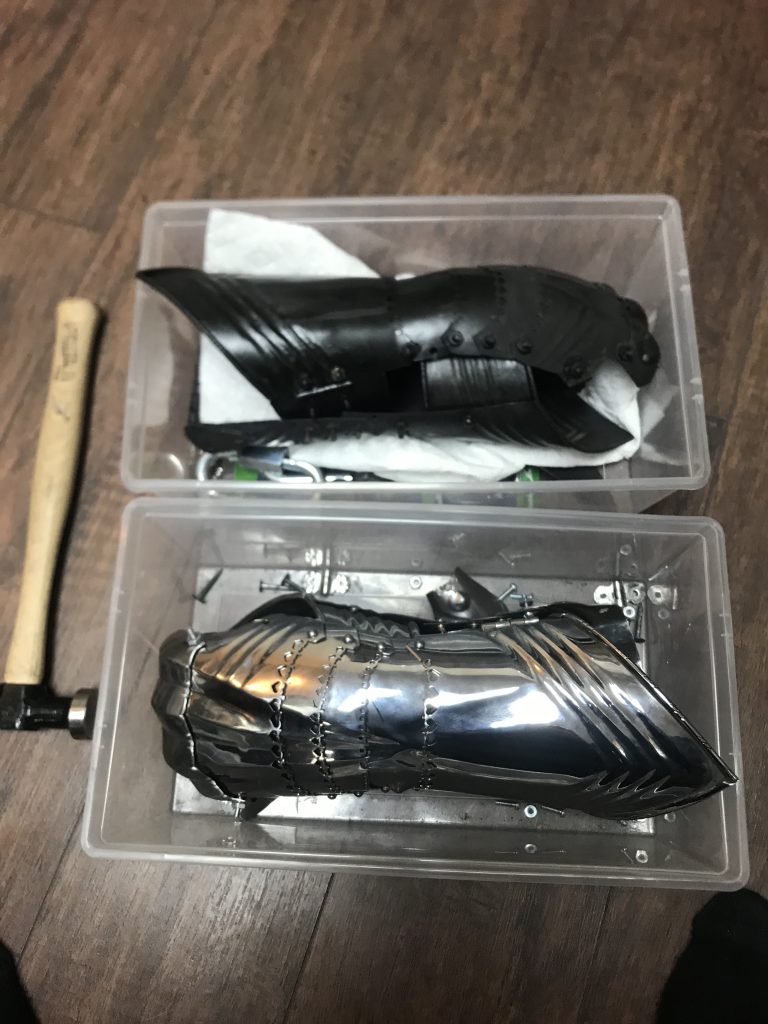
A quick snapshot of the gauntlets that I have heat treated: the first ones required a rebuild of the main plate on the right hand, but are otherwise heat treated and polished, the current (black) set are somewhat more elaborate and modelled off a set by Lorenz Helmschmidt (Maximillian’s A 62 suit in Vienna)

2 pairs of gauntlets under construction

I’ll need to update the gauntlet pattern to reflect some minor changes (like an extra few millimeters of overlap so that the pierced borders overlap onto steel) but I think that these are quite close to “good” patterns.

A bit of Progress on Gauntlets

So I’ve been working off and on getting the pattern for these gauntlets, as well as the decorative elements. It’s been a bit of a slog, but I thought that I should share some progress pics of the latest set ready for heat treating. The knuckle plates are a real pain to get right, and I am in awe of the medieval masters who will often get these within a fraction of a millimeter tolerance. I’m below a mm, but not through the entire range of motion.

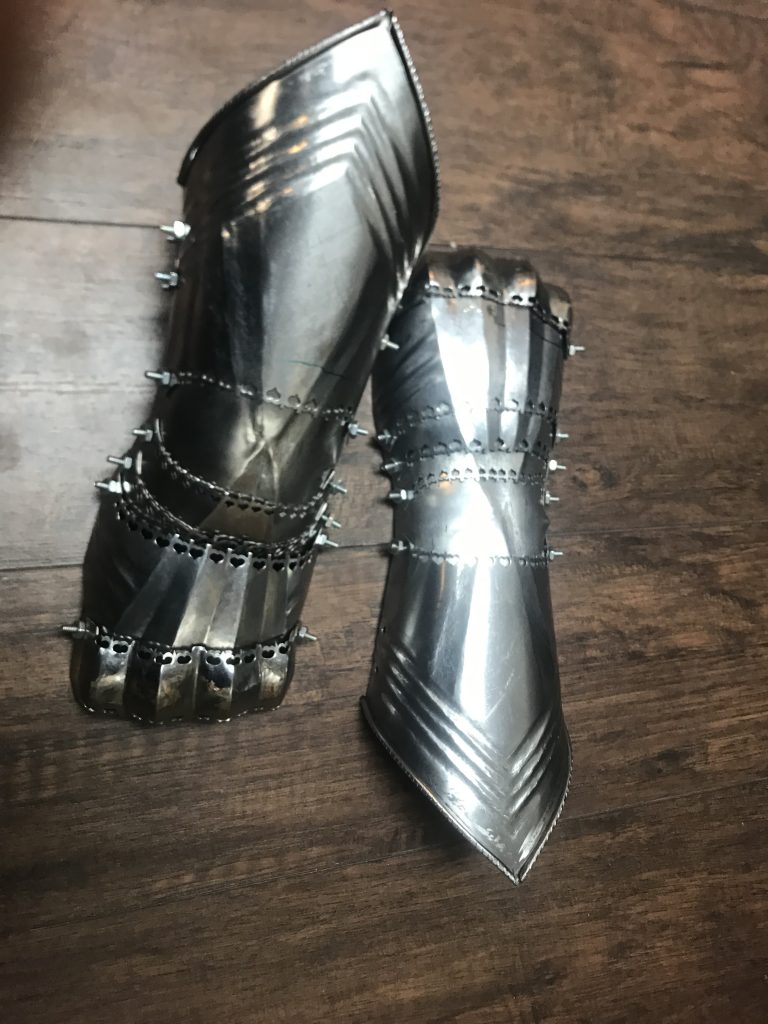
1480 gothic gauntlets before heat treatment

Photo quality isn’t awesome, but I think that I have the hang of the fleur-de-lis: note the change in style from the cuff to the knuckle pivot. While both of these are “correct’ the points on the pivot are more elegant.

Why hearts on the majority of the gauntlet and “ellipses” on the knuckle plates? Because the “points” of the hearts line up with the ridge plates. There is a pair of Maximillian’s gauntlets with the elegant “point” decoration that was on display in “The Last Knight” which was cracked almost all the way through, so I decided to go with rounded rather than pointed terminations. I was also fairly tight on space for the overlap, so the saved 1/8″ keeps metal coverage to full extension, while hearts would have exposed a number of small areas.

I’m aware that I need to get the full build instructions up, and I will be updating the pattern to reflect the (minor) changes made for this iteration. I should have the fingers on this weekend, and will provide dimensions in case folks want to start building these (other than Ilkka, who has already started). I anticipate at least one more iteration on the pattern (for the full “Helmschmidt” decoration including the extra overlap plates) but after ~20 years of tweaking I think that this pattern is almost ready.