Monthly Archives: October 2019

The Hidden Cost of Armour

Back in the dawn of time when I used to build armour to sell in the Society for Creative Anachronisms (SCA) I never understood why people were unwilling to pay for nice armour. I had a running joke with a fellow armourer – “If you have a $75 head, then you should buy a $75 helmet”. Yup that was a long time ago.
I’ve spent a lot of years working away at getting better at the craft, and like to think that I’m starting to get reasonably good. Mac, Wade, Patrick, Peter and Ugo all serve to remind me that I have a long way to go, and I have (fortunately) outgrown the “arrogant asshole” stage that mst armourers seem to go through when they think that they can make anything because they know enough to mostly make the shapes they want, but they aren’t yet good enough to see the shapes that they need to make.

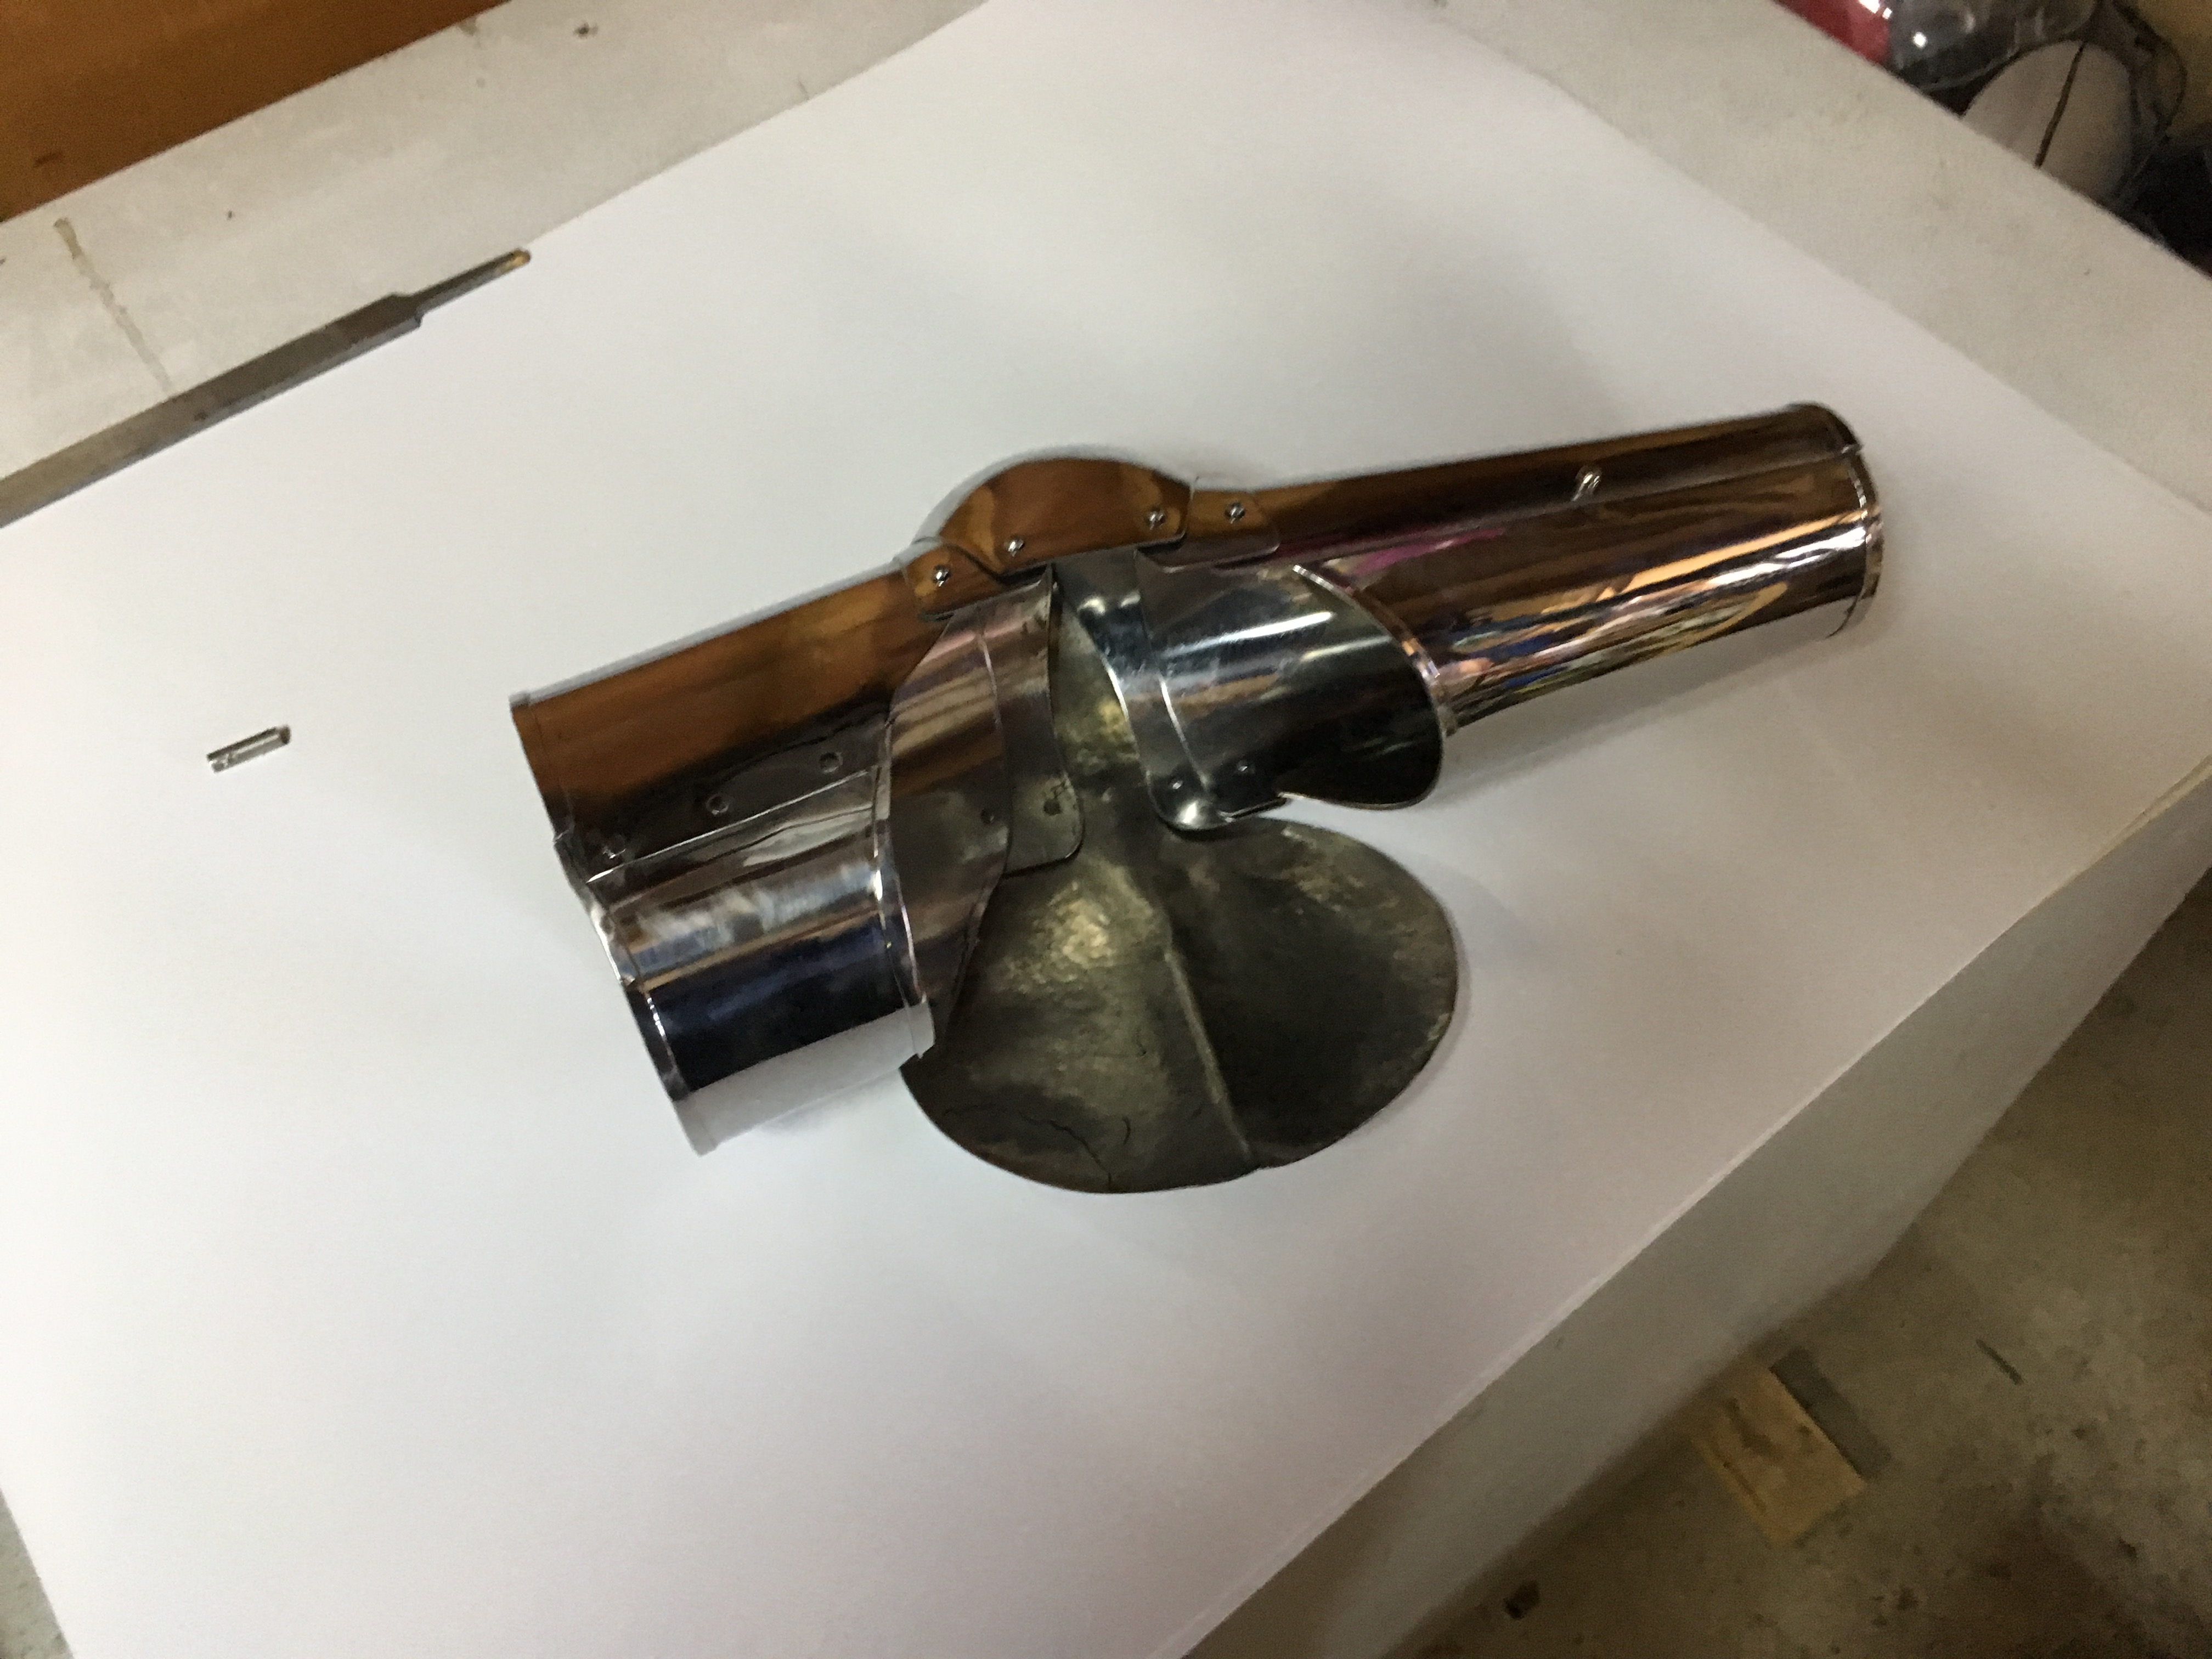
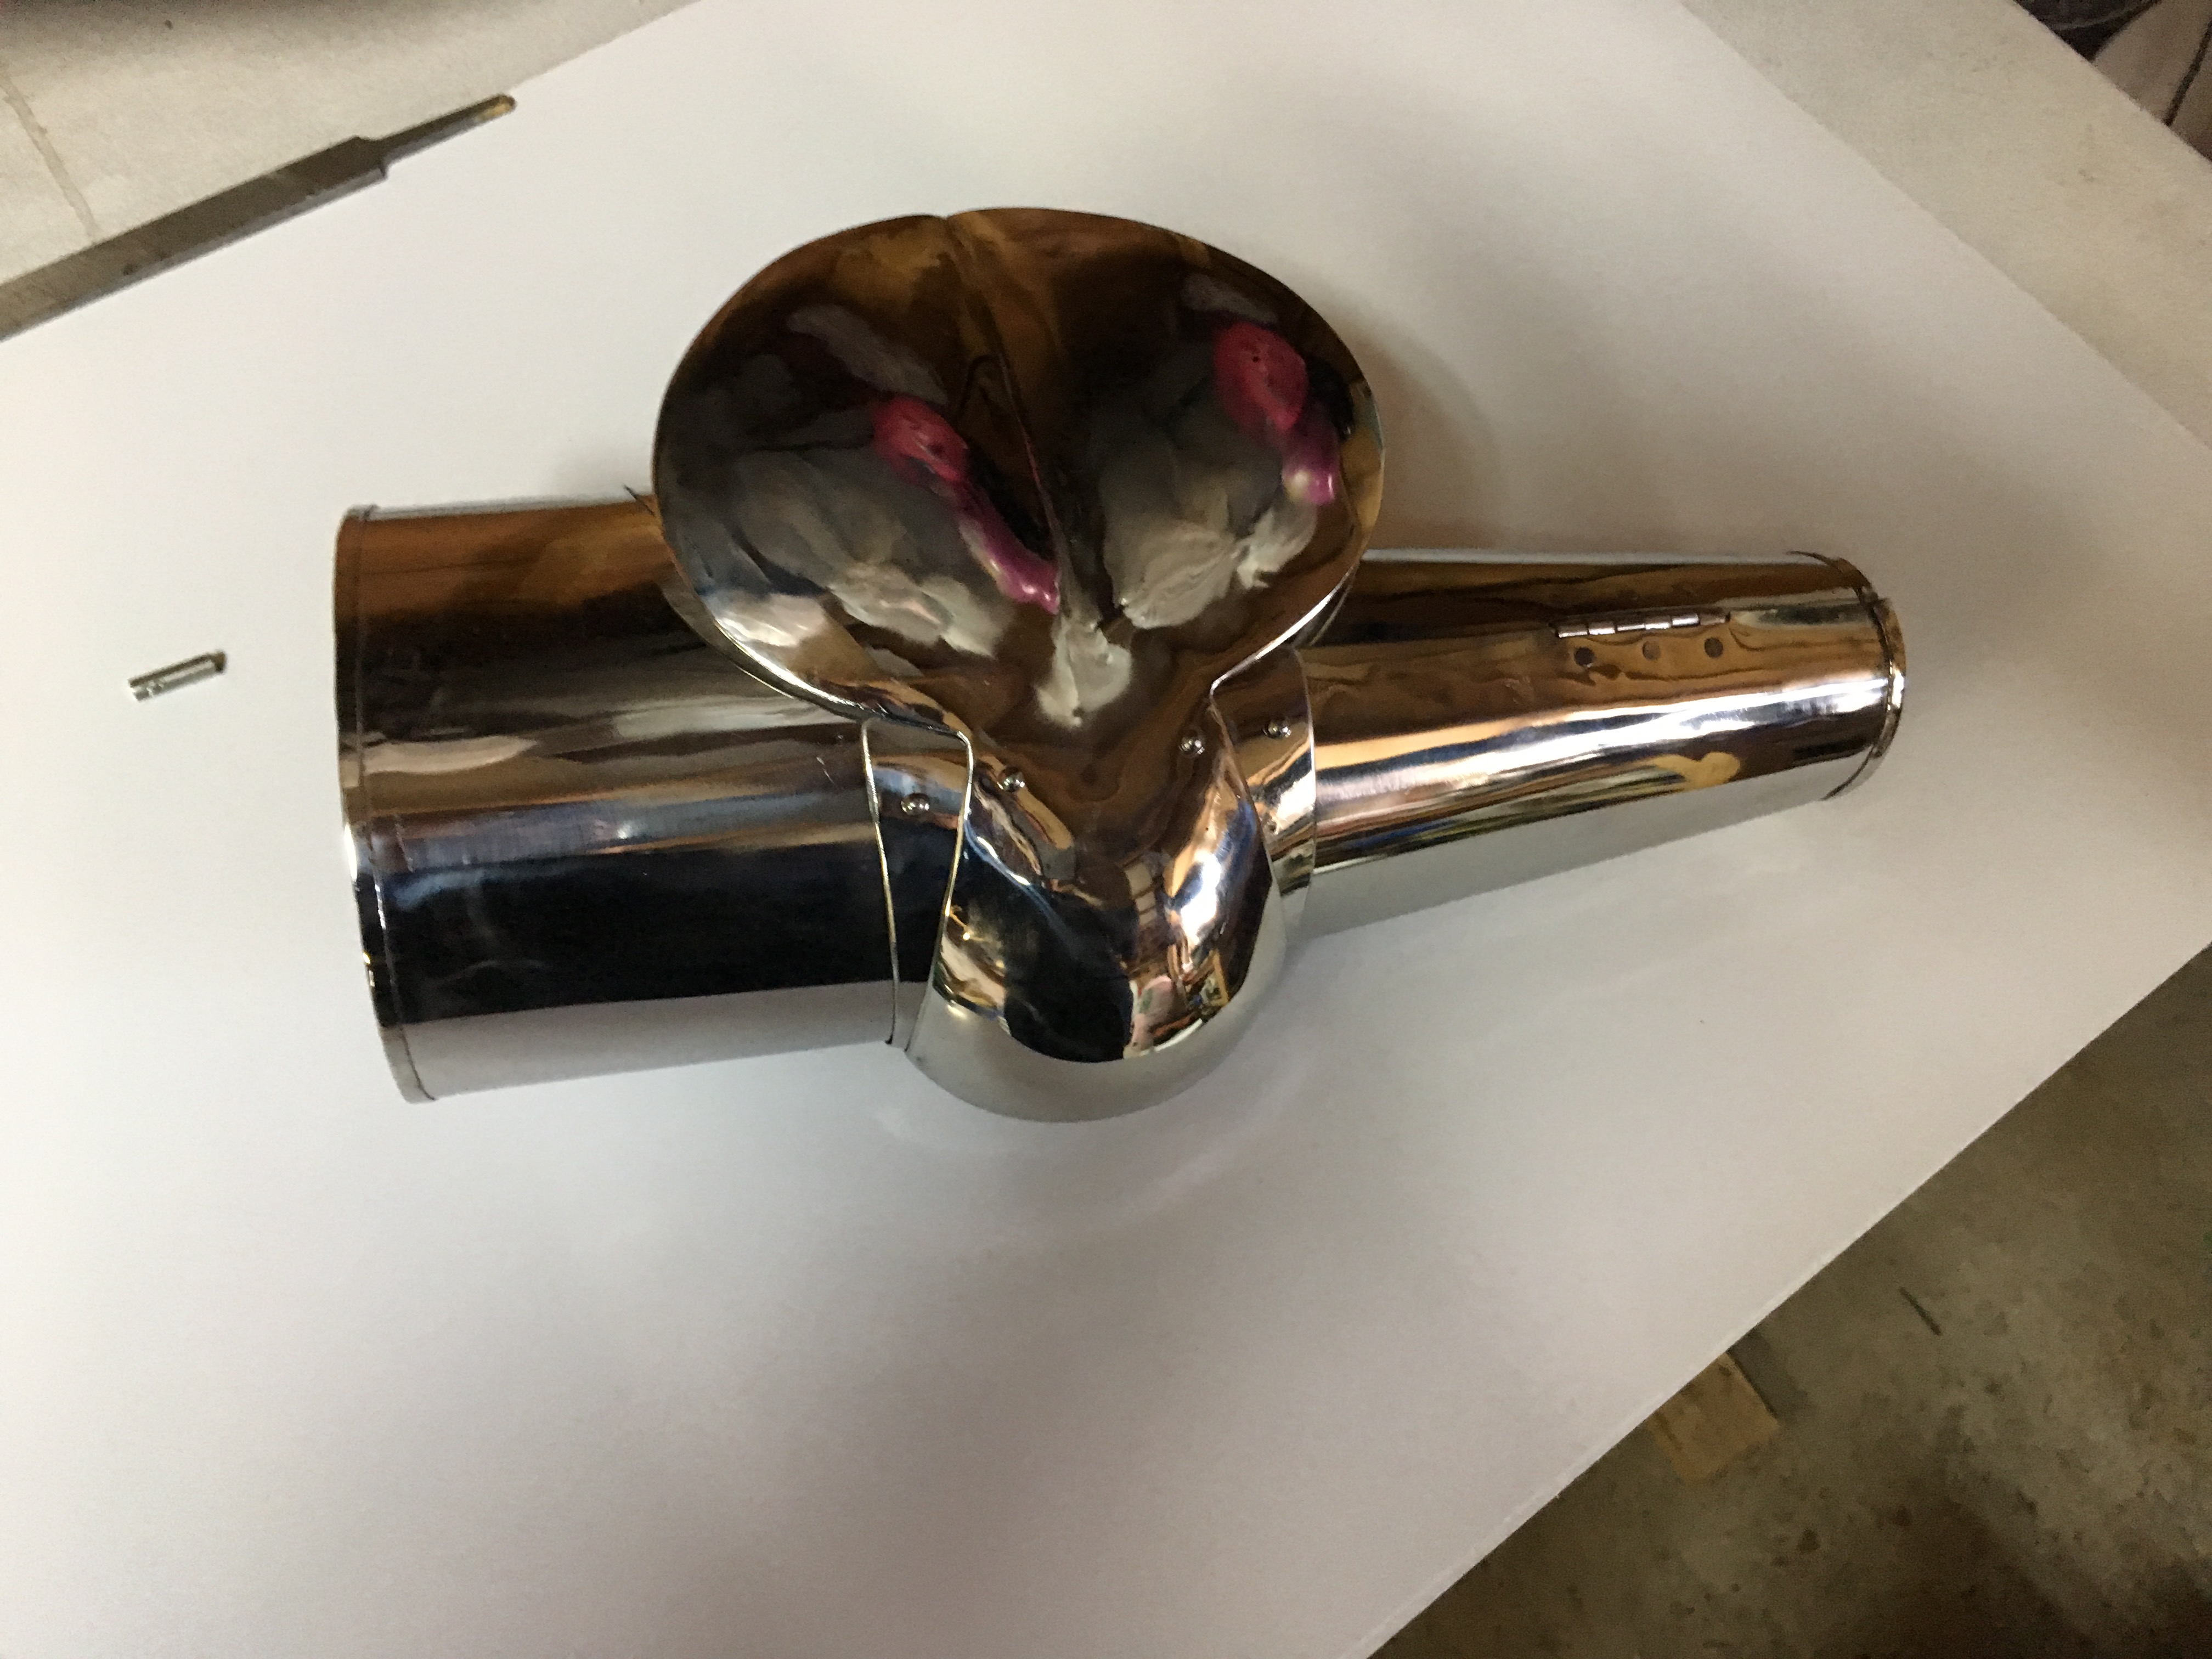
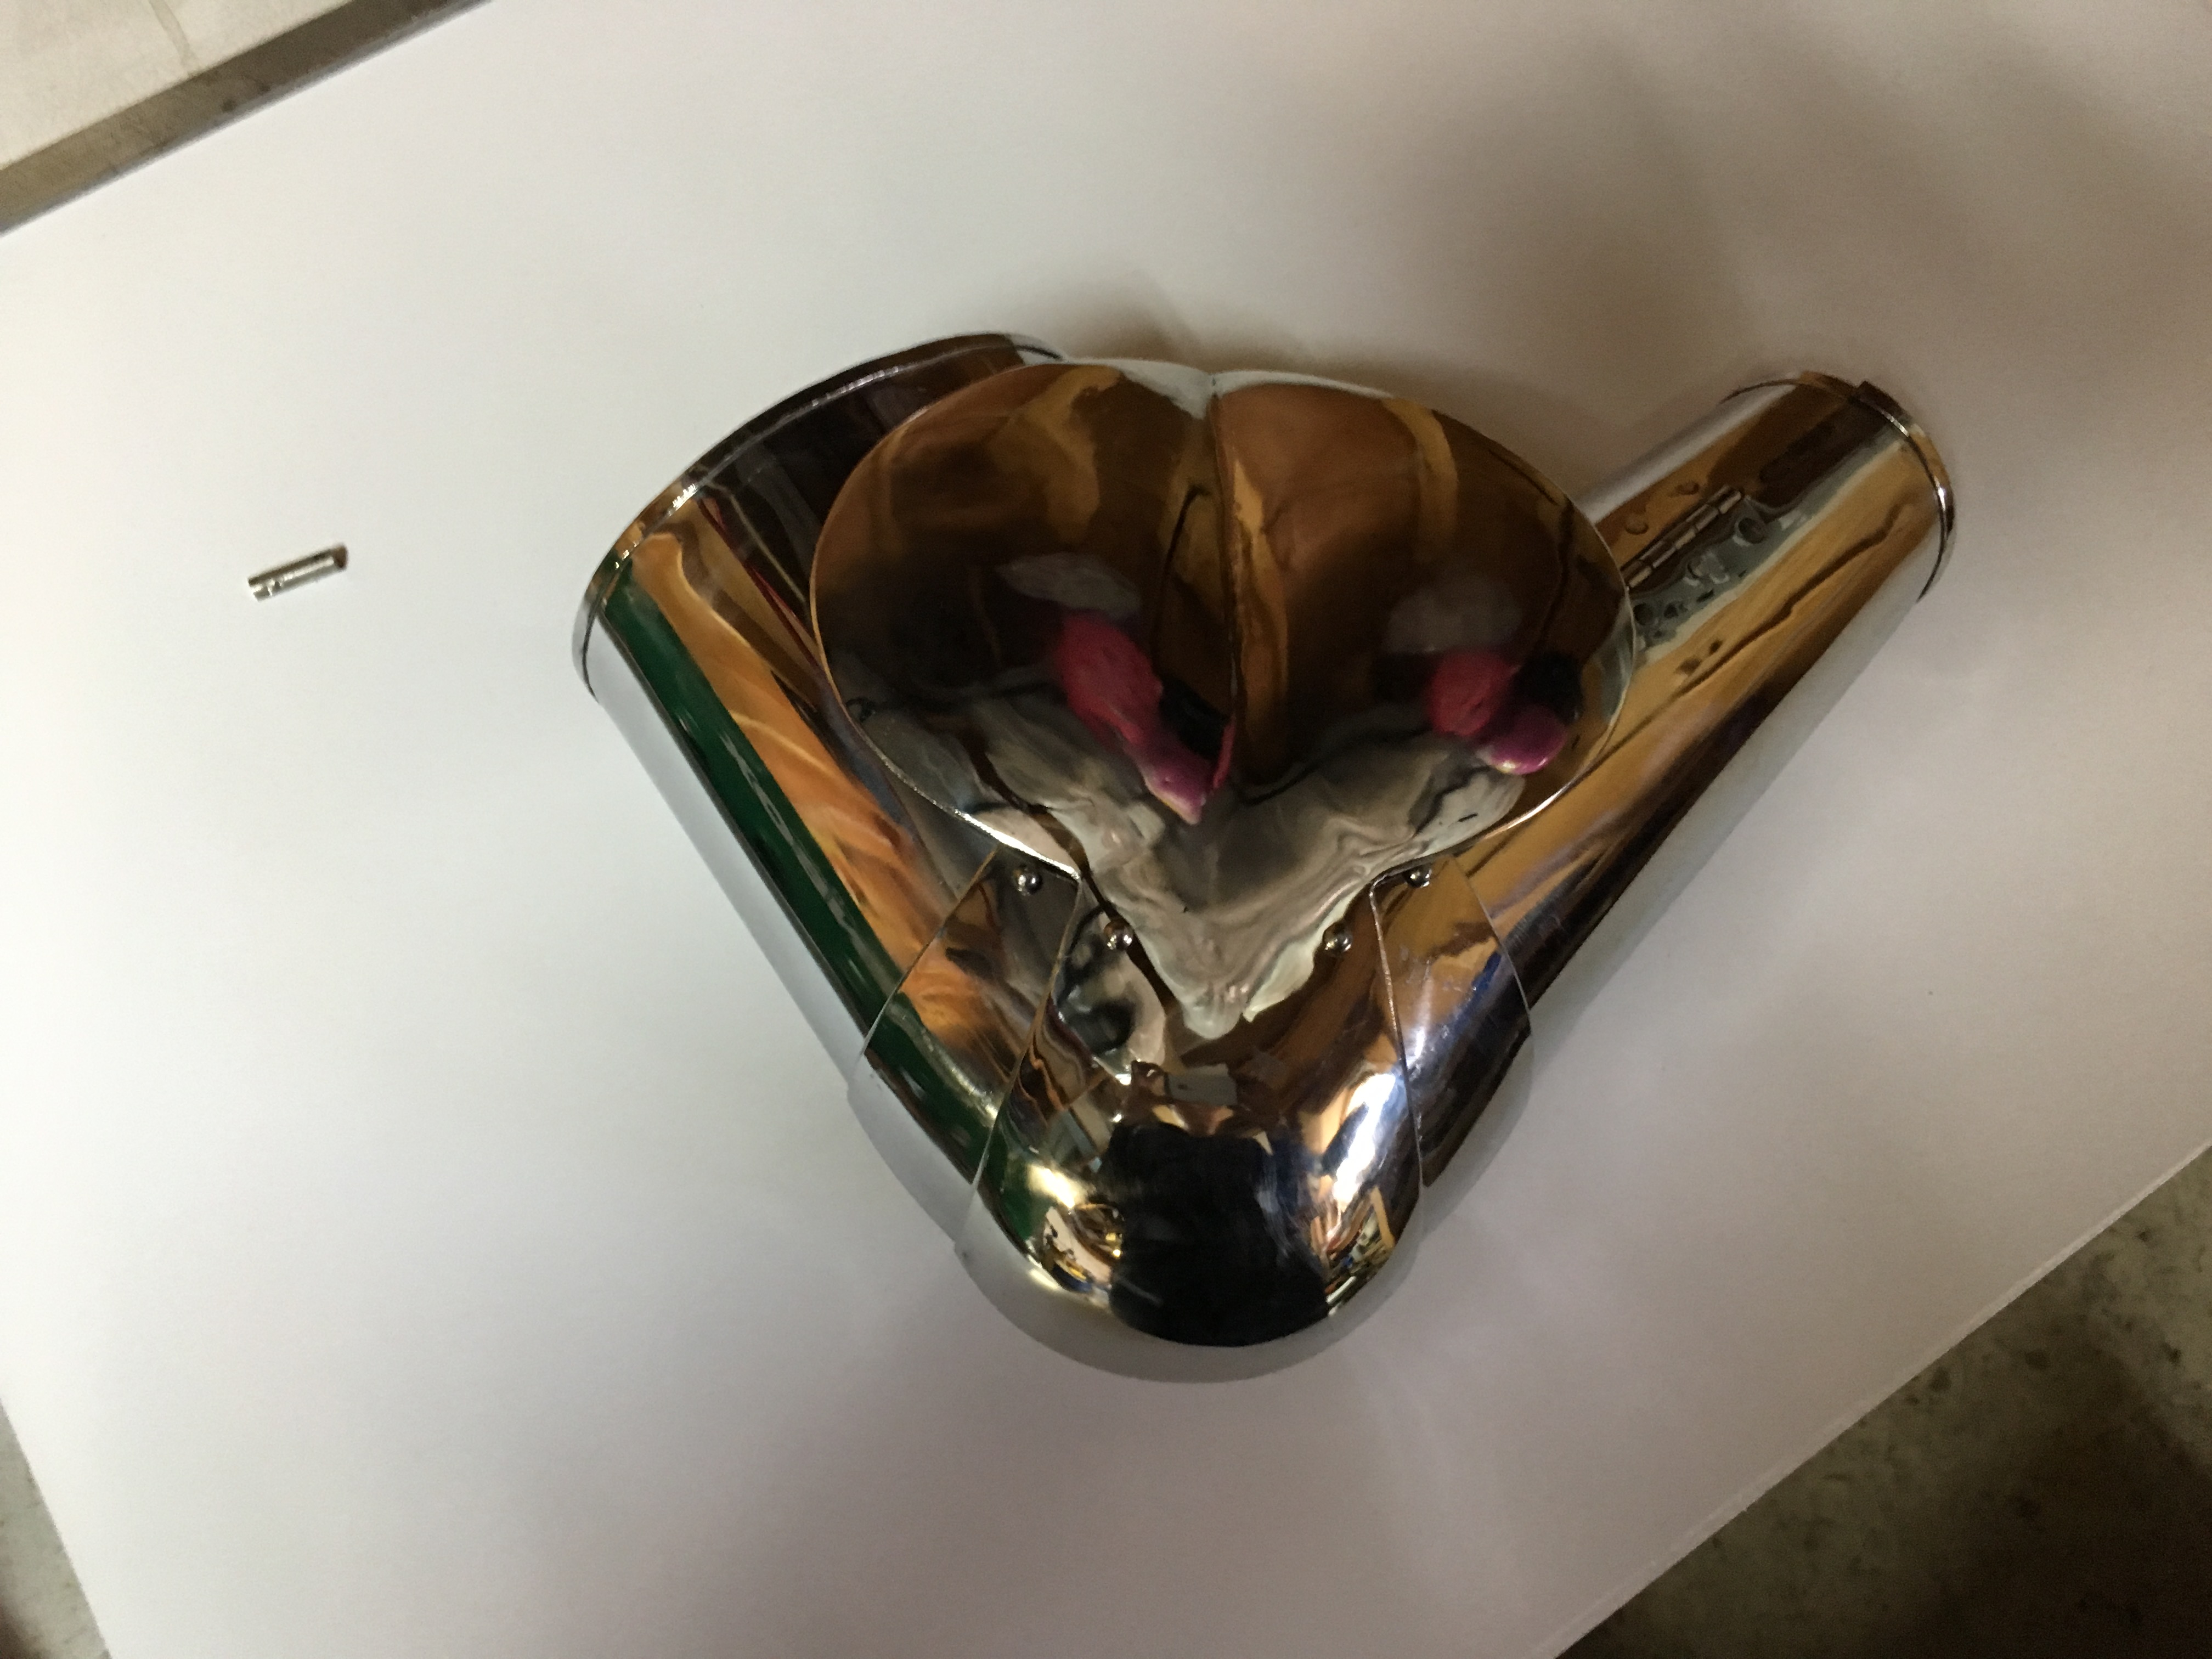
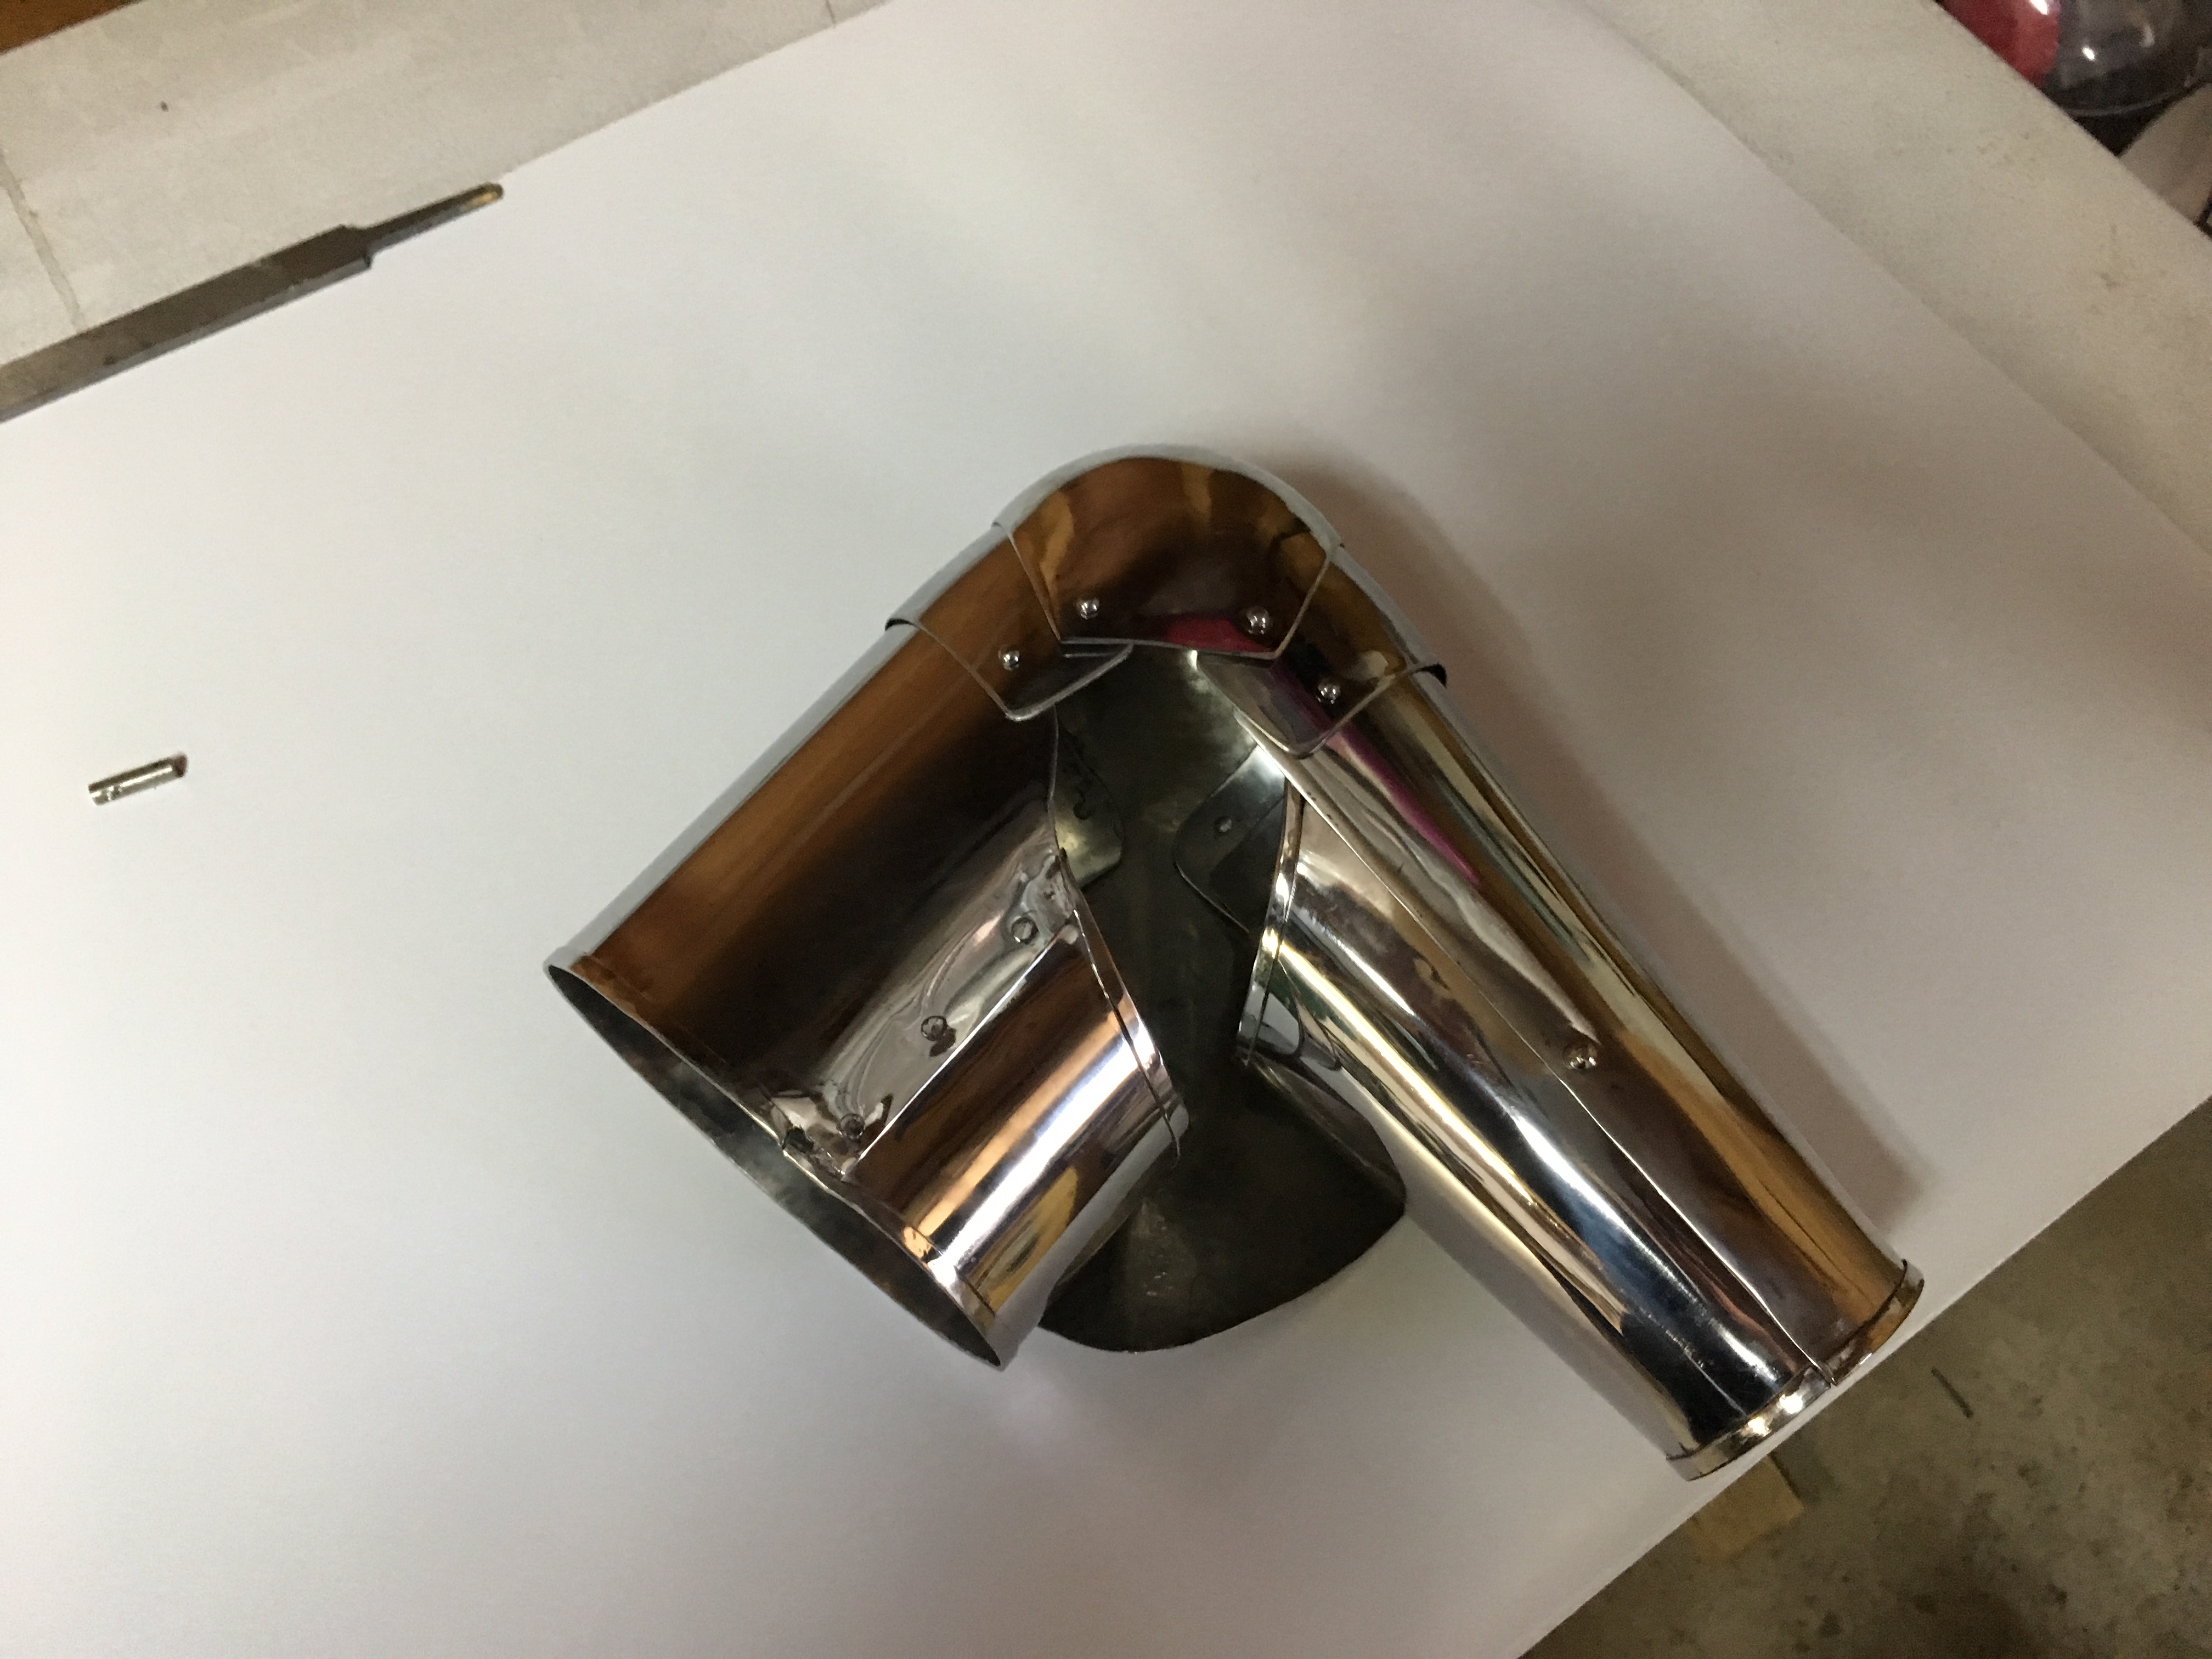
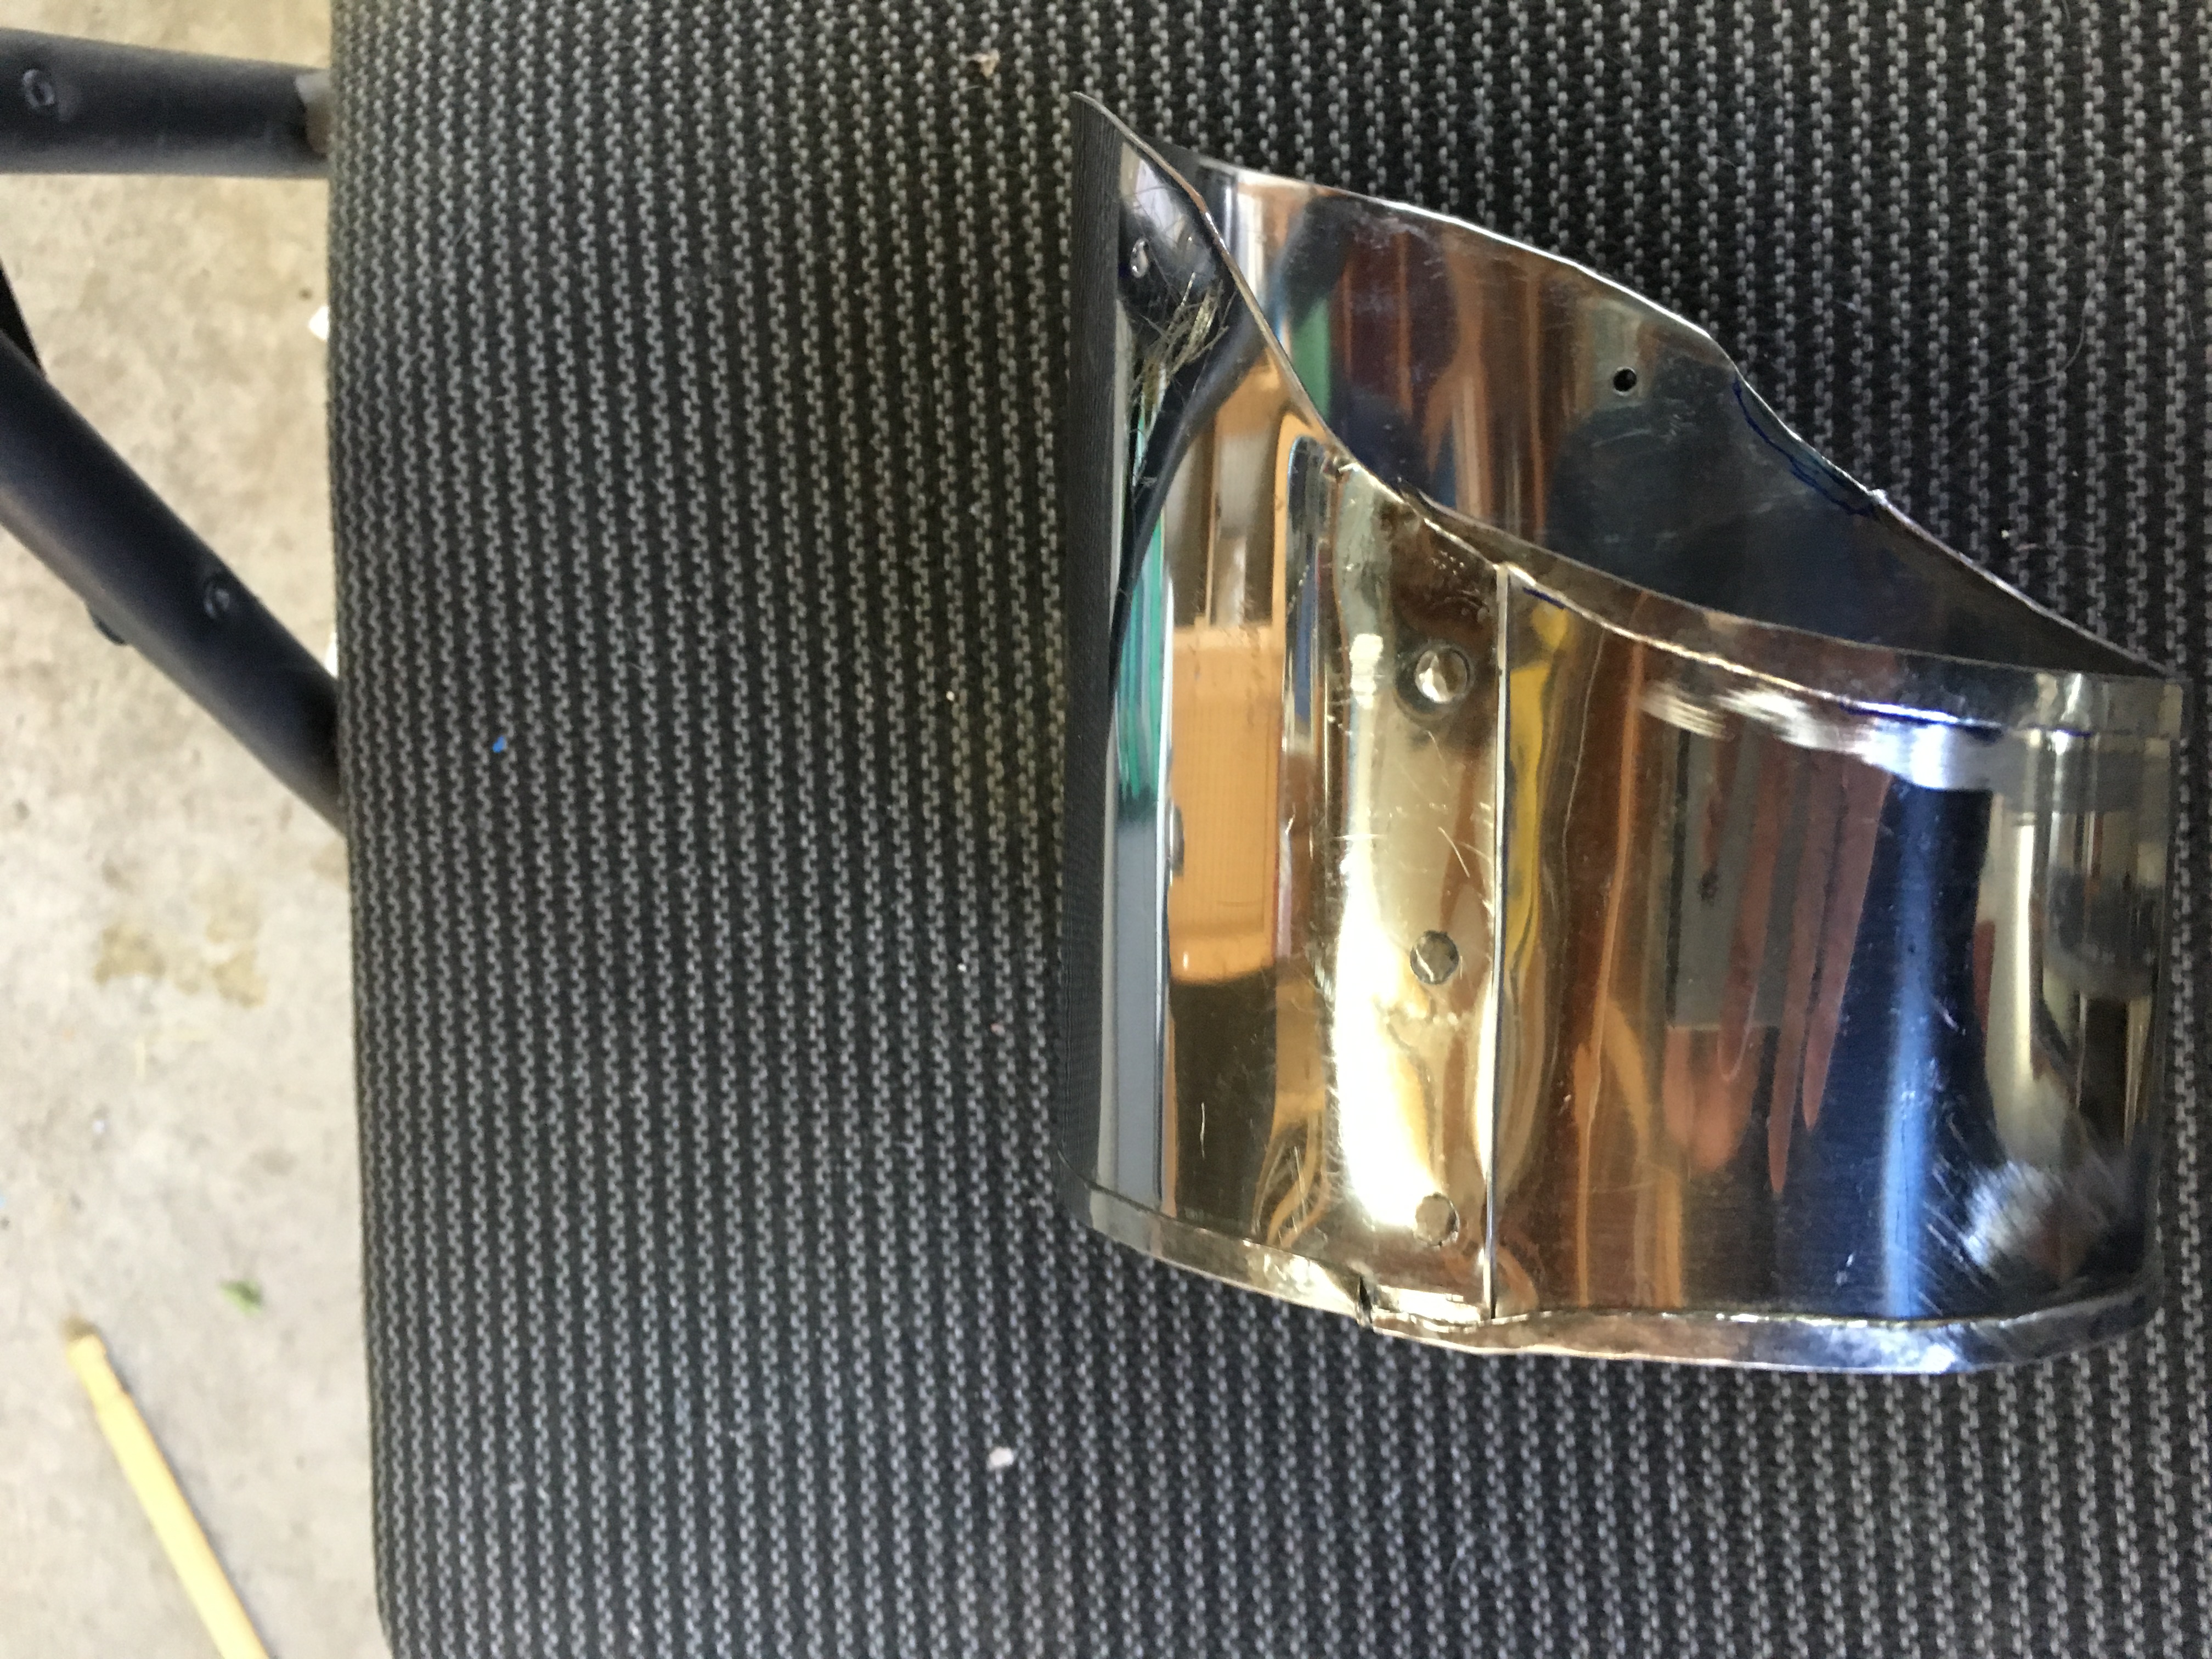
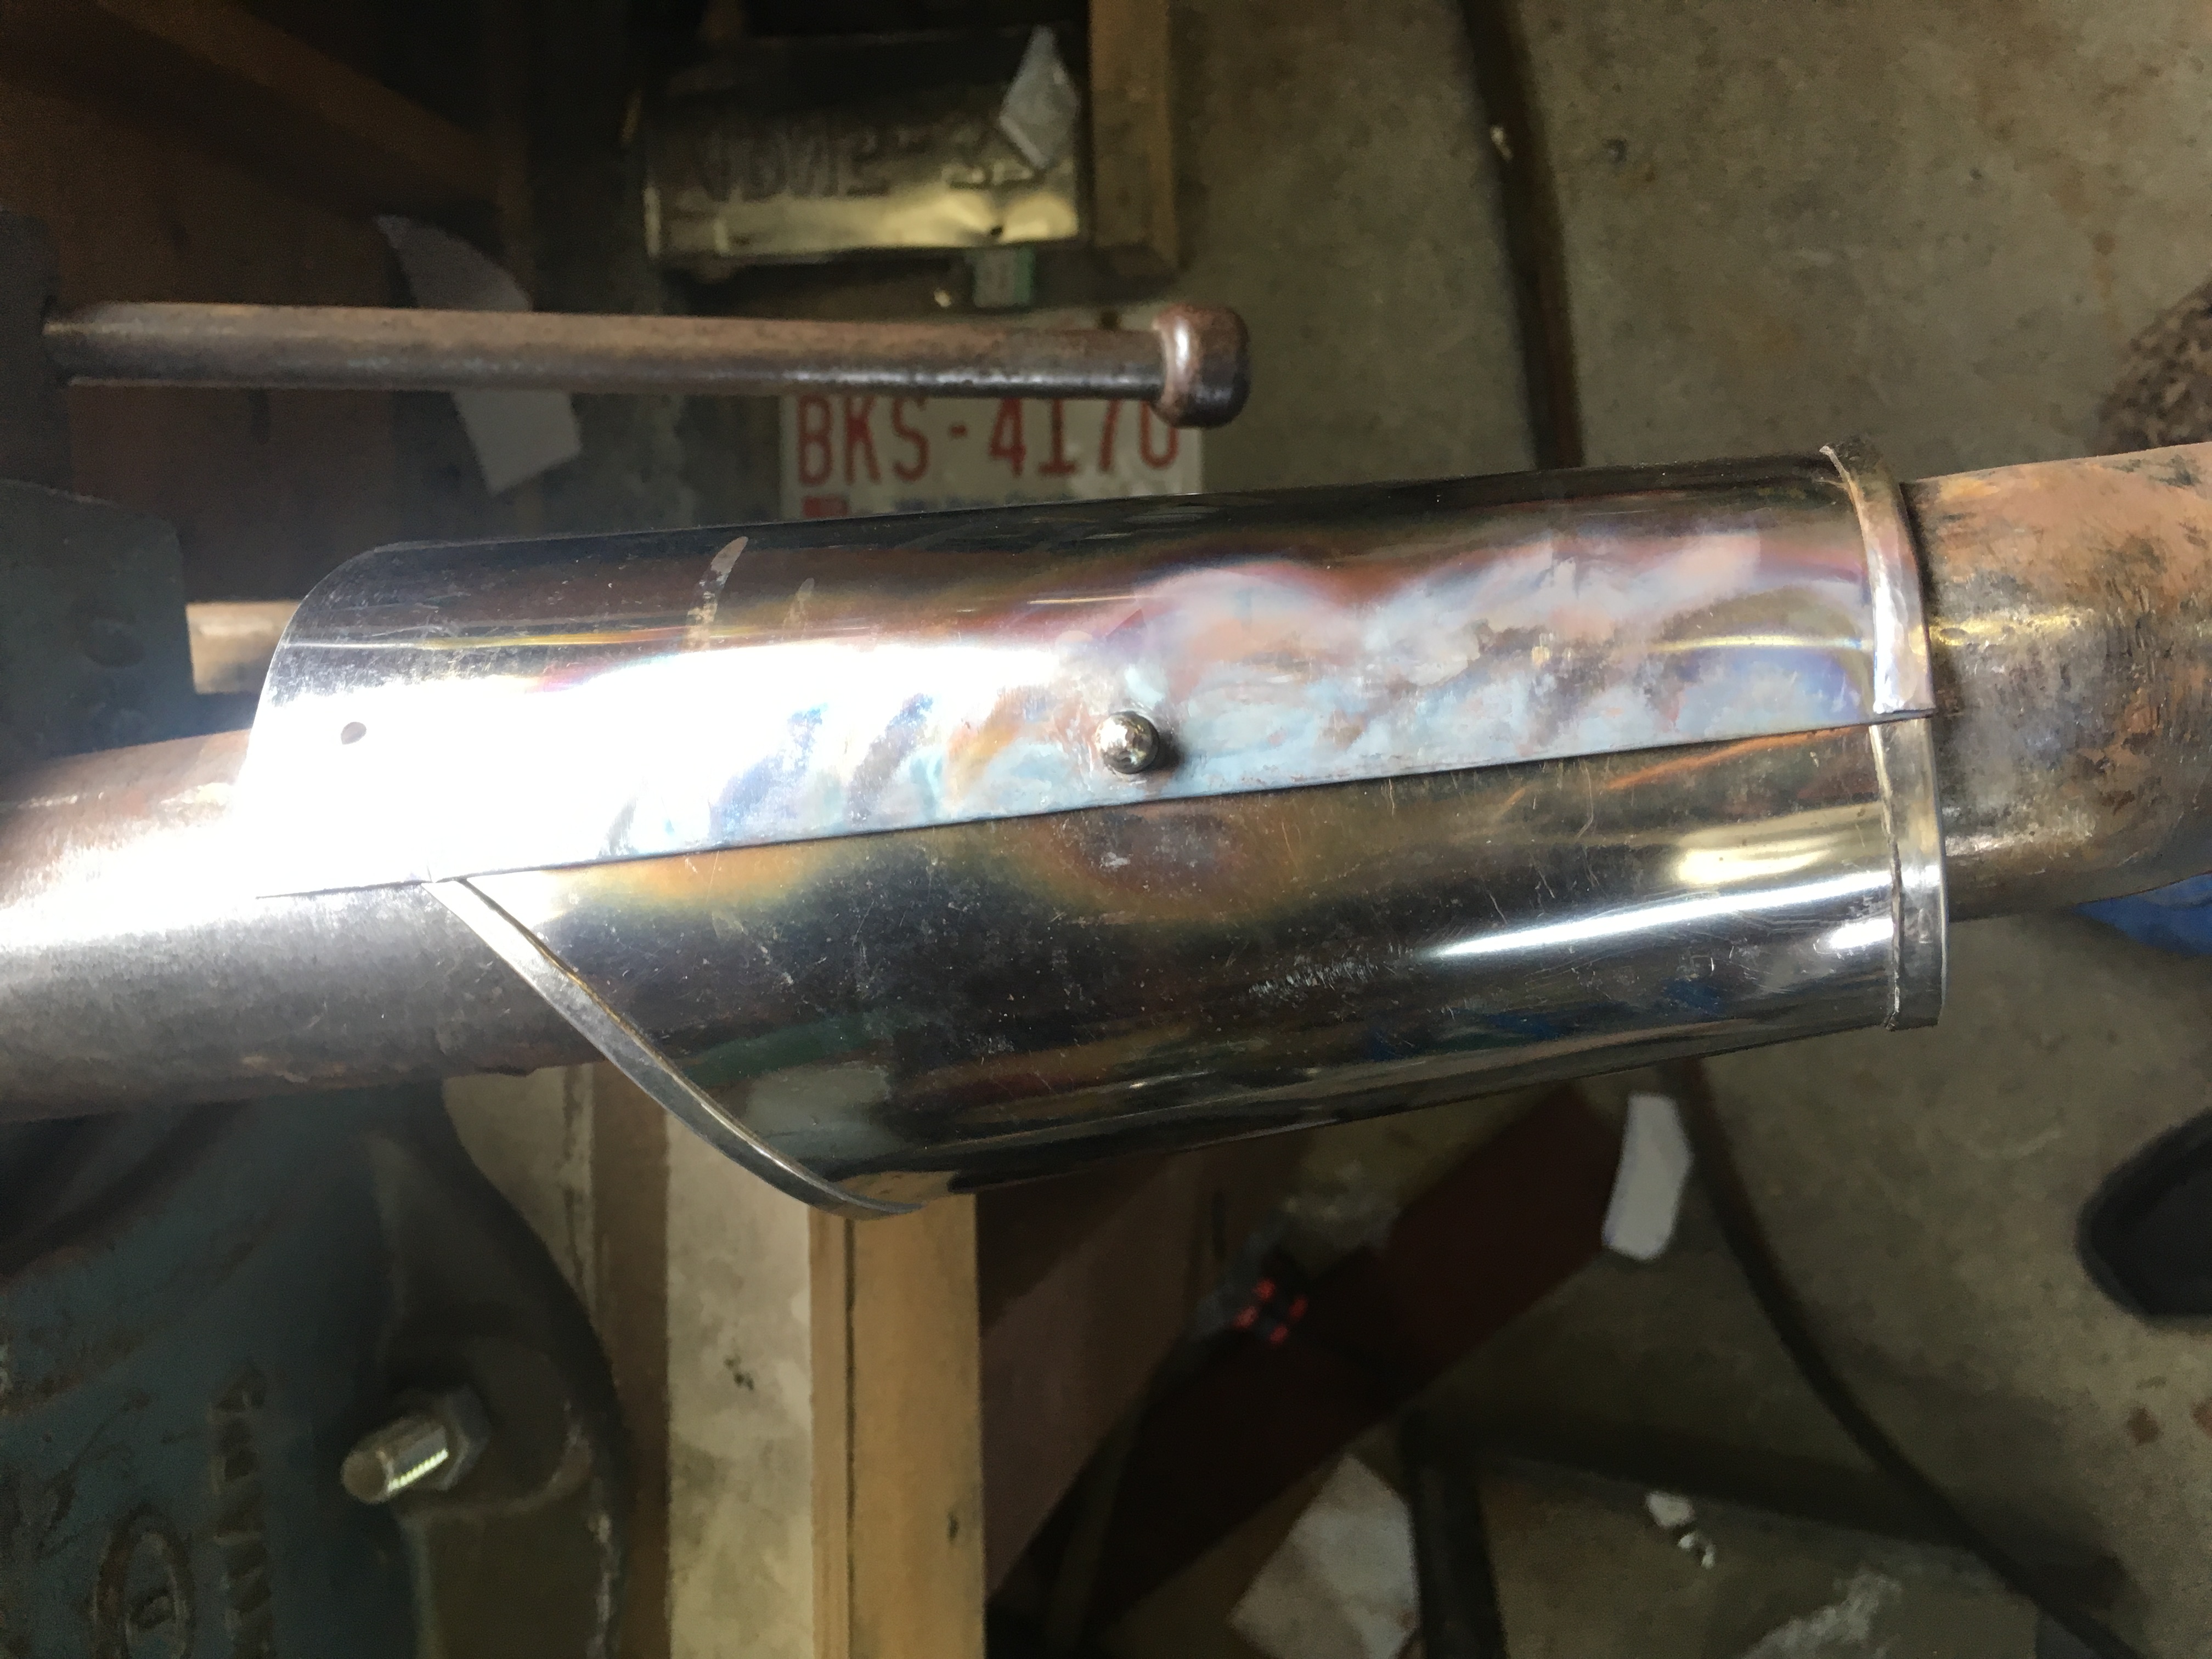
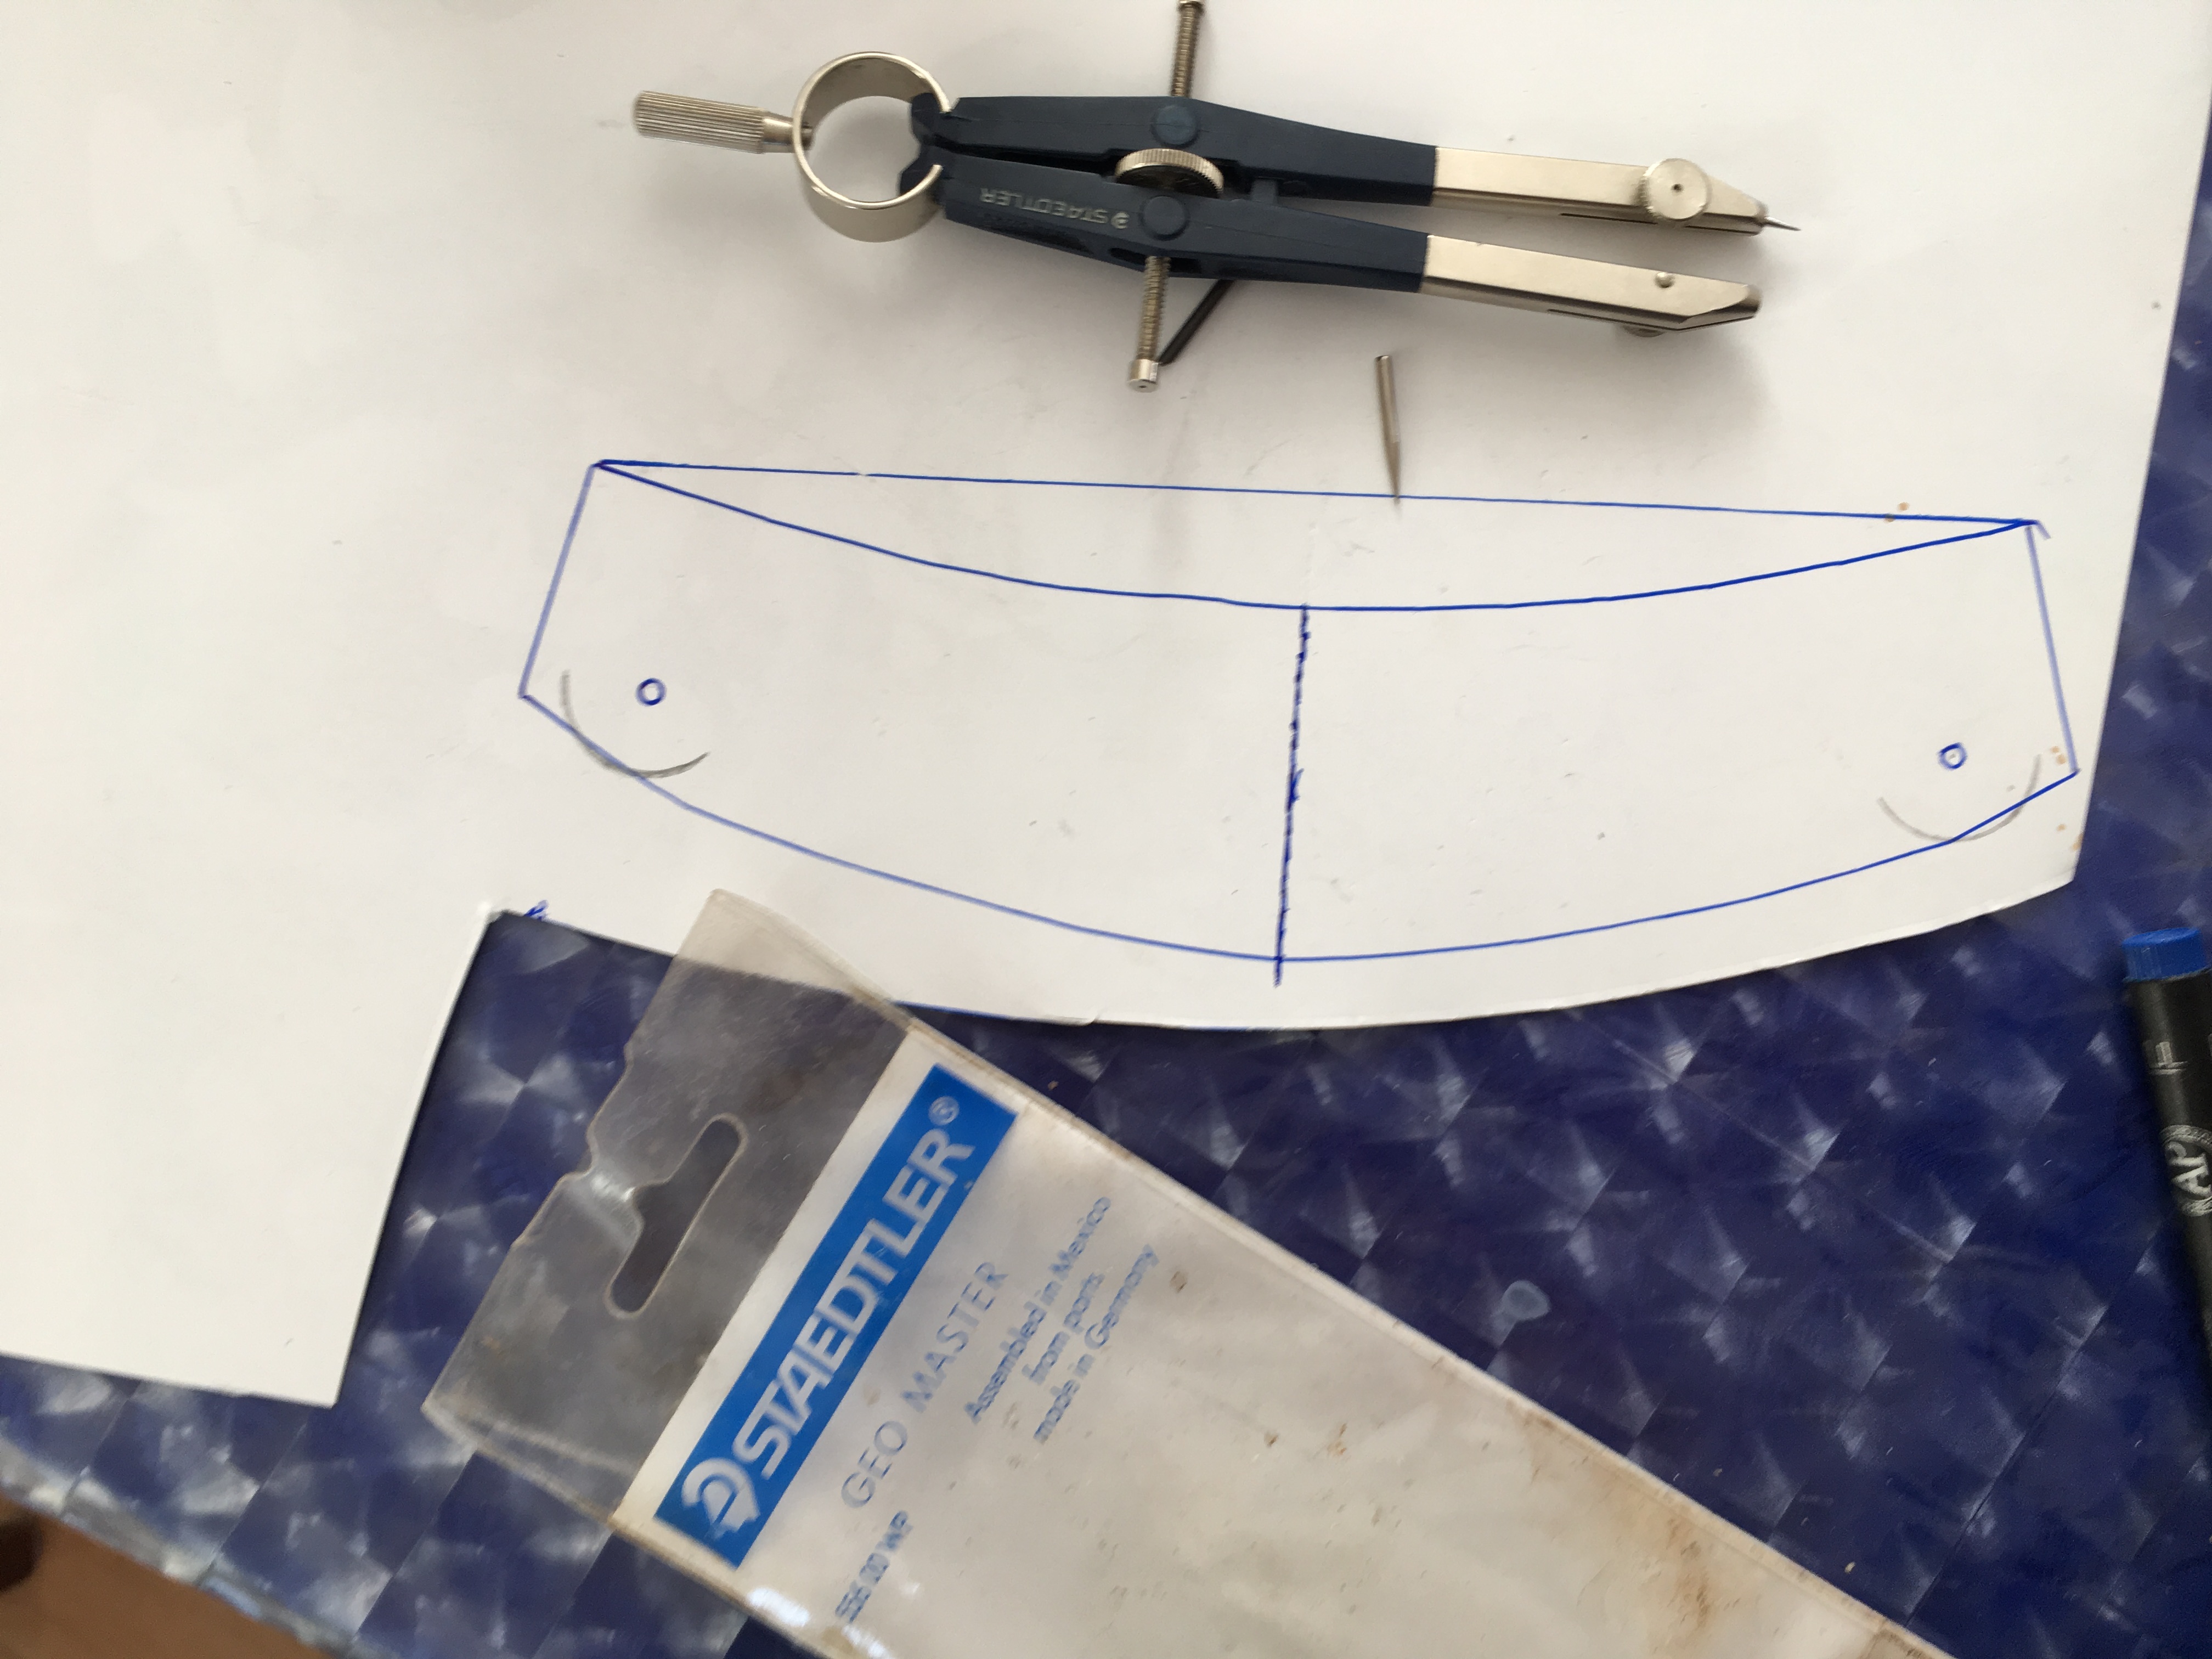
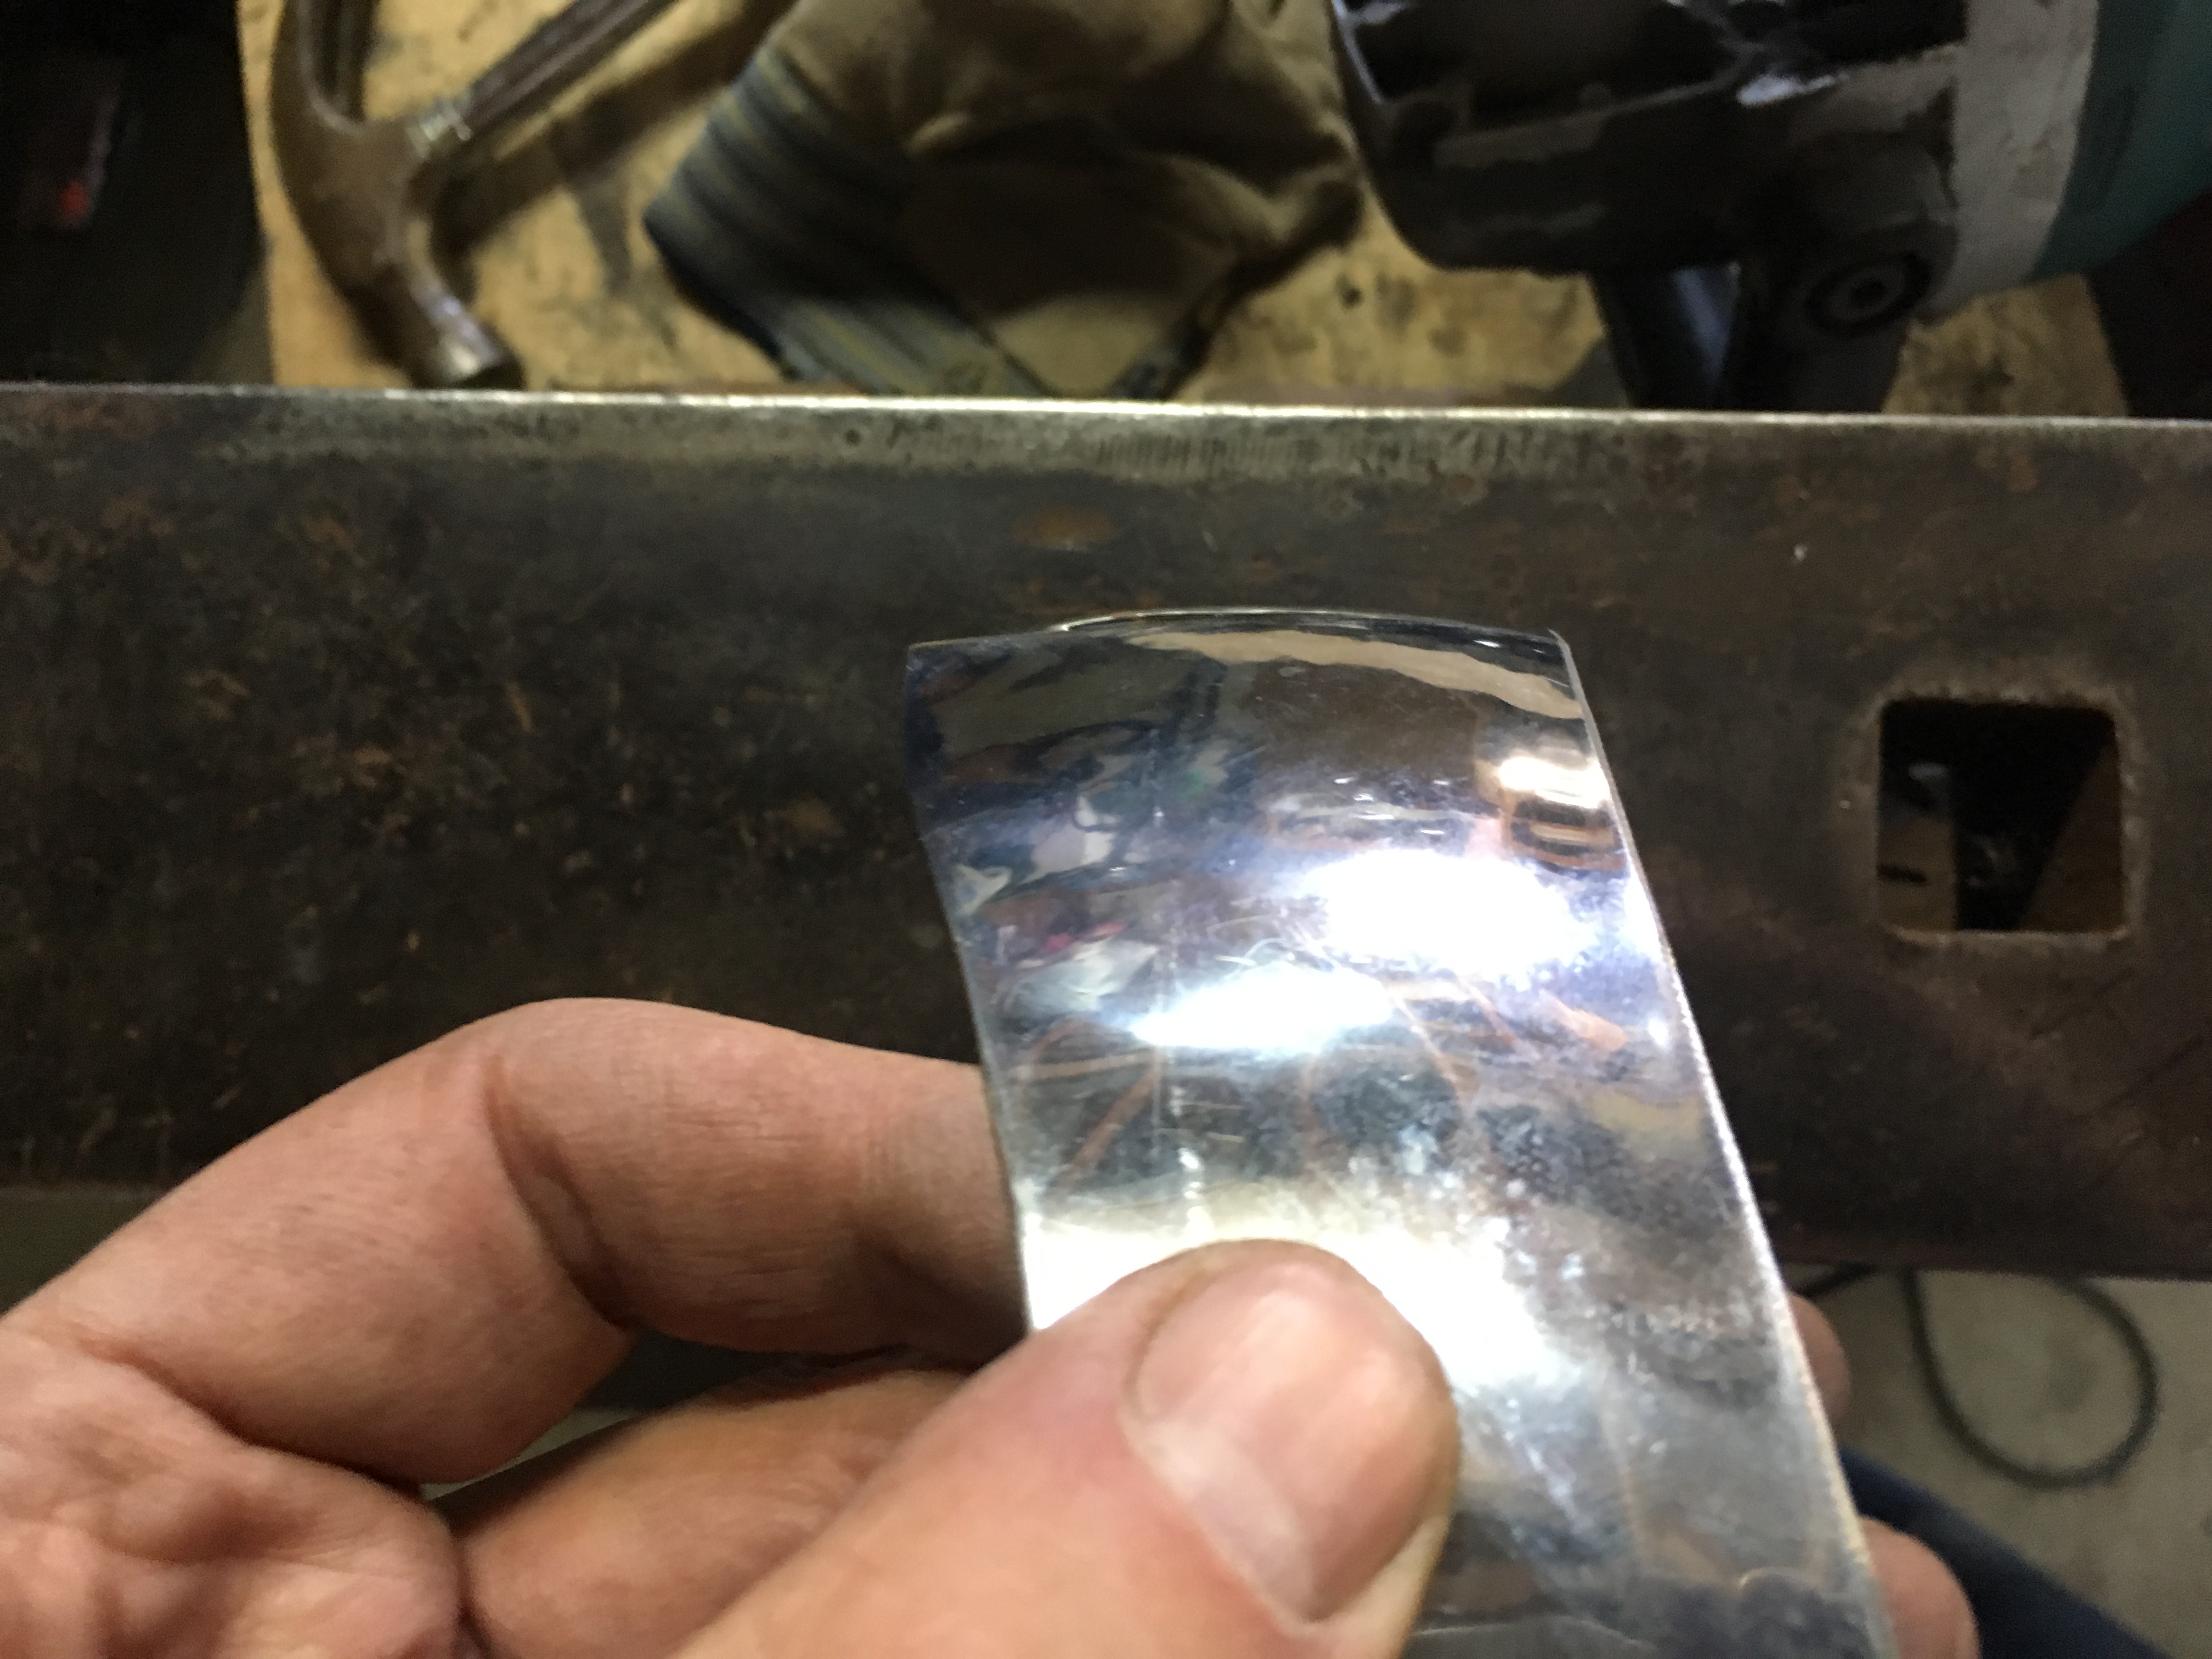
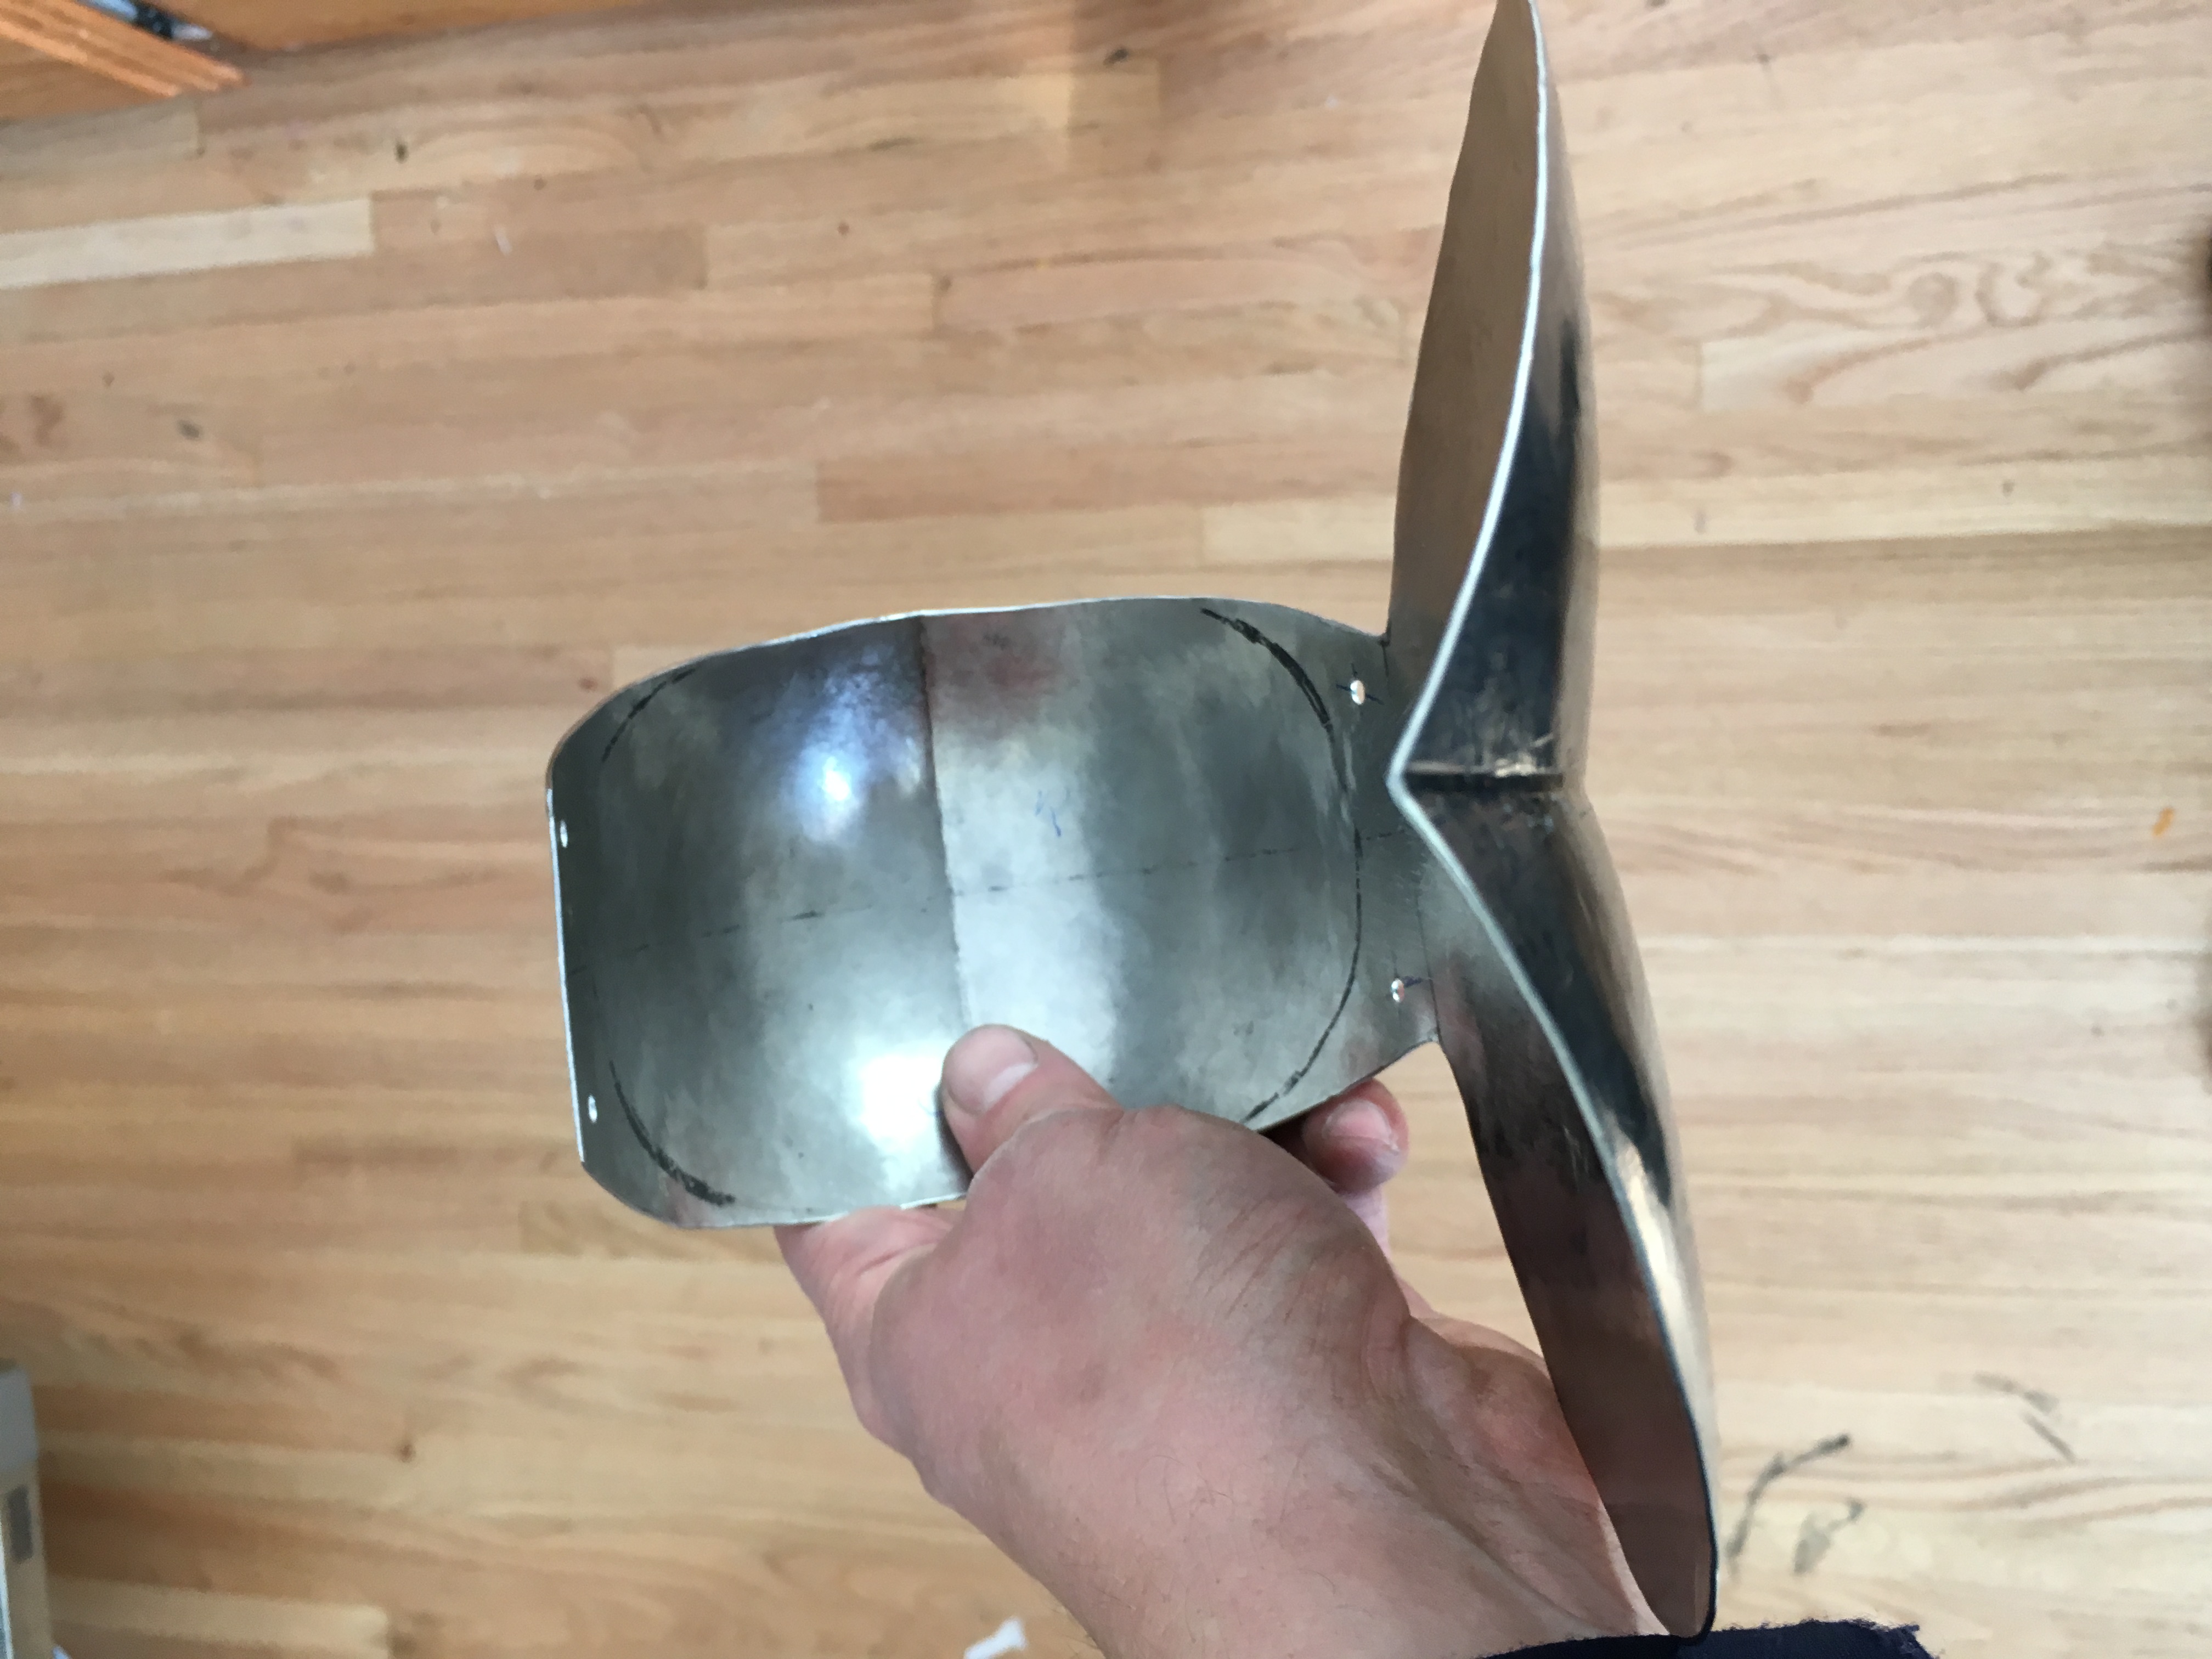
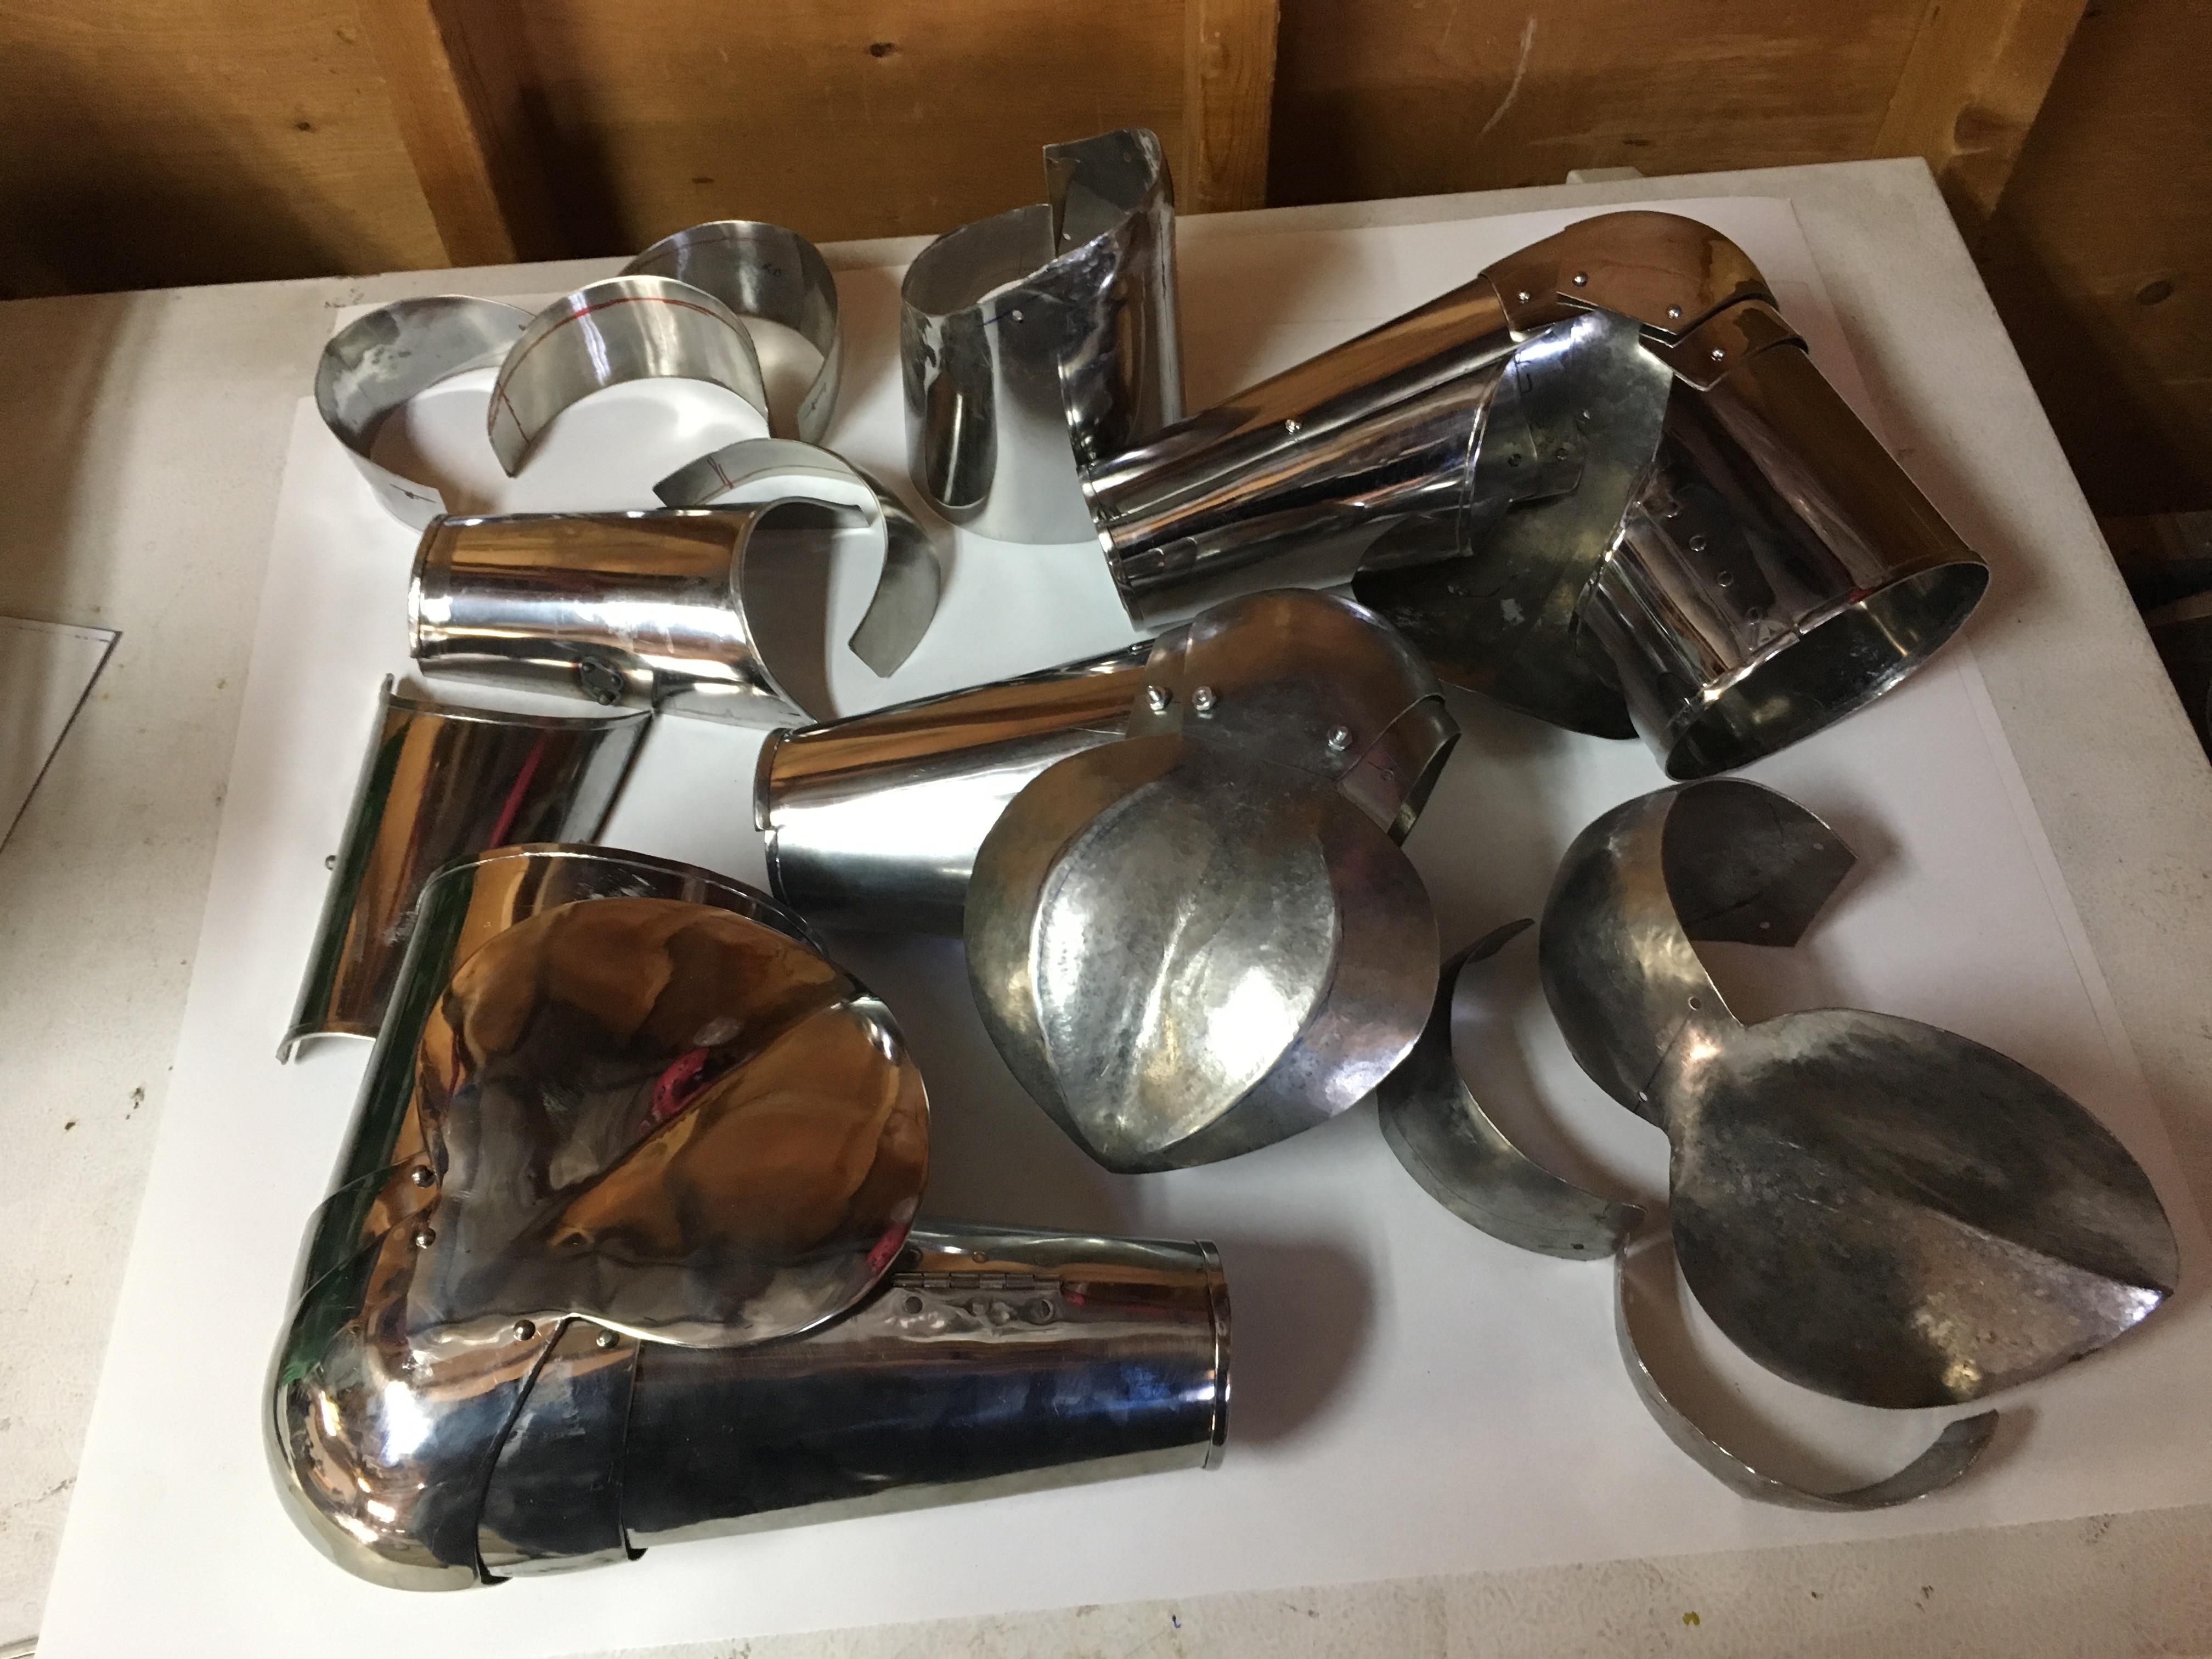
I just finished up a prototype pair of arm harnesses (in stainless steel) which I will now build in an appropriate thickness of carbon steel. After taking the “beauty shot” of the completed project, I looked around at all of the things that I had moved off my project area (the deep freeze in my garage) and thought that I should include a picture of all the pieces that weren’t in that shot, but were needed to complete it (I realized later that I also left out the pair of hinges that I didn’t use). Here is the comparison:
The completed arm harnesses The completed arm harnesses - and all the other pieces that didn't work
Continue reading The Hidden Cost of Armour

Finished Arm Harness

Yesterday I finished the first arm harness. It works reasonably well as a prototype, although using stainless steel as a prototype material is probably more than a bit questionable. I would use mild steel, but it’s so “squishy” that my thicknesses aren’t right, stainless is at least a decent proxy for the rigidity of carbon steel. Total build time is now on the order of 60 hours, although building a replacement set (now that I have the pattern and techniques) is probably more on the order of a day to a day and a half per arm harness. I also always forget just how much work is involved in grinding and polishing these dang things, since this is easily 2-3 hours per harness.

Some pictures:
Arm Harness Inside View Arm Harness Outside View

Arm Harness Outside View - full flexion Arm Harness Inside View - full flexion

The spring pin was an unholy PITA to deal with: I’ll provide a gallery of all the failed pieces for instruction later, but this was the single largest issue with the build, since the vambrace wrapper plate is the single “fiddliest” bit, with 2 rolled edges, a hinge attachment and the pin itself. I had a wrapper fail for BOTH the right AND left arm, so rebuilding these took a lot of time that I wasn’t planning to spend, let alone the proto-prototypes (mild steel) to work out some of the geometry for the vambraces and elbow assembly.

Things that worked well:

  • Blending the edges for the vambrace within a millimeter so that the armour looks “right” (one of my pet peeves with “SCA” armour)
  • Folding the edges on the vambrace and wrapper BEFORE shaping them (possible because they are a fold, rather than a roll)
  • The concept of rolling my excess metal under a rolled edge on the rarebrace
  • The general fit of the vambraces, and alignment of the hinges and retaining pins with the rolled edges

Things that did NOT work well

  • Welding the retaining stud in the vambrace wrapper
  • Construction of the fan (I clearly need practice)
  • using the edge of my anvil to flare the fan (which left nicks near the crease in the fan which I couldn’t be bothered to completely clean up for the prototype)
  • Elbow articulation geometry (this worked much better when I stopped, threw away the lames and started again with cardstock)
  • The shape of the elbow, which is insufficiently pointy. I modelled this (and the central crease) on a Maximillian arm harness from the Churburg collection. Without the gratuitous fluting (which I omitted because it messes up the esthetic) this is a fairly atypical piece – next time I’ll model after one of the Mantova harnesses (or ANY of the earlier Churburg harnesses)
  • Creasing the elbow, in a similar fashion to a knee
  • Stainless steel hinges (bent without heat – evil metal!)
  • insufficient clearance on my rarebrace overlap to fold it into the roll

 
Some pictures of things that worked well (and not so well):
Rarebrace - showing the failed "overroll" Using heat to blend the vambrace fit

Elbow Articulations and the Importance of Patterning

Today I tossed out a pile of elbow lames, because they weren’t quite right. I had spent several hours making these, and they didn’t work properly. The reason that they didn’t work properly is that I had too much “rake” and had put too much curve in them, so that they wouldn’t clear properly.

Half an hour with card stock (really heavy weight paper, about 2/10ths of a mm thick) and I had a new pattern, and a couple of hours later I had the elbows articulating nicely – based on dead flat articulations. I found it useful to articulate these “flat” and then put a (very slight) curve into them once I had them articulating. Here are pictures of the re-patterning, as well as the depth of curvature on the elbow lames.
patterning an elbow lame Shape of an elbow (Couter) - inside view

This led me to question whether I was properly shaping my couters – pics below
Shape of an elbow (Couter) - inside view Shape of an elbow (Couter) - top view

I also found that the reshaping eliminated the creases I had put into the lames, and when I re-peaked them I found that I was a couple of millimeters off true for a couple of them. In future I plan to articulate, and THEN put in the medial crease, and I wonder how many armourers articluate after creasing, and how many put in the crease after articulating.