Let’s start with “what’s a gadling”. A gadling is the plate that covers a knuckle on a set of gauntlets that covers individual fingers. In practice, this is simply covering the “gap” between the plates along the finger bones, and with the exception of some early (14th century) gauntlets, these are invariably articulated by riveting them onto a leather (generally buff leather) backing. for a nice picture of a single gauntlet, check out the A213 which is in the collection of Wade Allen – it is one of the few resources on the web that includes interior photos as well as exterior ones. compare and contrast to the A98 pair which are mitten gauntlets.
There is a common misconception about gauntlets, that finger gauntlets are more difficult to build than mitten gauntlets. While either type of gauntlet is time consuming, the main challenge to finger gauntlets is simply having the right tools. Gadlings are a particular challenge for most folks, particularly the pyramidal or conical types, as many people seem to think that these need to be shaped in the same way you would make a poleyn or couter (knee or elbow protection). As with many pieces of armour,the first question you should ask yourself is “what is the easiest possible way to make this” – that is generally how these pieces were made, because a medieval armourer had bills to pay and mouths to feed, and didn’t get a bonus for doing things the hard way.
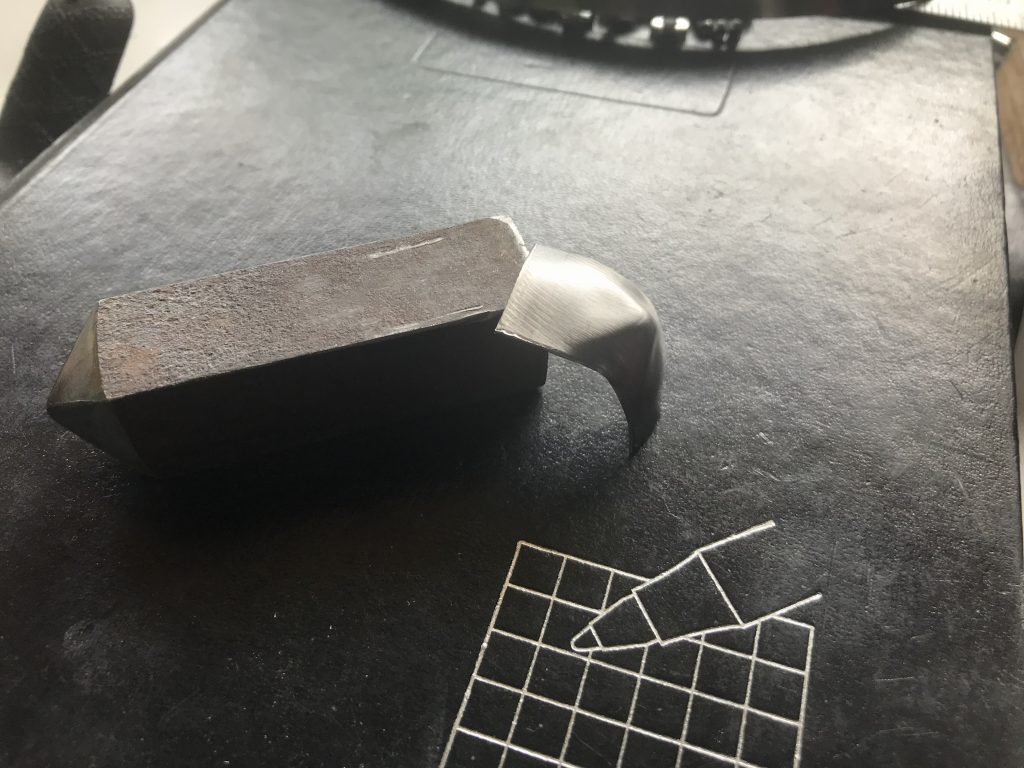
I was fortunate to have Jeff Wasson in town for a tournament when I was making my first set of finger gauntlets many years ago. He looked at my carefully cut gadlings and said “they wouldn’t do that” He then cut some tiny strips of fairly thin steel , domed them into my lead block and then shaped them with my pyramidal stake into a pyramidal depression – effectively a pyramid dapping block. While this was my planned process (and why I already had these tools to hand) the rectangular strips for the gadlings was something I hadn’t thought of. Looking at the originals, this was very much the shape that most of the gadlings had. Note that period thicknesses are generally 1mm or less (20 ga – 24 Ga / 0.040″ – 0.025″). These gadlings are 20 Ga stainless (0.040″ / 1mm). I have also been working with some 22 Ga (0.035″ / 0.8mm) carbon steel gadlings, and these take a much crisper and more defined impression, so these are likely to be my “go to” thickness and material.
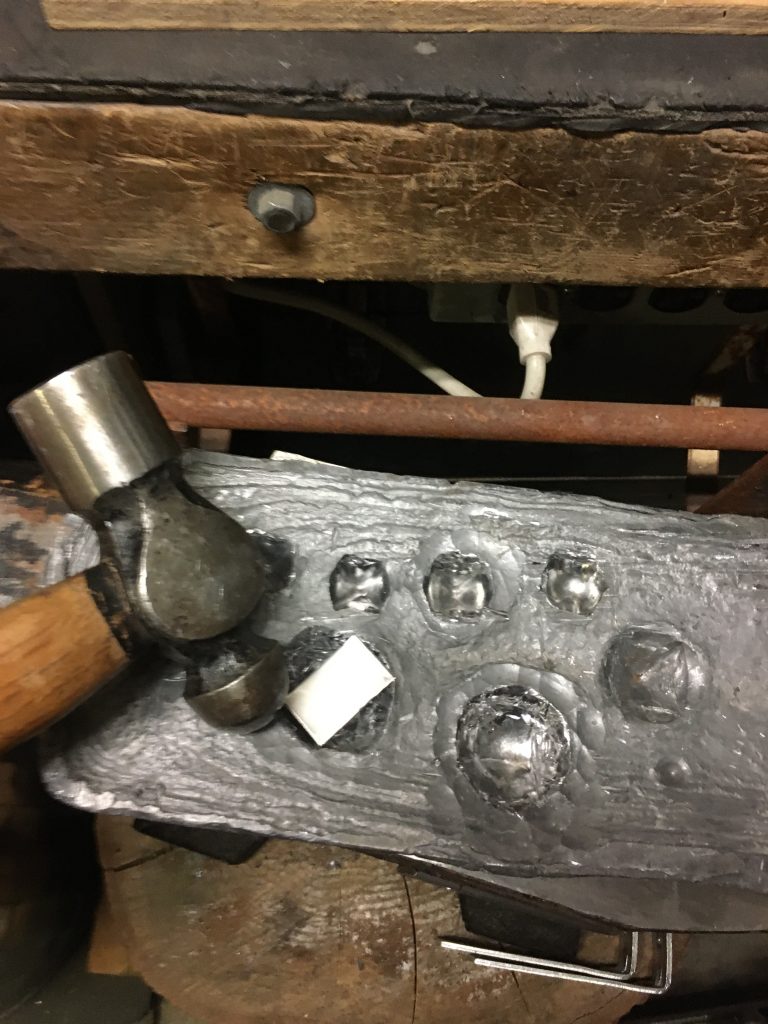
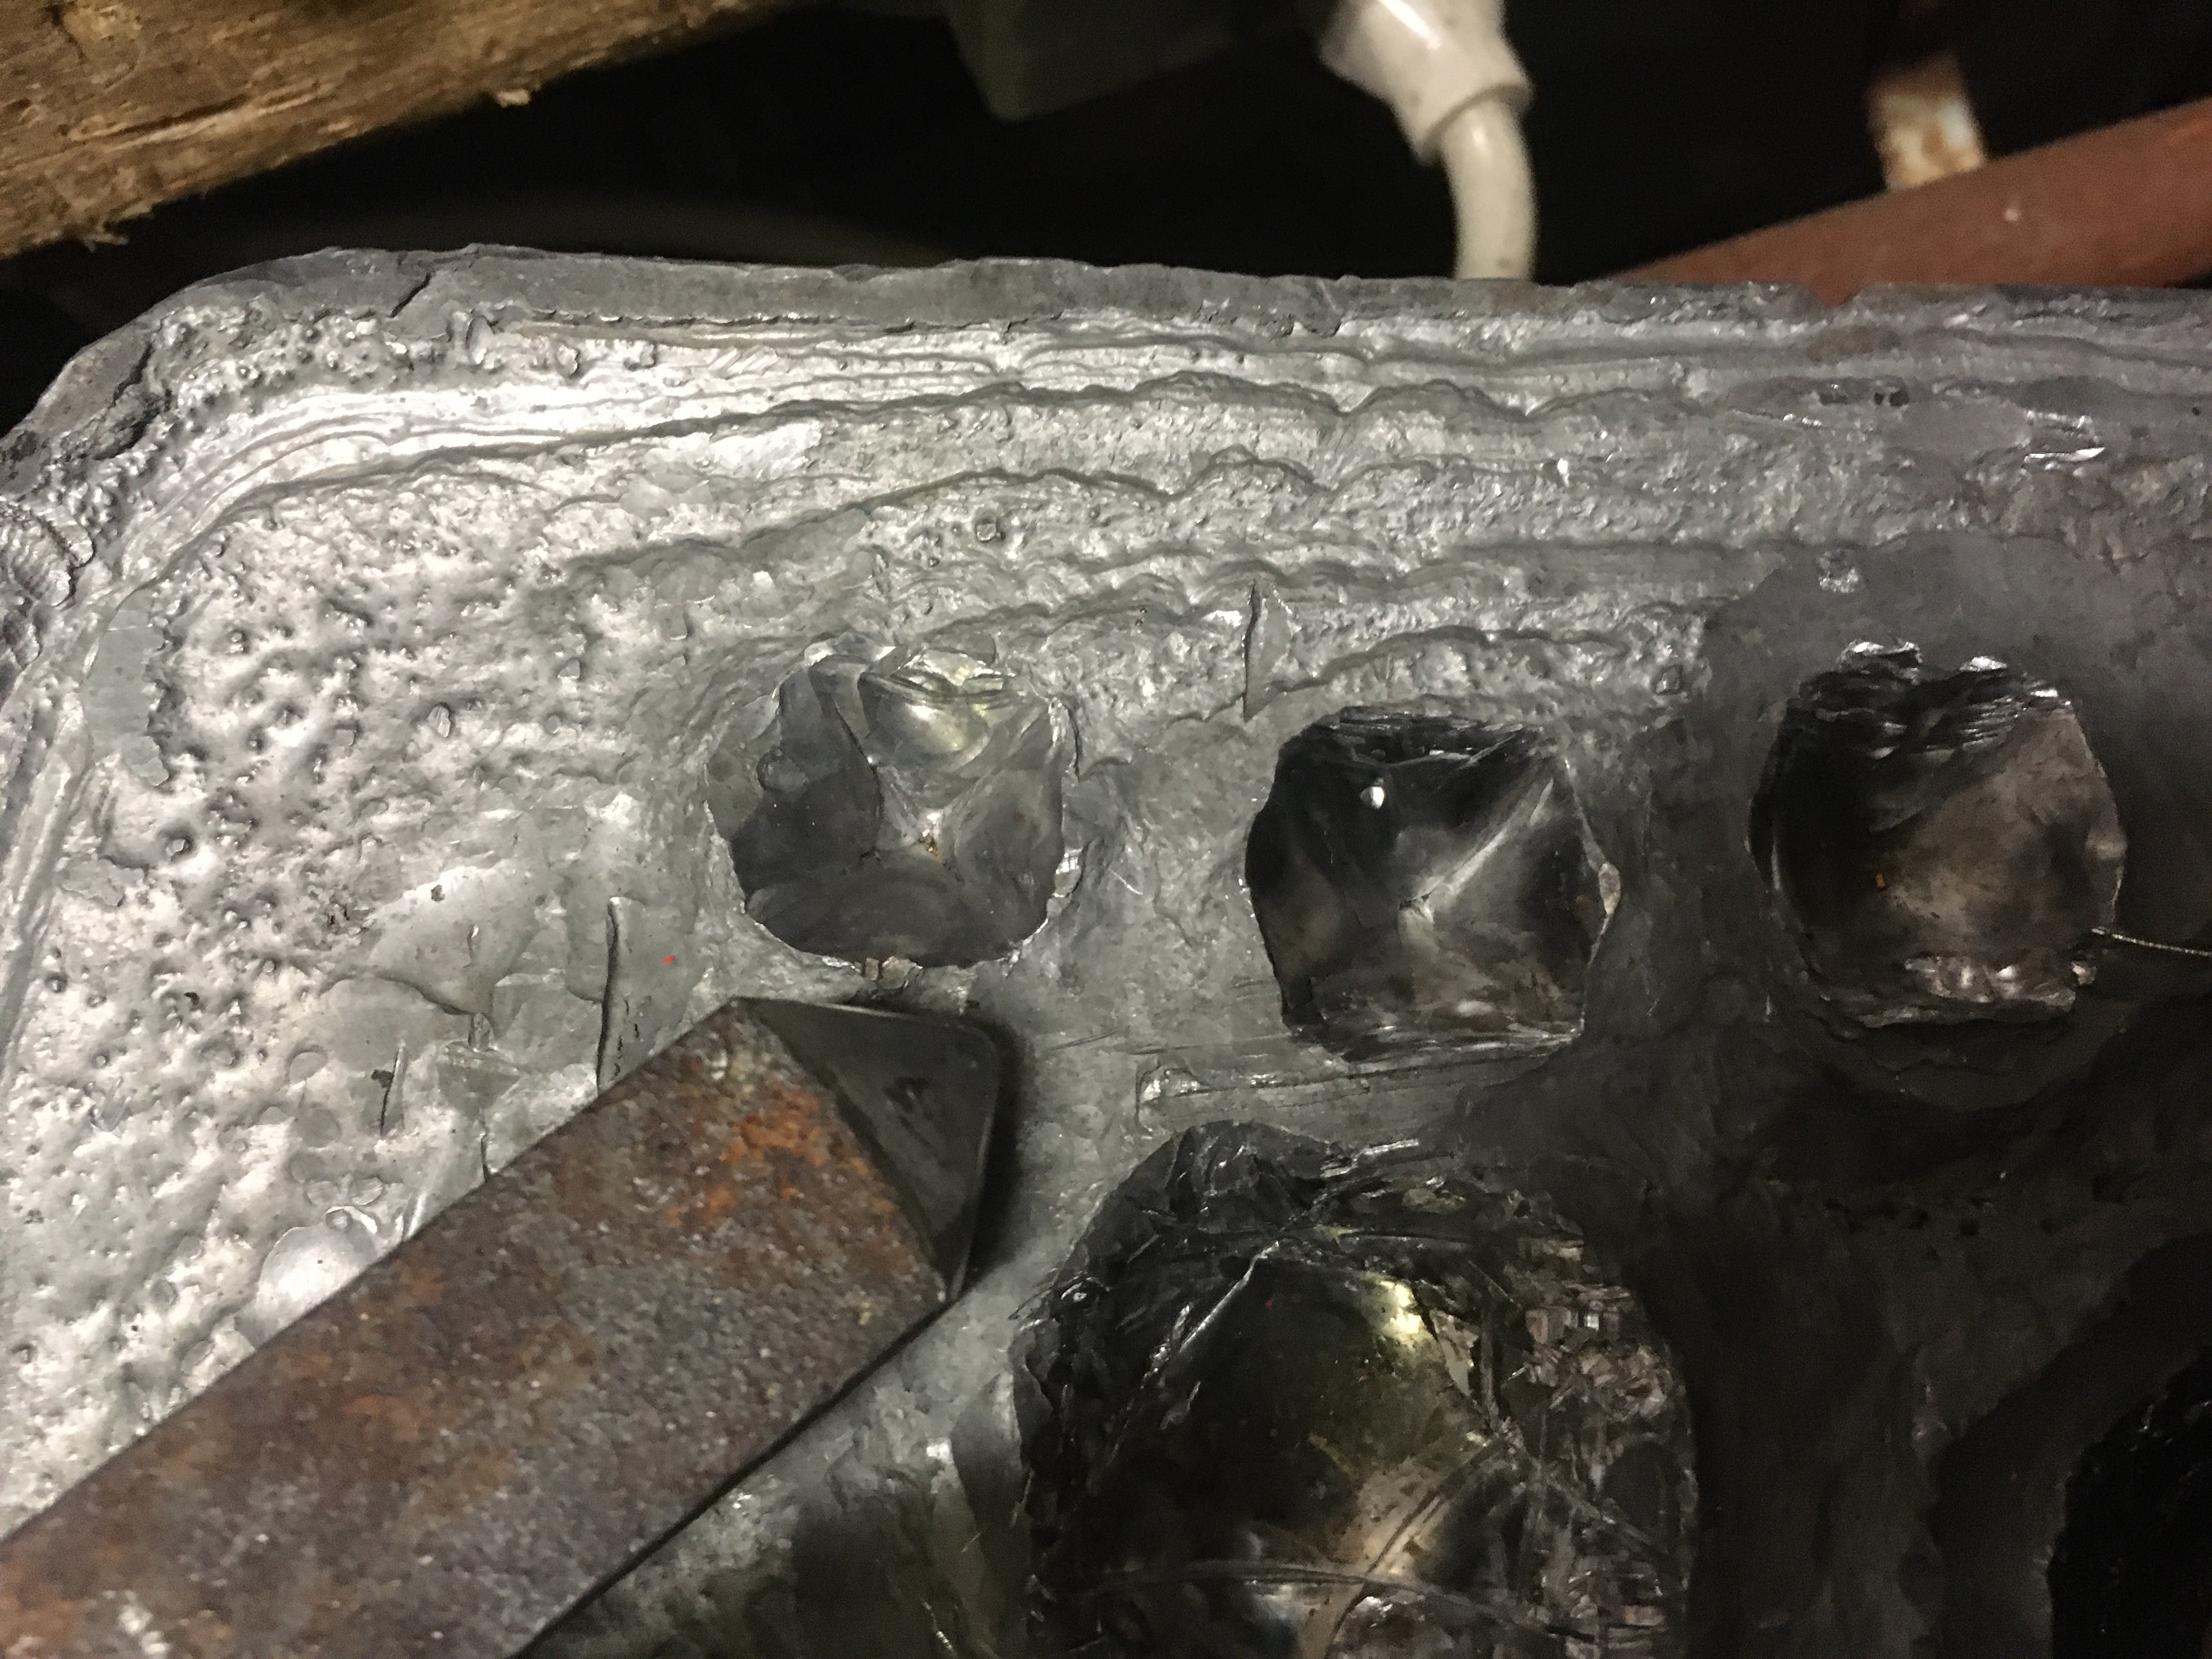
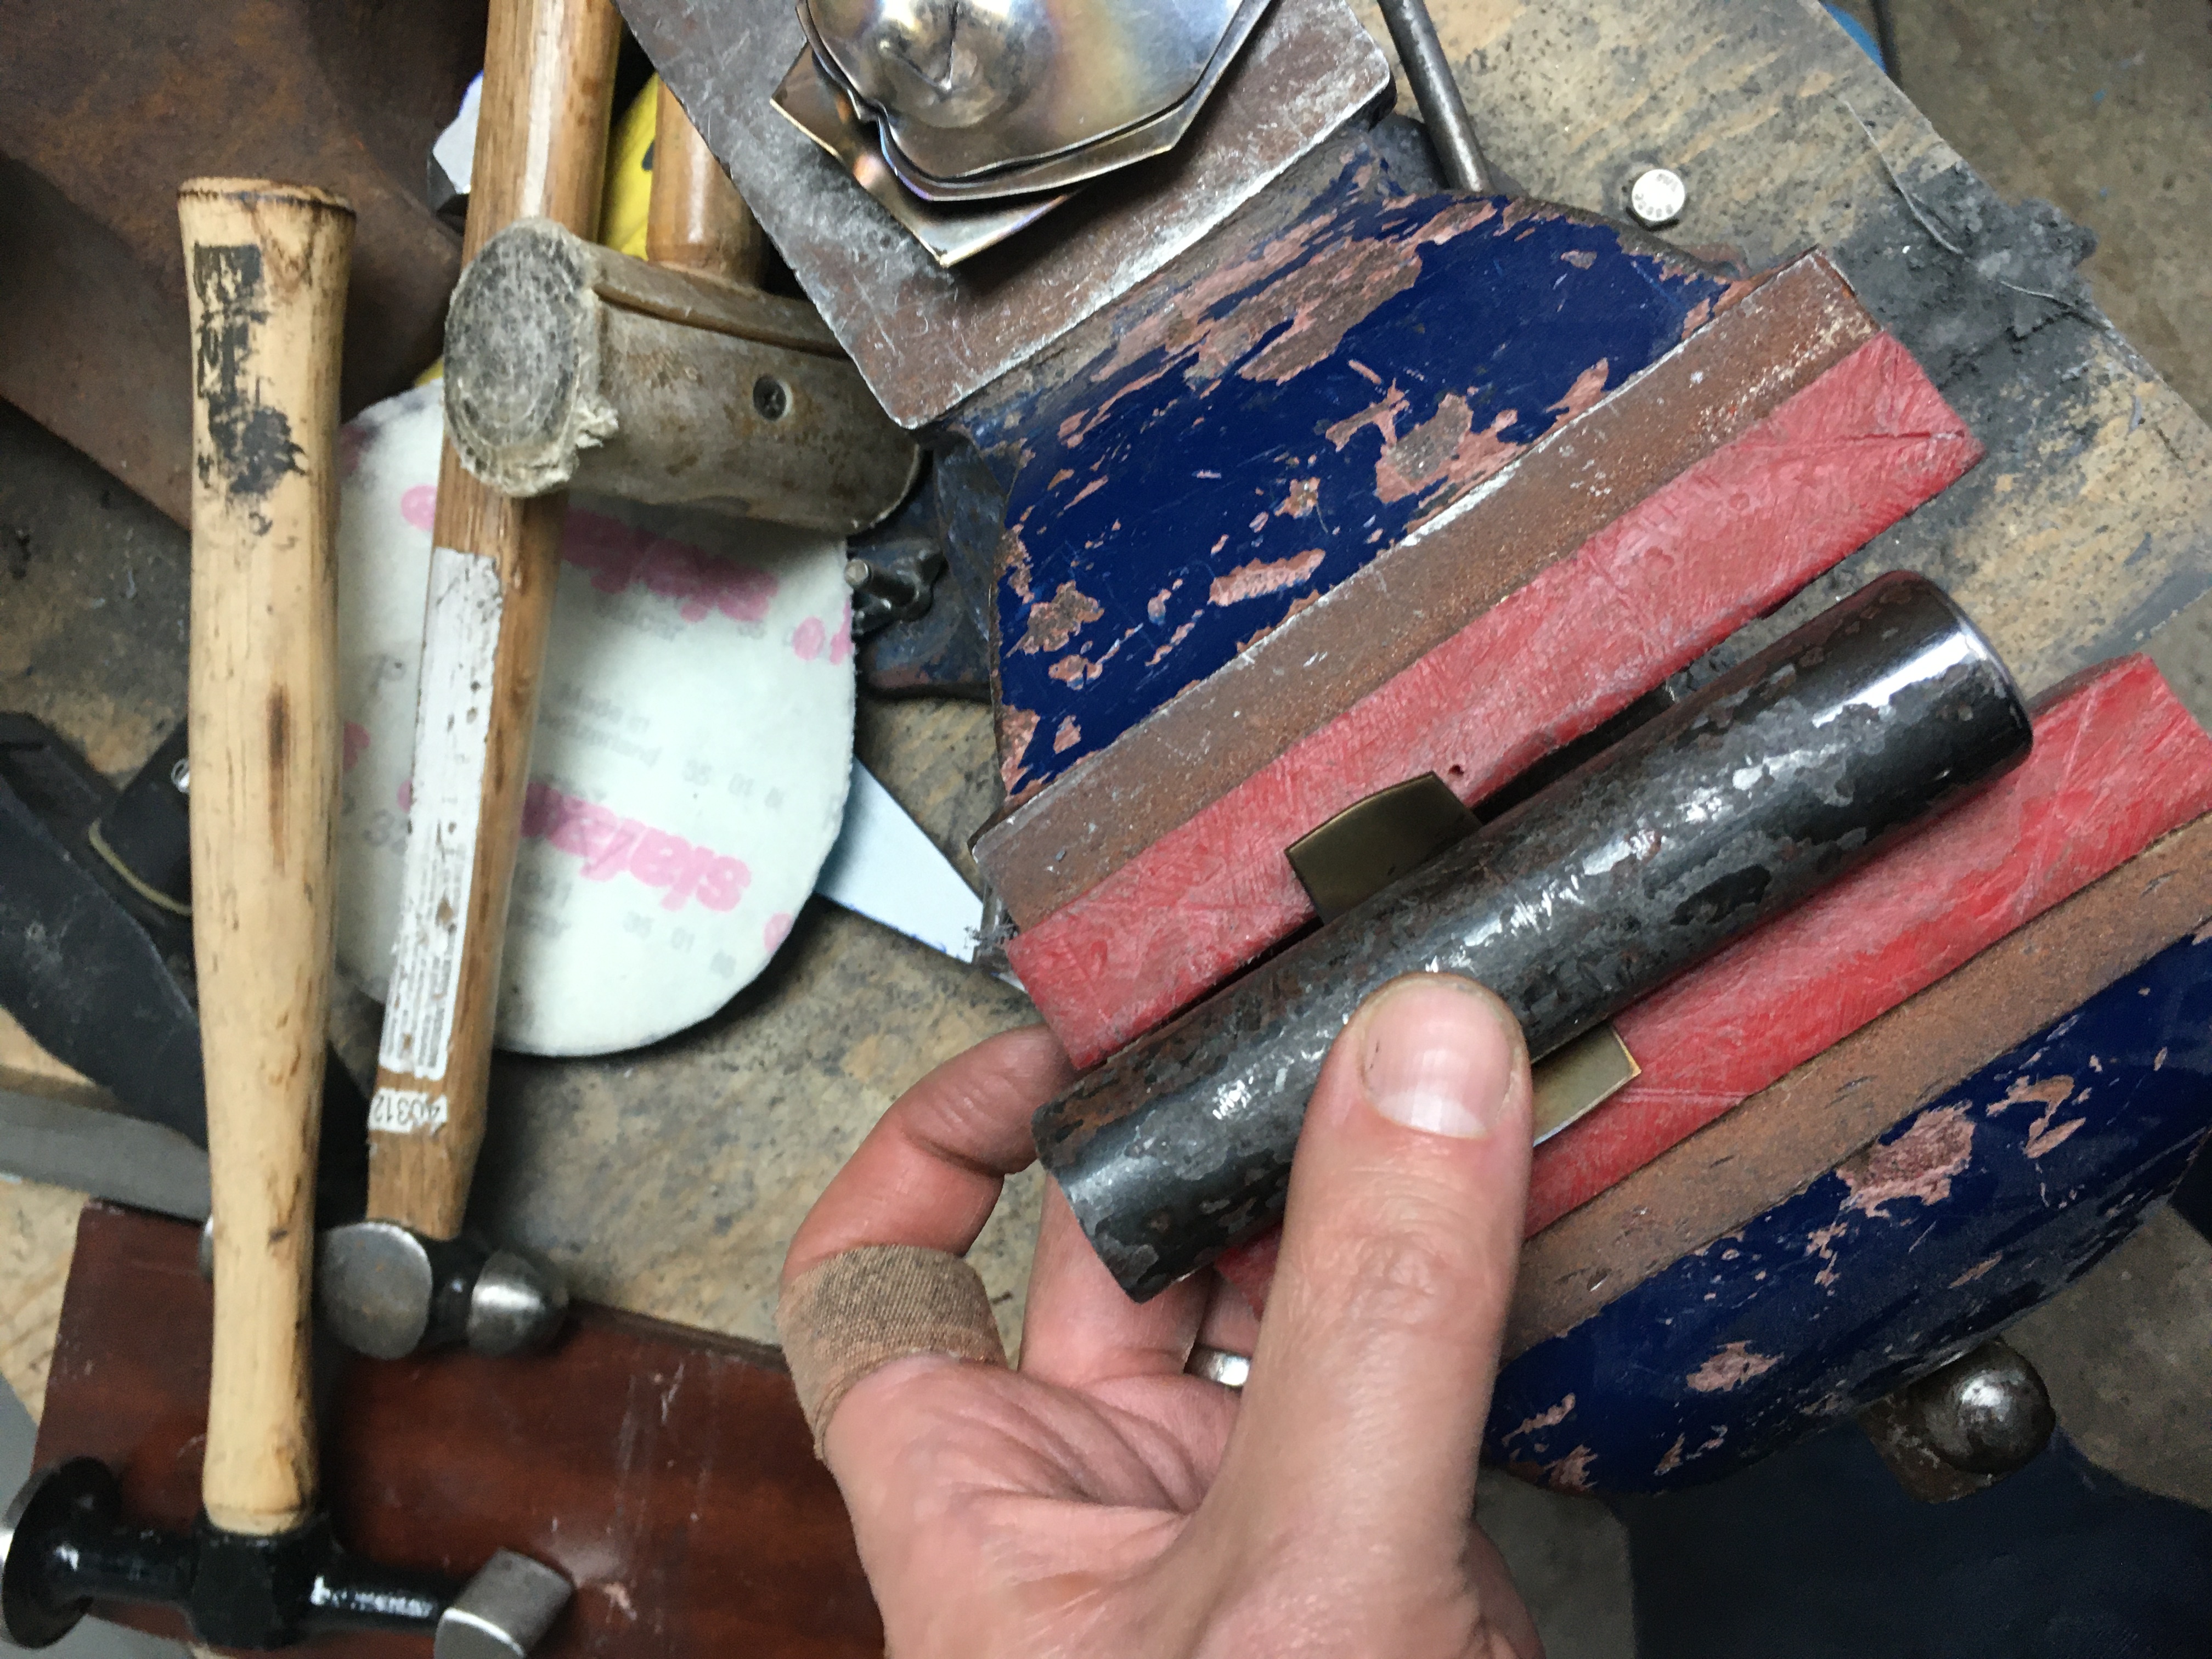
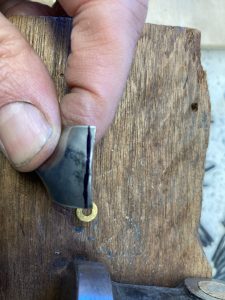
The picture above shows the gadling before my first shaping (hammering into a depression with a 2 pound ball pien hammer). The size of gadling I use for fingers is 3/4″ x 1 1/4″, although the final (trimmed) size is closer to 3/4″ x 1″. Note that the hammer is used as a punch, and is struch by a 10 lb sledge into a depression in the lead block, rather than being used as a hammer.
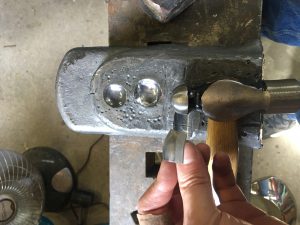

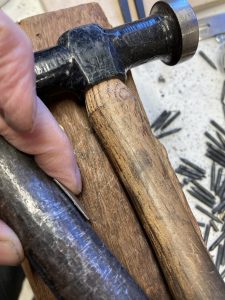
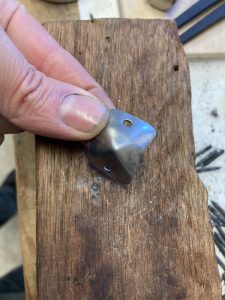
As you can see this does not result in a terribly deep curve, but it “locks” the shape so that the second doming (this tool is a 3/4″ diameter round rod with the end domed) can extend the curvature:

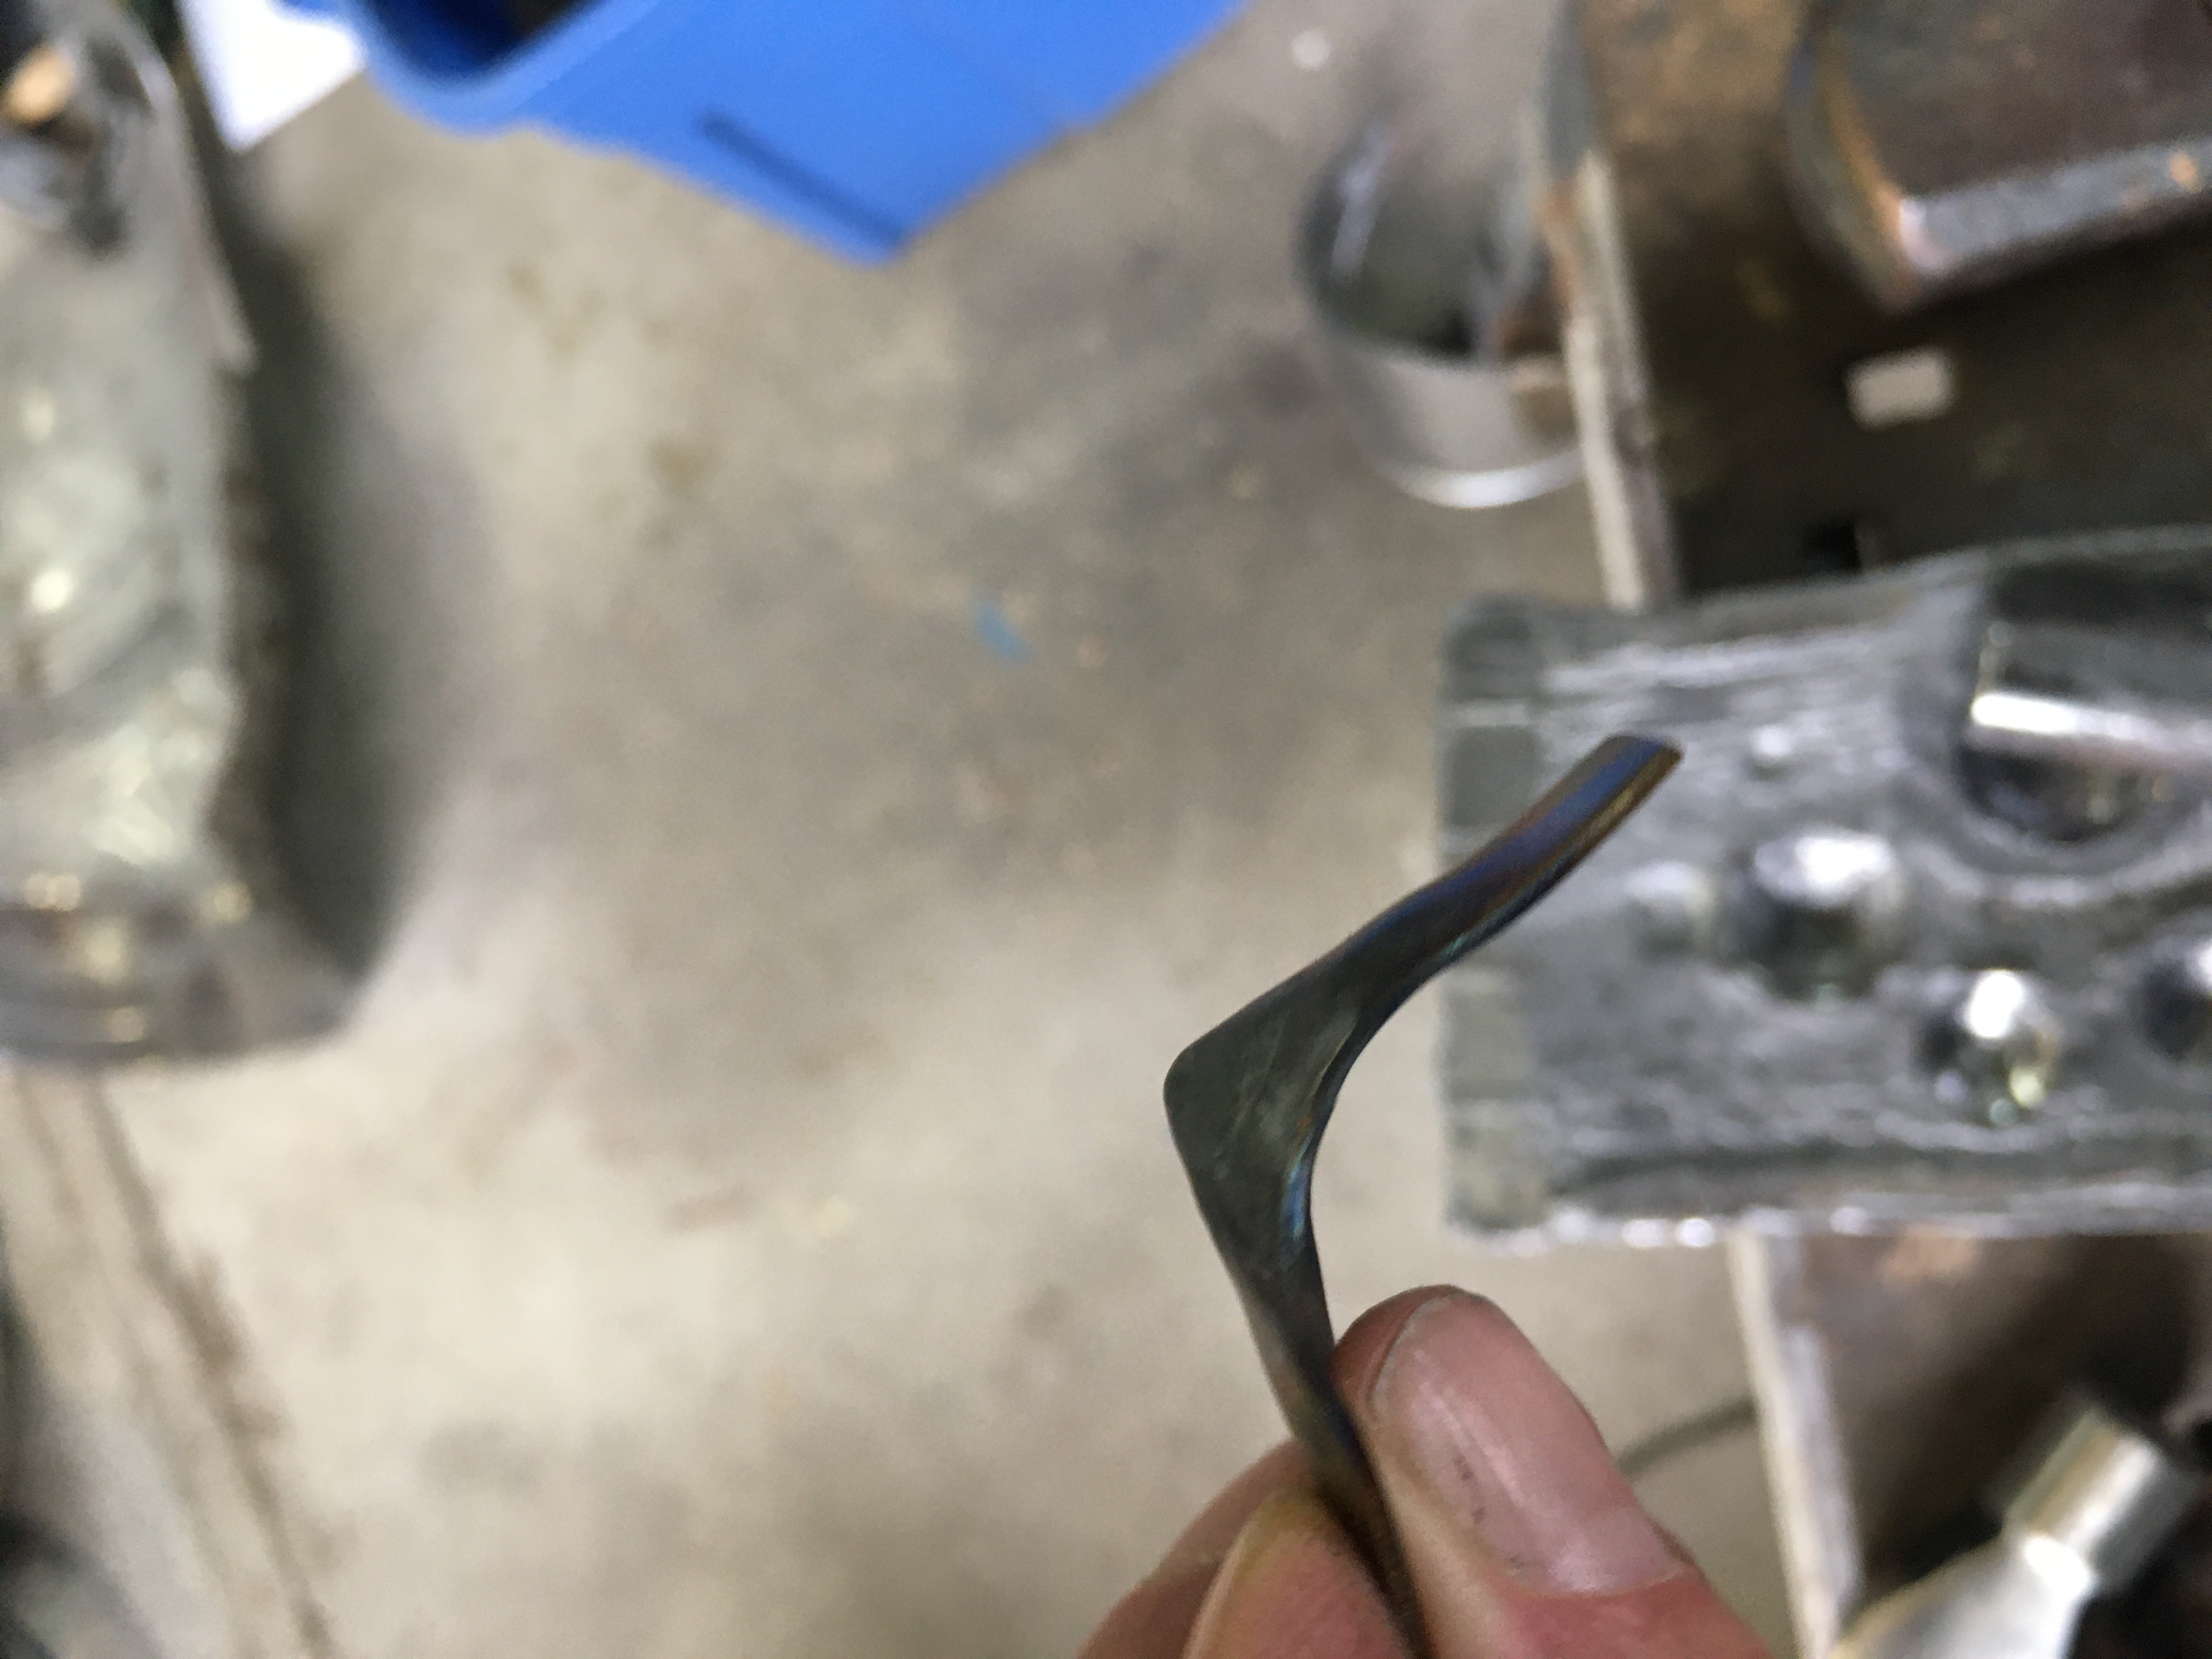
As you can see, this has increased the depth of curvature, and is just enough to allow embossing of the pyramidal shape needed. While I have experimented with additional punches (using a second, 1/2″ diameter dome punch) to extend this depth, this results in additional thinning of the material. Since pretty much any material (carbon or stainless steel) that you would use for gadlings is likely to work harden, some trial and error may be needed to avoid cracking with your specific setup. Depending on my workshop temperature (unheated garage – winter is bad) I will anneal after this step if punching the pyramids causes the metal to crack.
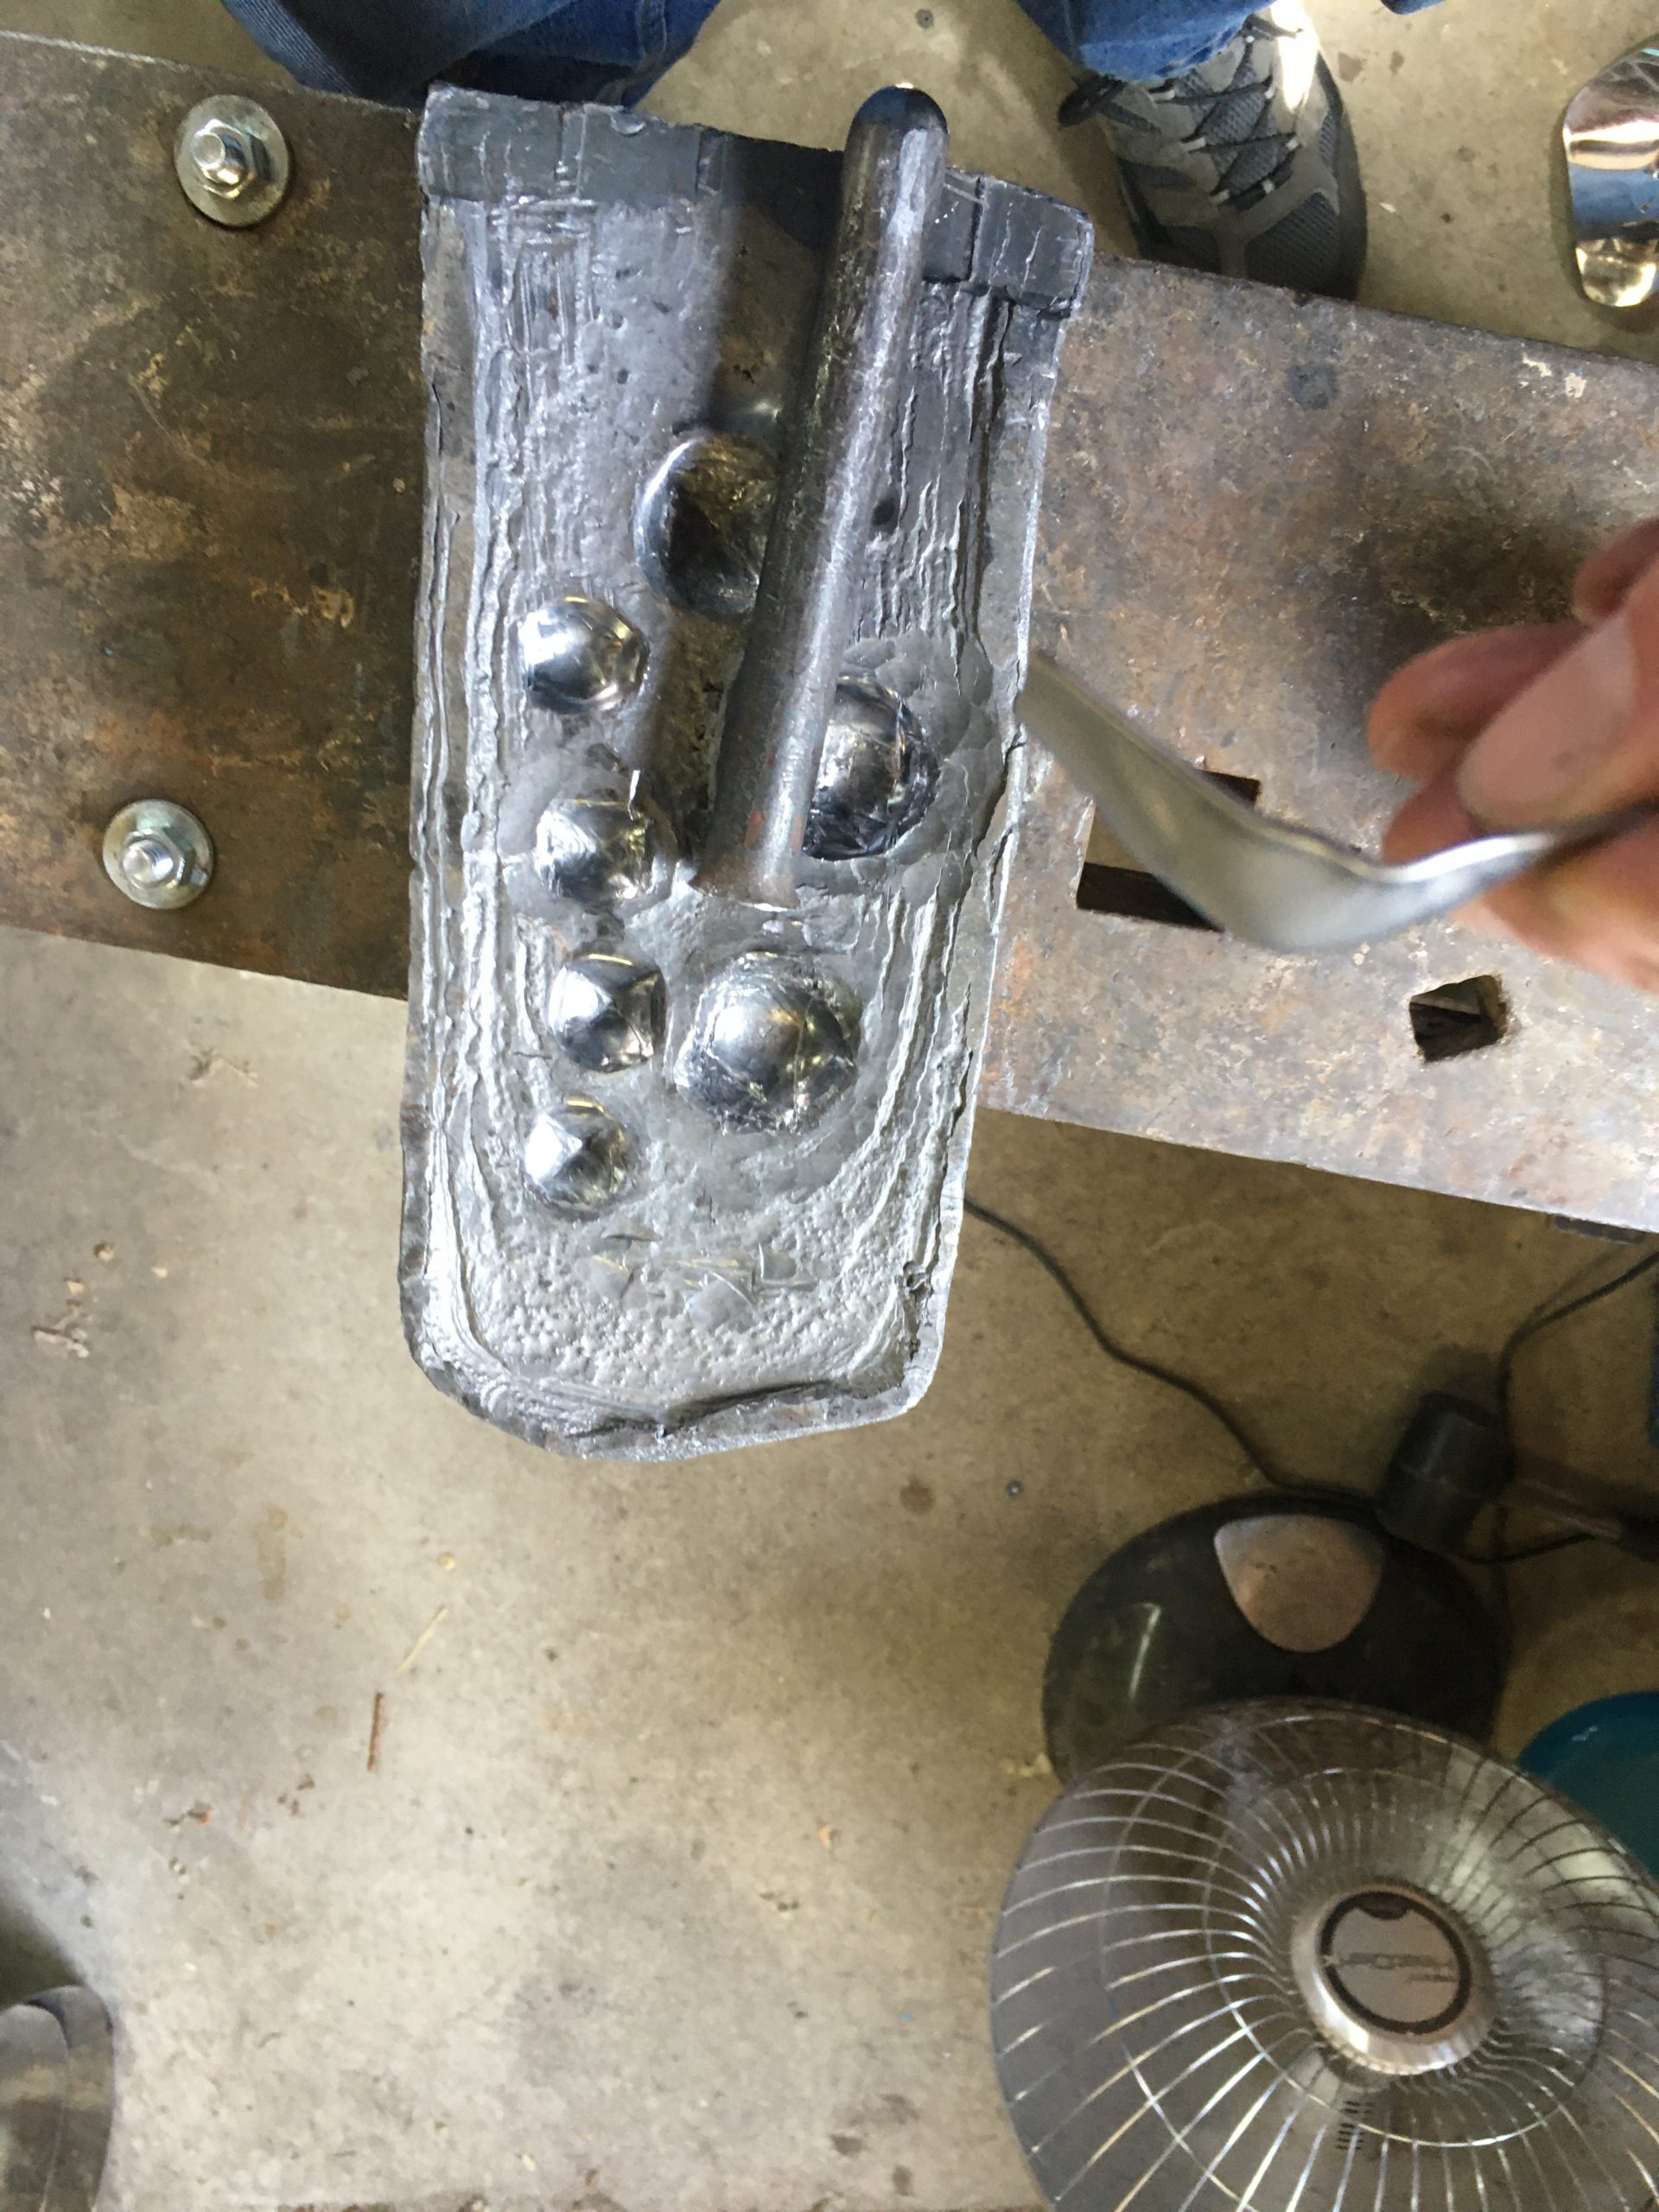
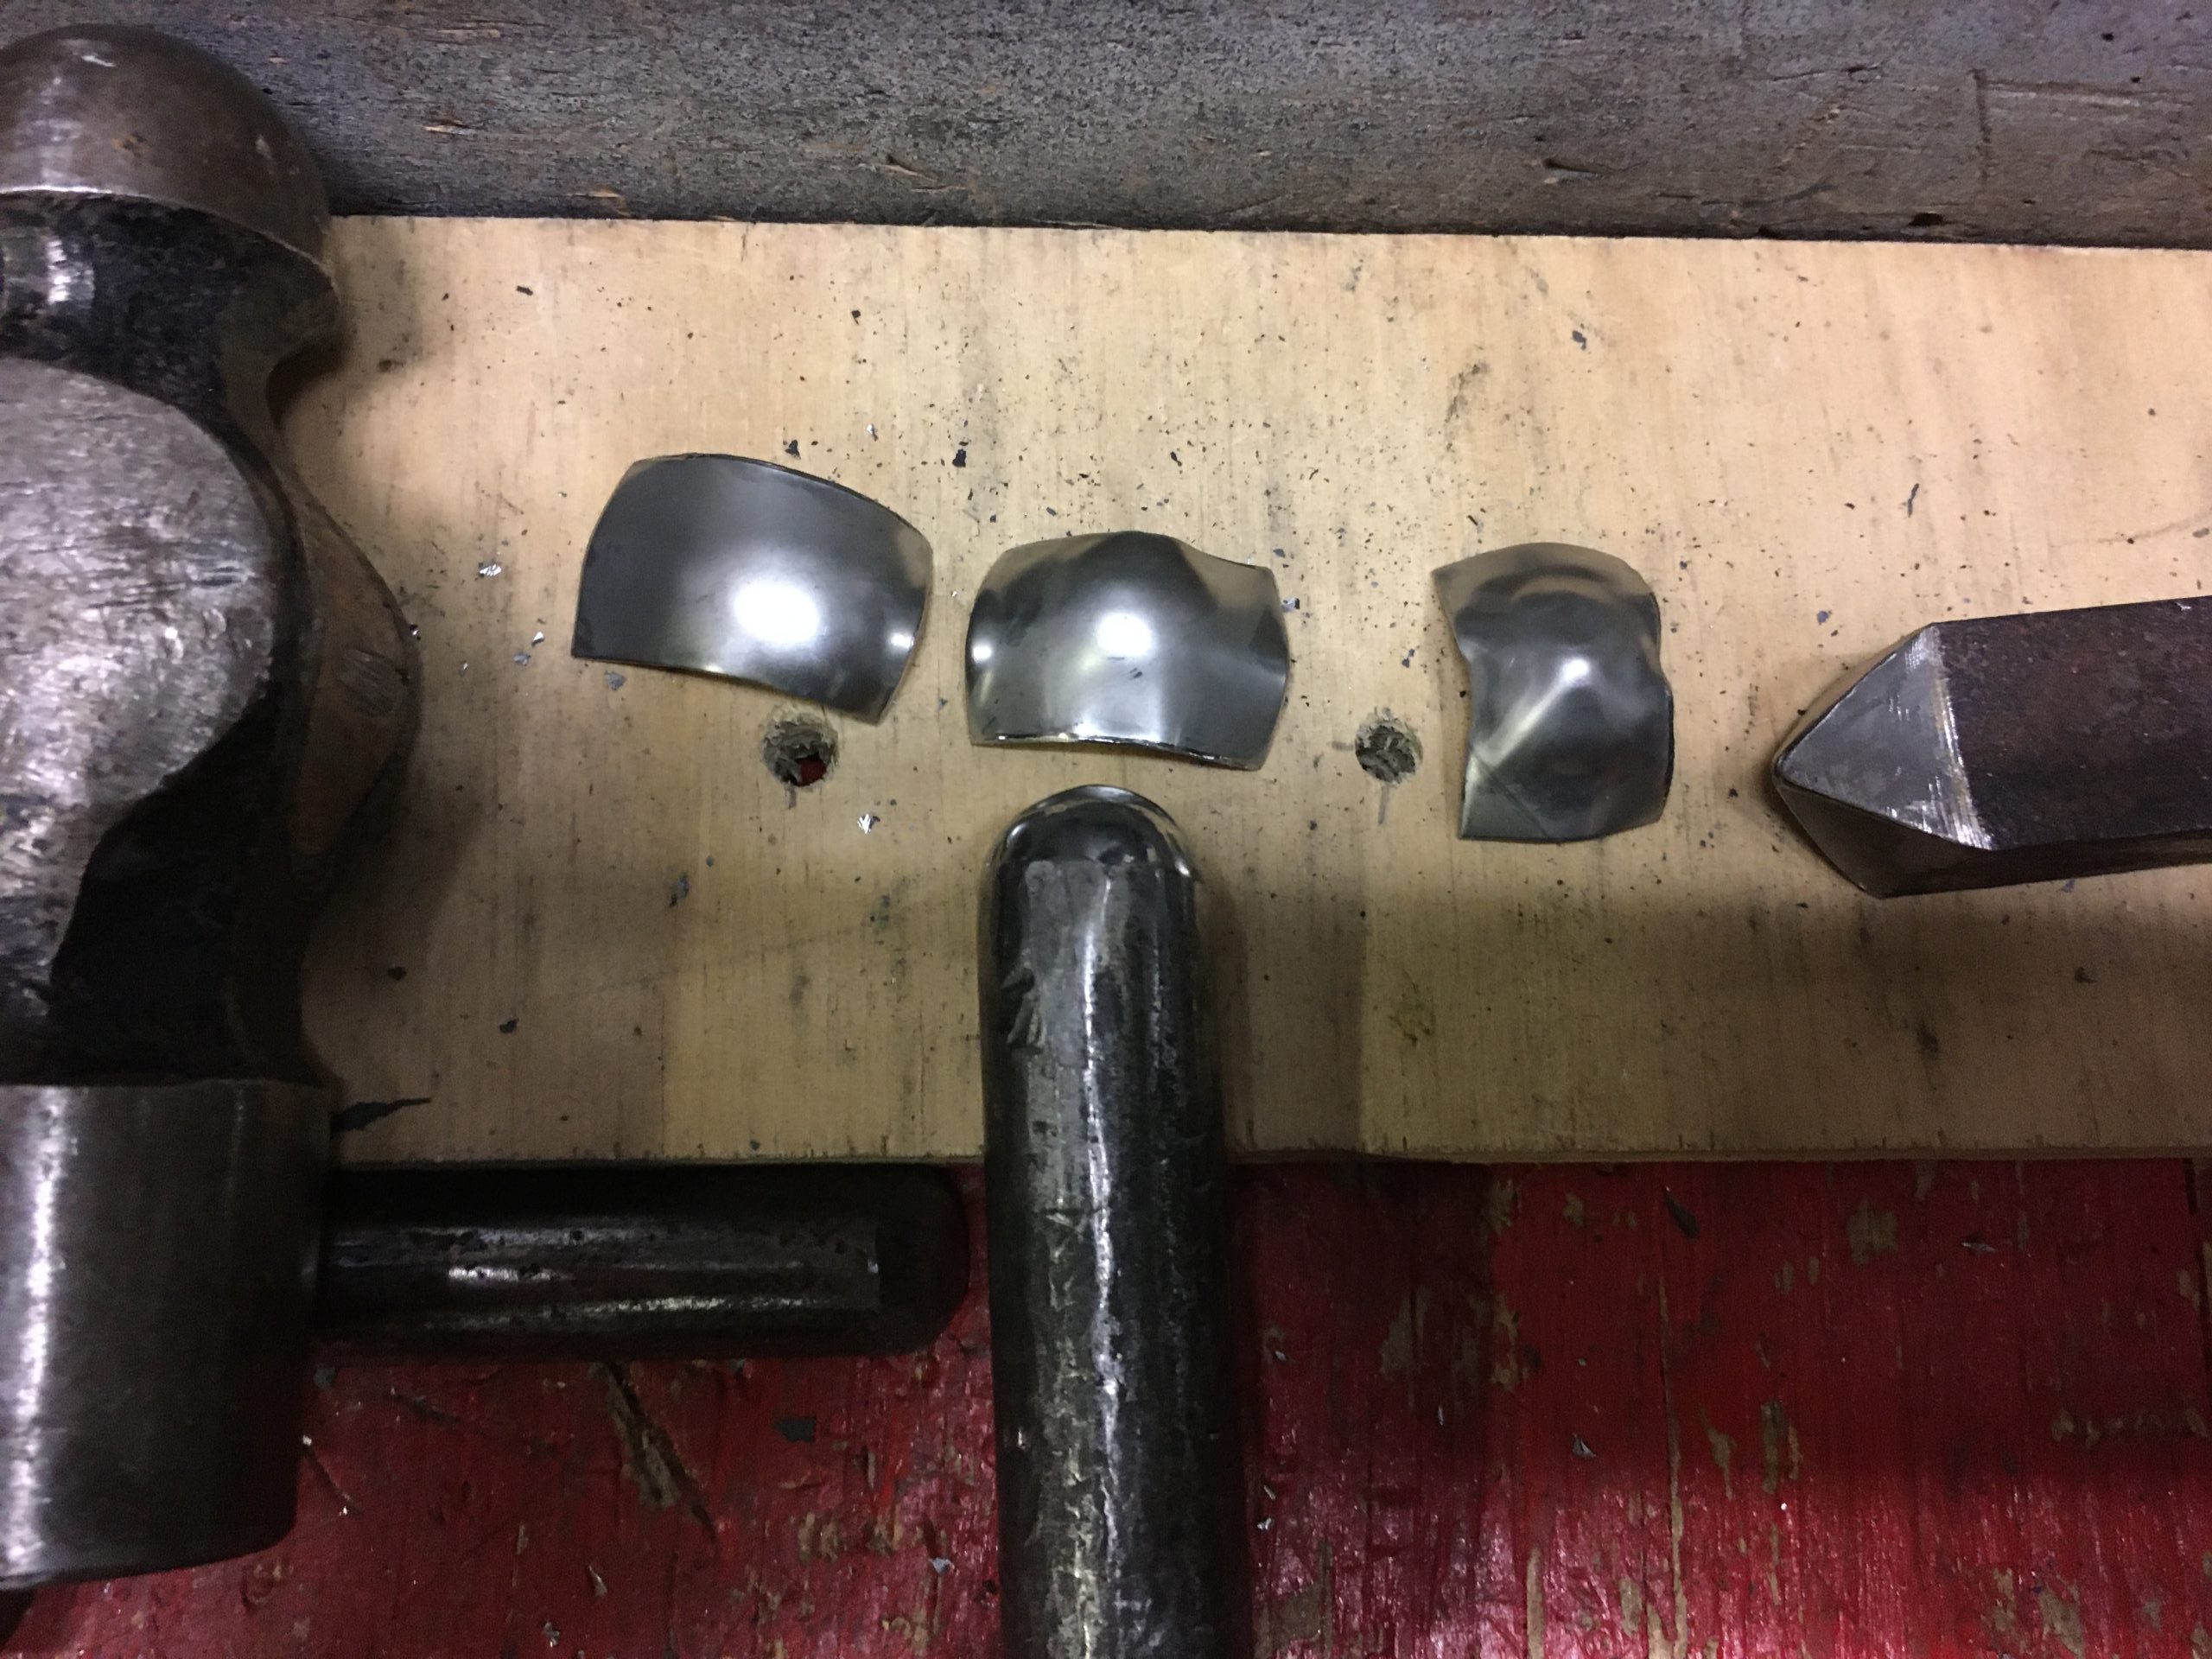
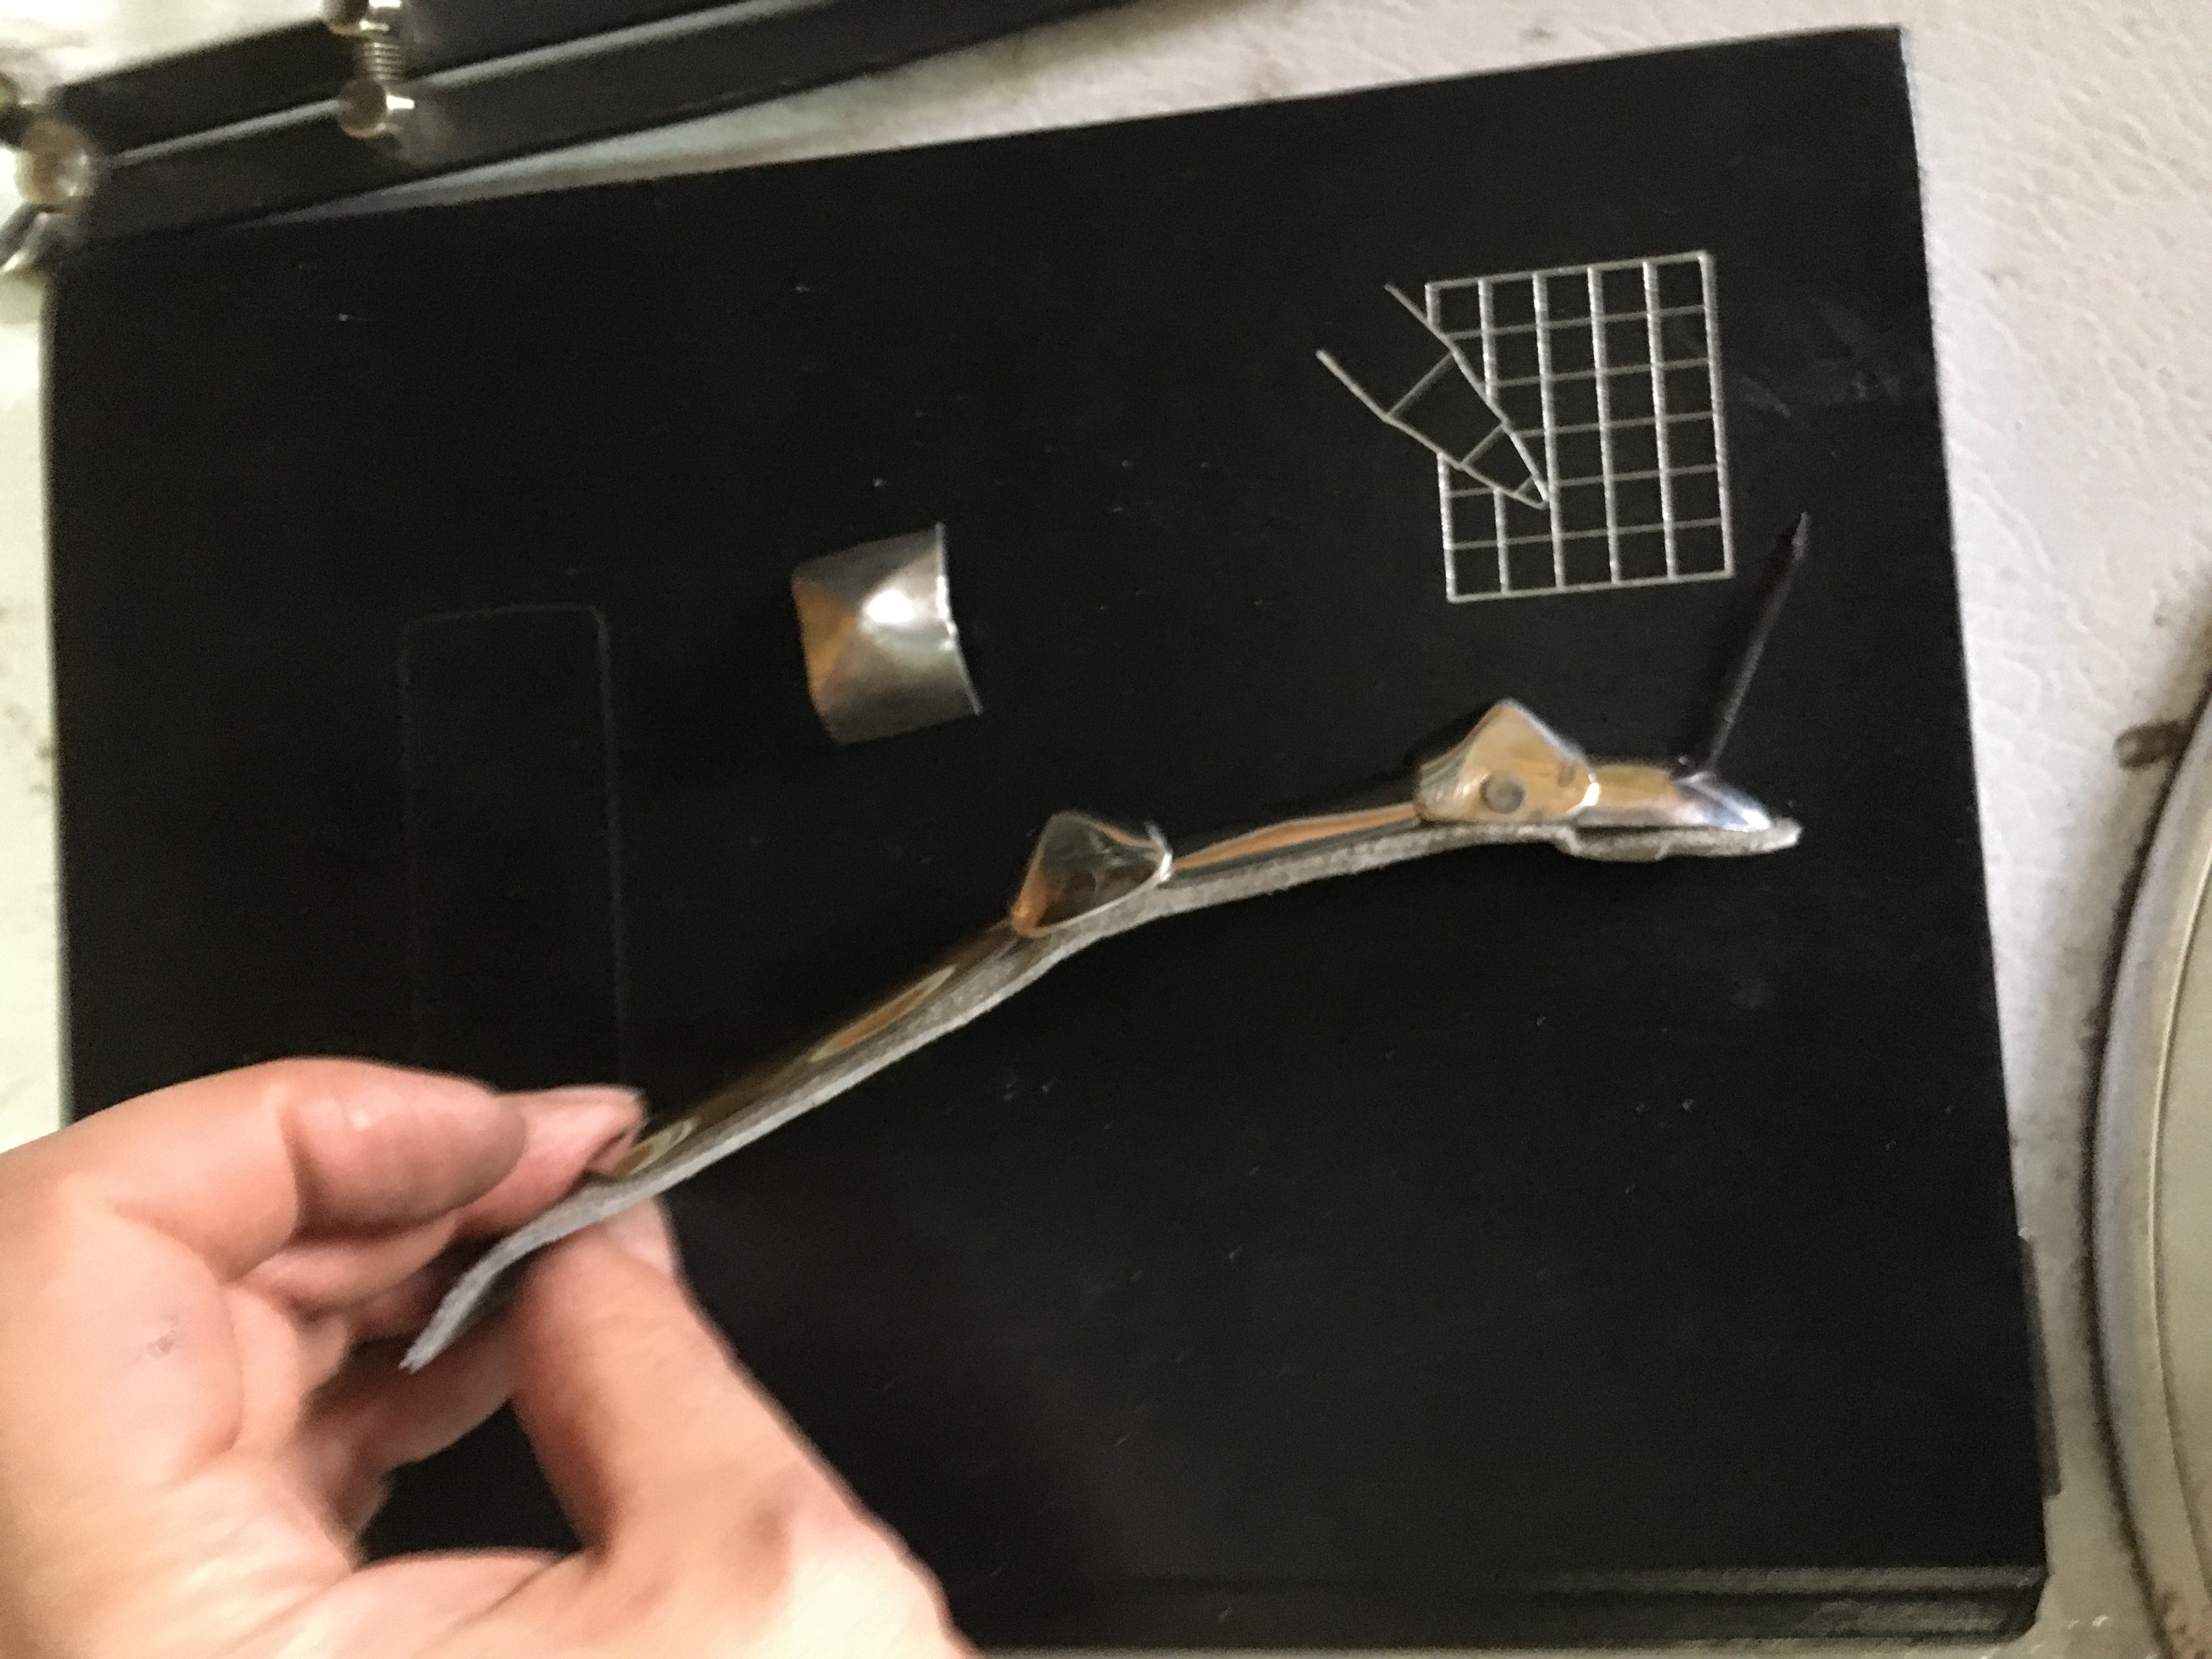
Since this is the majority of the process, it’s probably worth showing the progression of stages – here is a lineup showing the tools and shapes through the three primary forming stages:
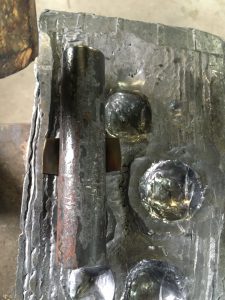
This pyramidal shape is a tad rough at this point, and it took me a while to realize that the easiest way to smooth the inner curve (where the gadling will fit over the finger plates) isn’t to hammer it over a bar, but to put the pyramid point down into a (shallow) socket in a lead block and hammer a 1″ diameter rod into the back. This will force the middle section of the curve to conform without deforming the rest of the shape, and the edges are easier to shape (and get trimmed anyway). If you don’t have a lead block (or don’t have the spare space on it) then you can do the same thing by hammering into a vice – I have one with jaws replaced with plastic for this sort of thing. The advantage to the vice method is that it also cleans up the sides of the gadling.
Once these are cleaned up, they are fairly attractive, and they polish well (in stainless) without needing any abrasive treatment because the lead doesn’t mar the surface. I have used a steel dapping plate, and this required significant cleanup.

(EDIT – Dec 10/2021)
I realized that I should not assume that folks can tidy up the gadlings to the point that they can add them to a gauntlet, so here is the “clean up and finish” section. It’s notable that this is probably half the work, or a bit more for carbon steel gadlings.
Once you have the rough gadlings, you will need to straighten the sides. These pictures below show how “bulgy” these are after rough shaping. This is not a “beautiful” gadling, just the first one that I grabbed from my bin of gadlings to demonstrate the process.

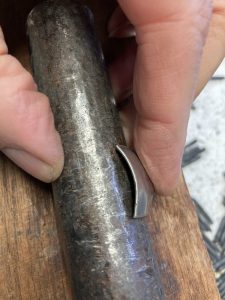
Straightening the sides is easily done by putting the gadling back on the steel bar and hammering the sides flush, as can be seen in the pictures below.
Once the sides are straight, they will need to be trimmed – the pattern (7/8″ x 1 1/4″) is designed to have roughly 1/16″ trimmed off each side, and you will notice that the corners protrude slightly because material has been drawn into the middle to form the deep pyramid shape – trimming will tidy that up as well.
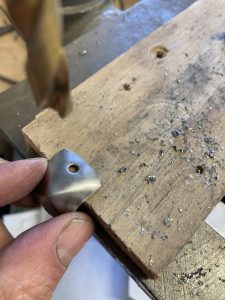
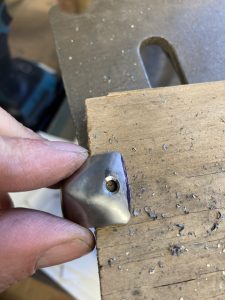
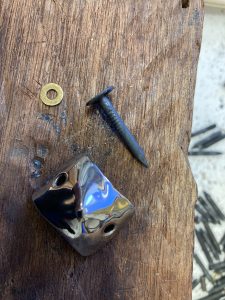
Once trimmed, we need to punch the mounting holes: I centerpunch the hole 7/32″ in from the edge in the middle of the plate. 9/64″ is my preferred hole diameter, and I have a Roper-Whitney punch and die set specifically for this, since a standard roofing nail is just a bit larger than 1/8″, and 5/32″ tends to be a bit “sloppy” for the fit. You can use 5/32″, or punch at 1/8″ and ream out using a drill. I will then use a larger diameter drill bit to cut partway through the plate creating a countersunk recess. The countersink needs to be between 1/32″ and 1/16″, so I have included a picture of the gadling once it is countersunk below. If you are using stainless steel, you can then simply polish the gadling. If you are using carbon steel (strongly recommended for strength, even if you use thinner plates) then you will heat treat once the holes are countersunk. Once heat treated I use 320 grit to remove firescale, 600 grit to remove the sanding marks and go to a near polish, and then polish with white Tripoli as I would with the stainless gadling.
It is probably worth noting that I am now consistently using 22 ga carbon steel for gadlings and finger plates, since these are more than sufficiently robust. We put an insufficiently pretty (but heat treated) carbon steel gadling on my anvil and struck it with a 4 pound (2 kg) hammer. It scuffed the surface of the anvil and “pinged’ across the shop, and when inspected showed no visible damage. At this thickness a carbon steel gauntlet with a full cuff wrap, and the point of the cuff extending almost to the elbow weighs in at a hair under 600g (under 1.5 lbs) which is significantly lighter (less than half the weight) than many “sport gauntlets” I have seen based on an hourglass cuff, which cover to just past the wrist joint.
1 thought on “Making Gauntlet Gadlings”