Medieval gauntlet fingertips were often much less shaped than we expect, and many gothic gauntlets did not even have fingertips – check out this one from Wade Allen’s collection, noting these have no actual fingertips, and also do not have any coverage for the second finger joints.
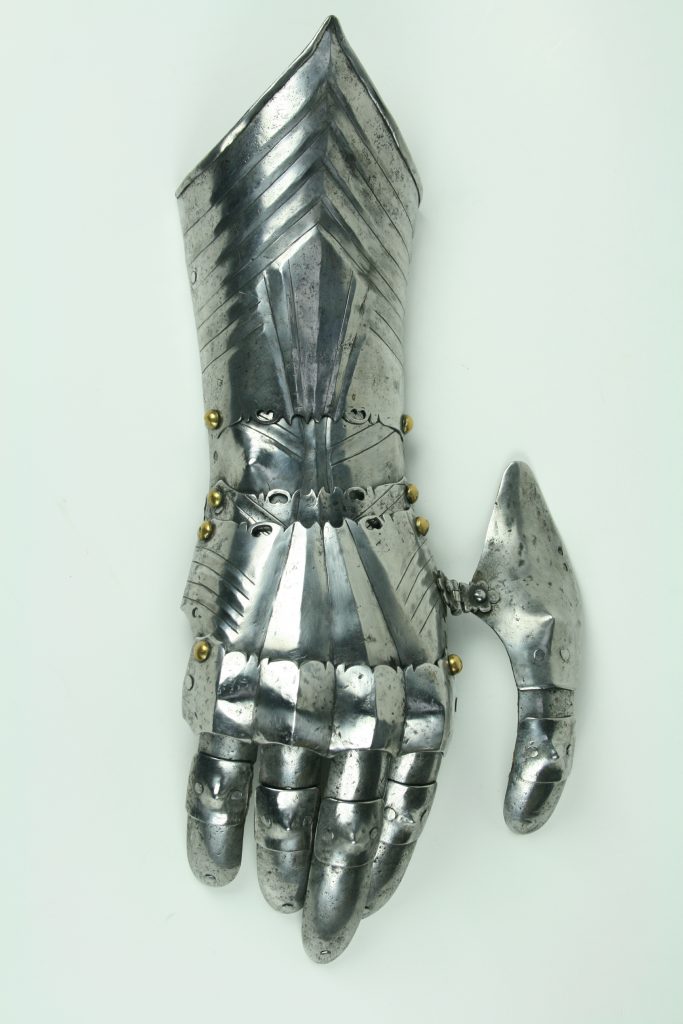
While the ends appear to be domed, other photos from the side (click the gauntlet above to go to the page for the gauntlet) show that these are almost flat. Some gauntlets have considerably more shape to the fingertips, and many of these have chased and embossed fingernails. Since I am making gauntlets which are often used in combat, having protective fingertips is a definite advantage. This post details how I make finger (and thumb) tips. The major difference is that thumb tips use a larger plate, and slightly different tooling. My default finger tip plate used to be 1 1/2″ x 2″ which is now the size that I use for thumbtips, and are currently 1 1/4″ x 1 1/2″. The difference in size is important, since these are ground to shape once they are formed, and minimizing the amount of “extra” grinding saves a lot of time.
Thumbtips
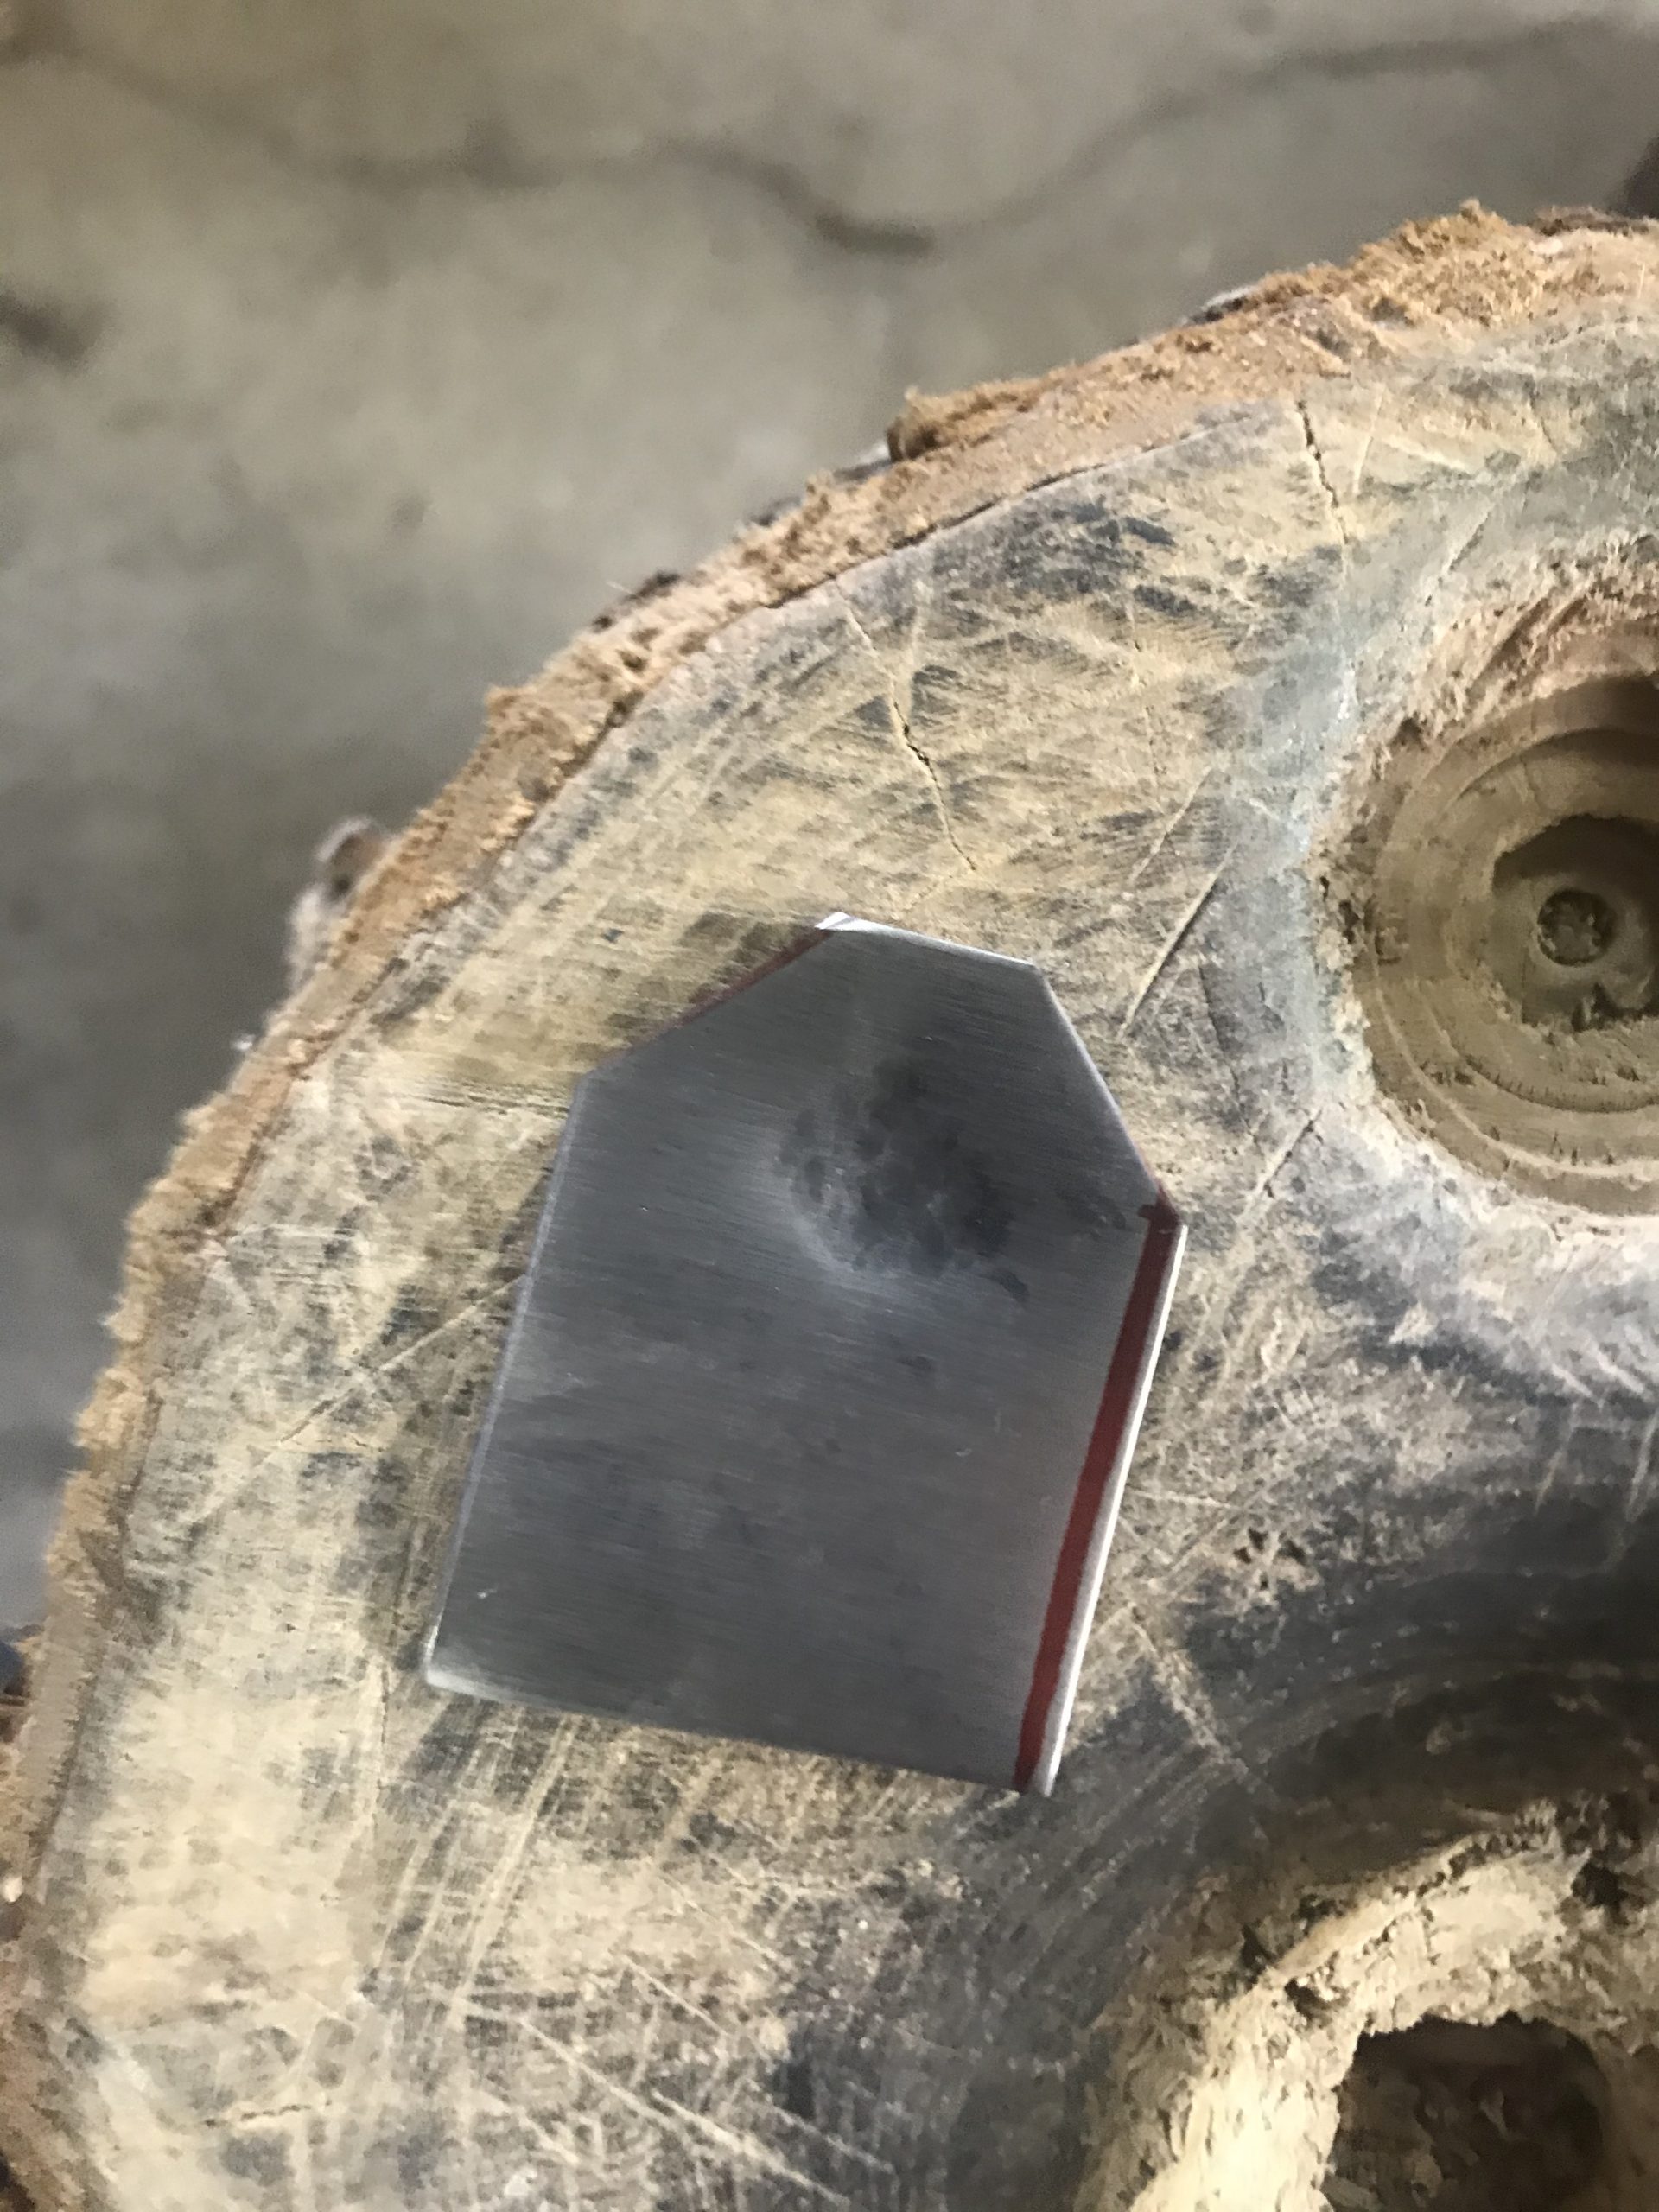
I will start by cutting the rough pattern, which is a 1 1/2″ (40mm) x 2″ (50mm) plate and trimming the edges at 45 degrees.

I used to do a nice radius, but since I grind these down, it really just resulted in more material I ground away. Once trimmed I will lightly hammer the middle of the tip onto a wood block, just enough that my hammer will “set” nicely. This extra minute of work saved me a lot of time having my hammer slip on the flat steel when I went to hammer it into a lead block, which is my second step.


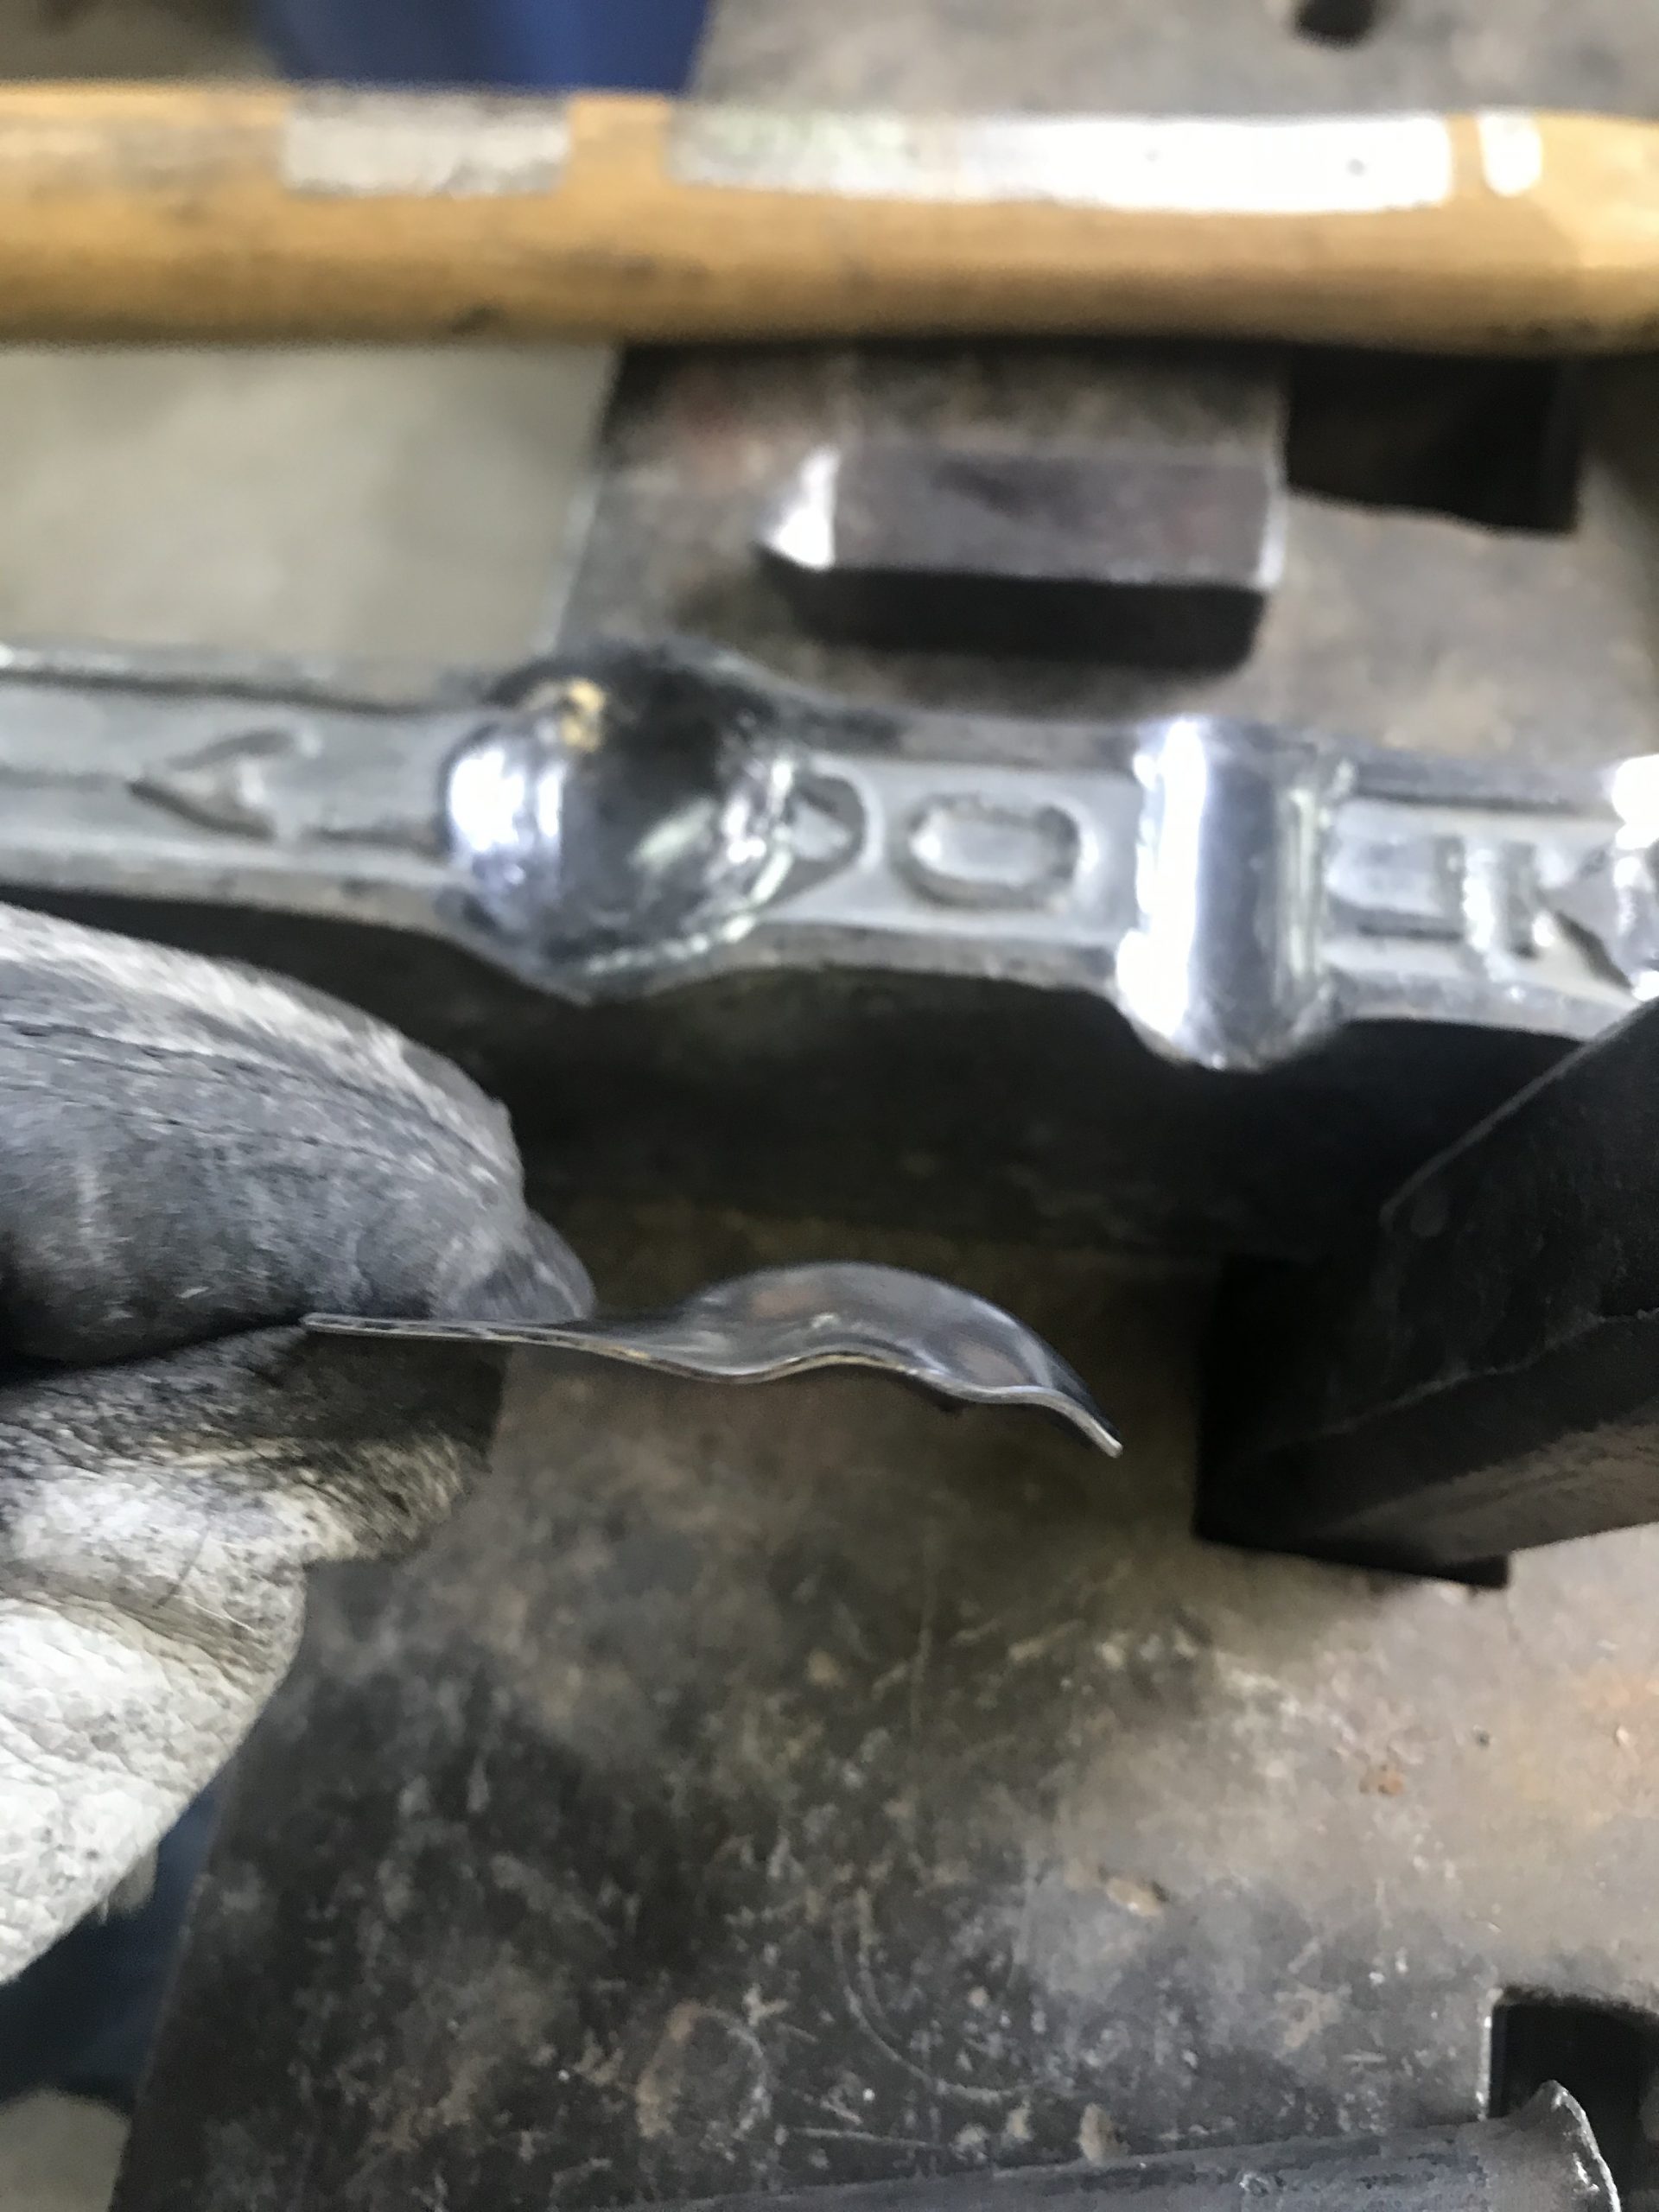
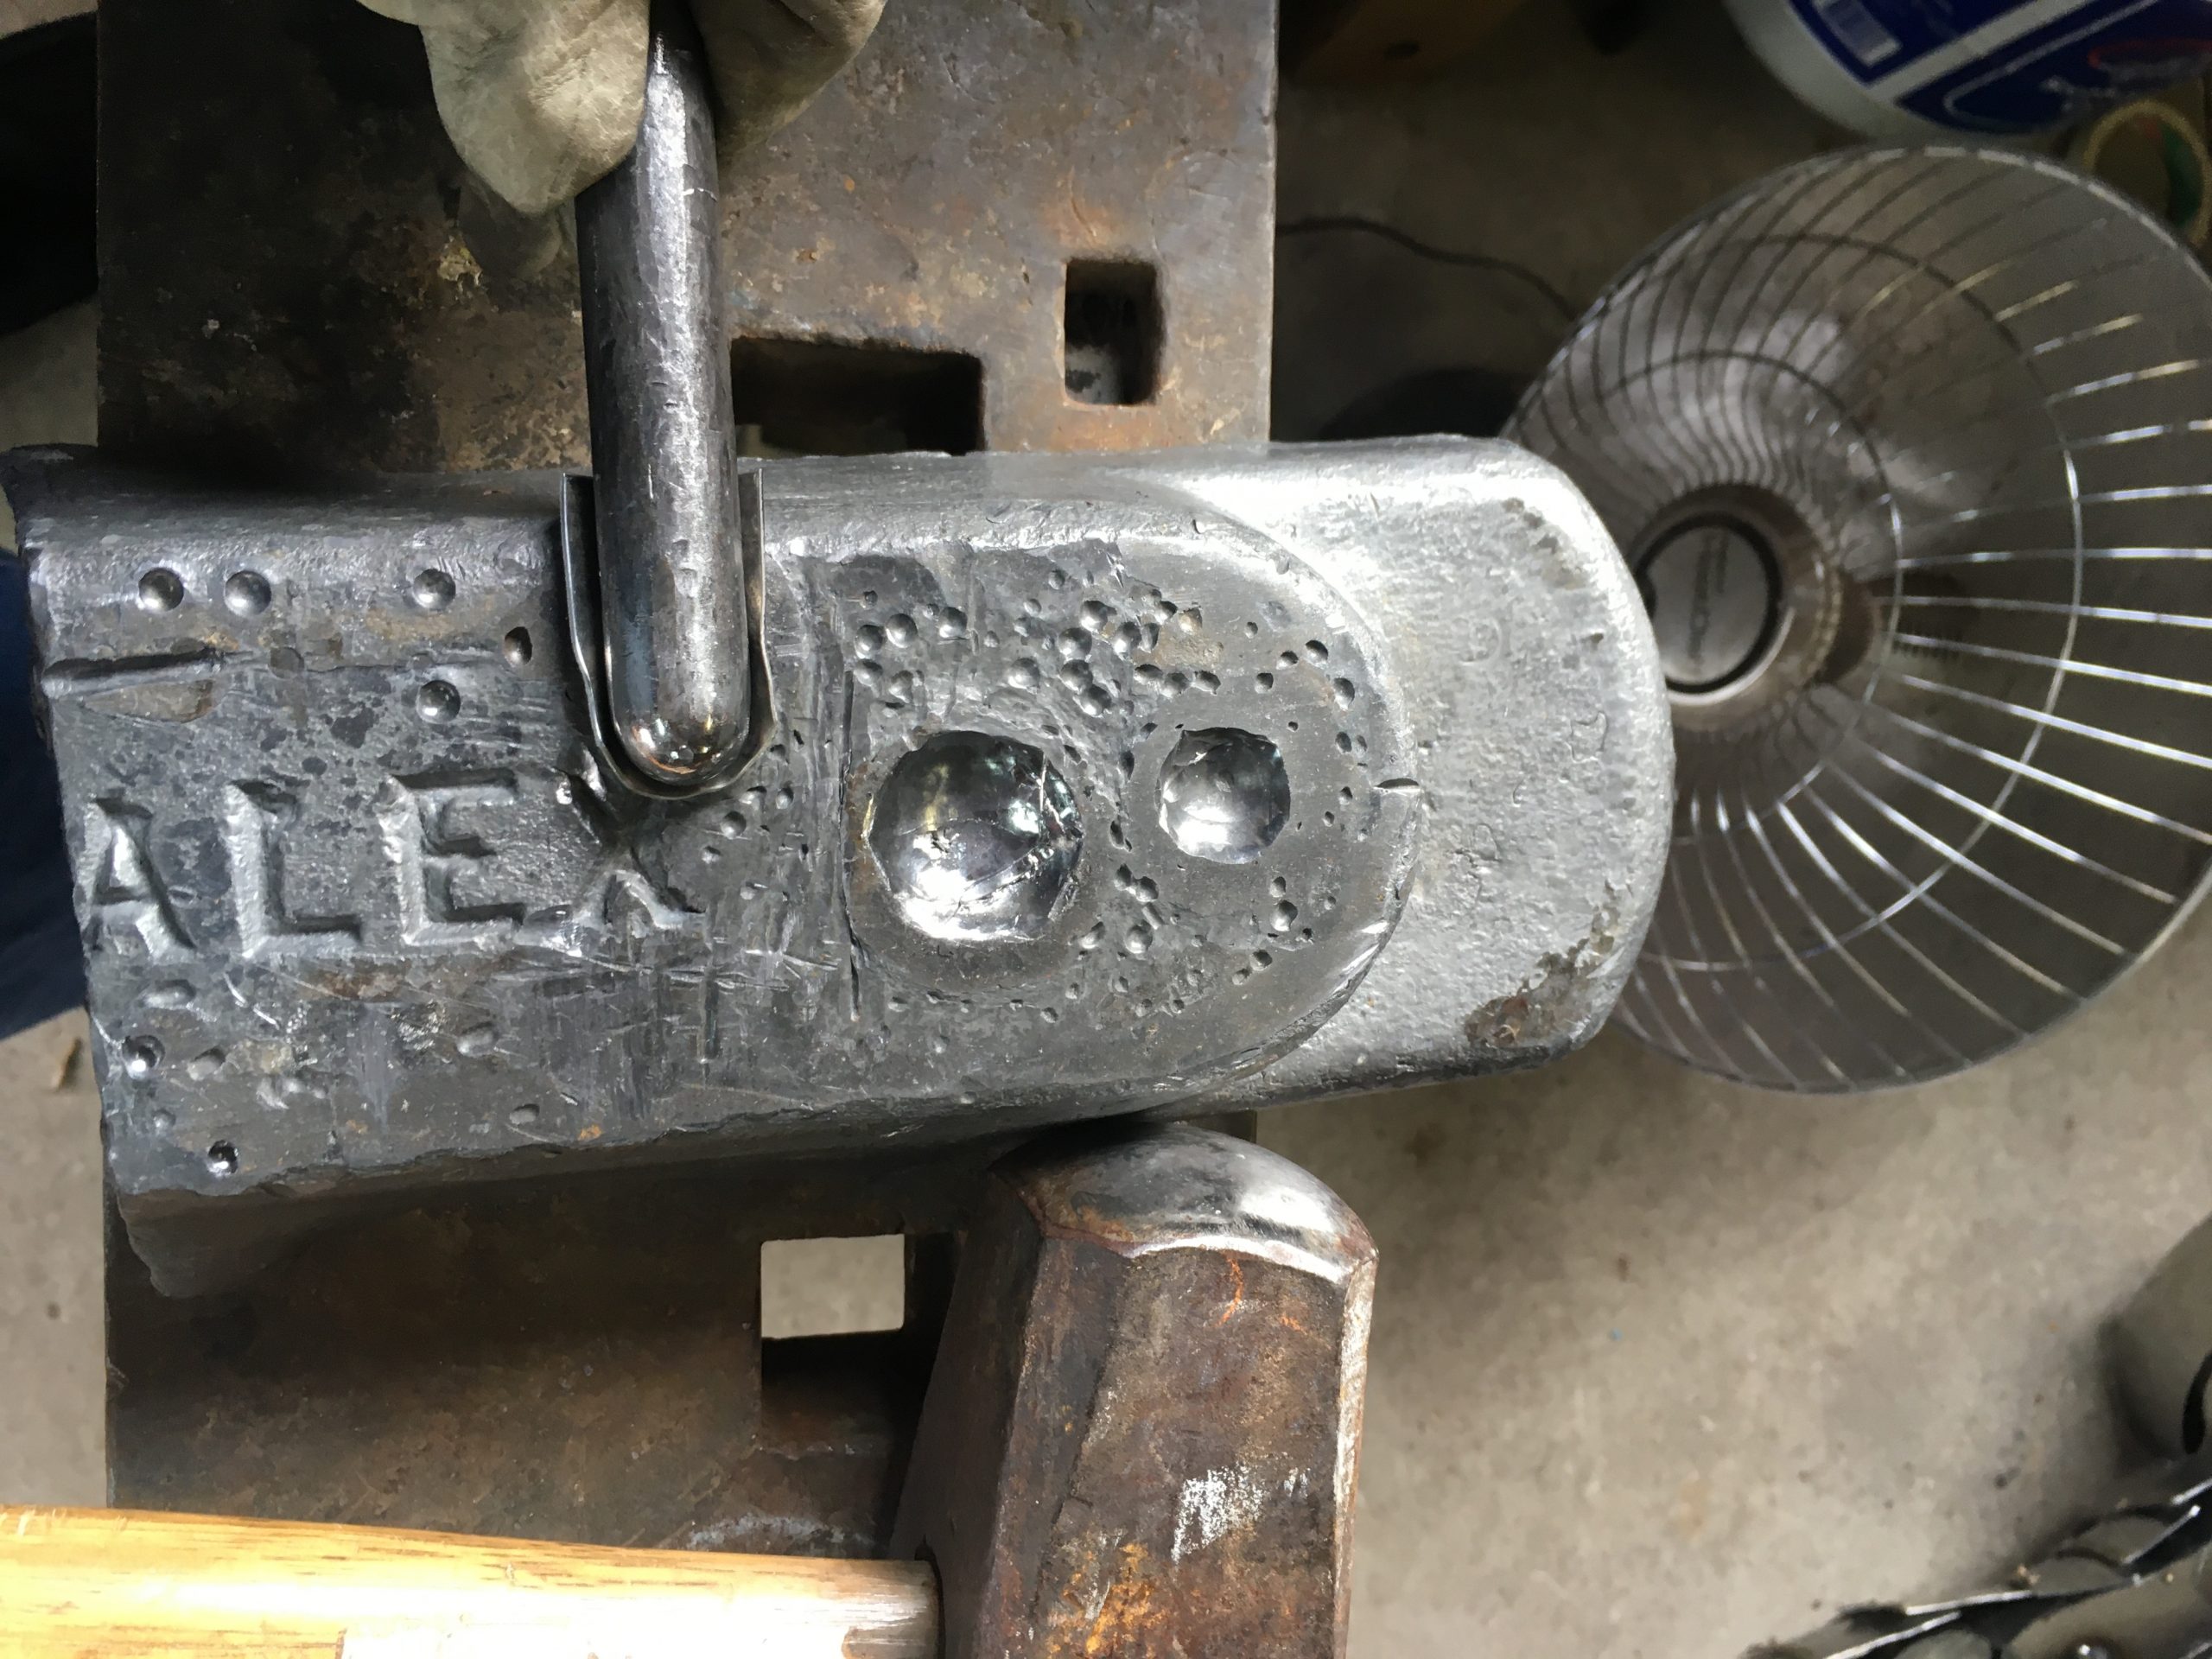
I use a 24 oz ball pien hammer as my striking tool, and generally strike it twice, flipping it 180 degrees between the two strikes. As you can see from the side view this puts a fairly deep curve into the plate, and it currently looks nothing like a thumbtip. this “bubble” is largely worked out in the next forming exercise, but you will note that it does not completely disappear until the late stage planishing stage. The next stage places the thubm “blank” into a vice where the jaws have been replaced with non-marring jaws (I used UHMW polyethylene to replace the steel jaws, which has served for more than 10 years of moderate abuse)
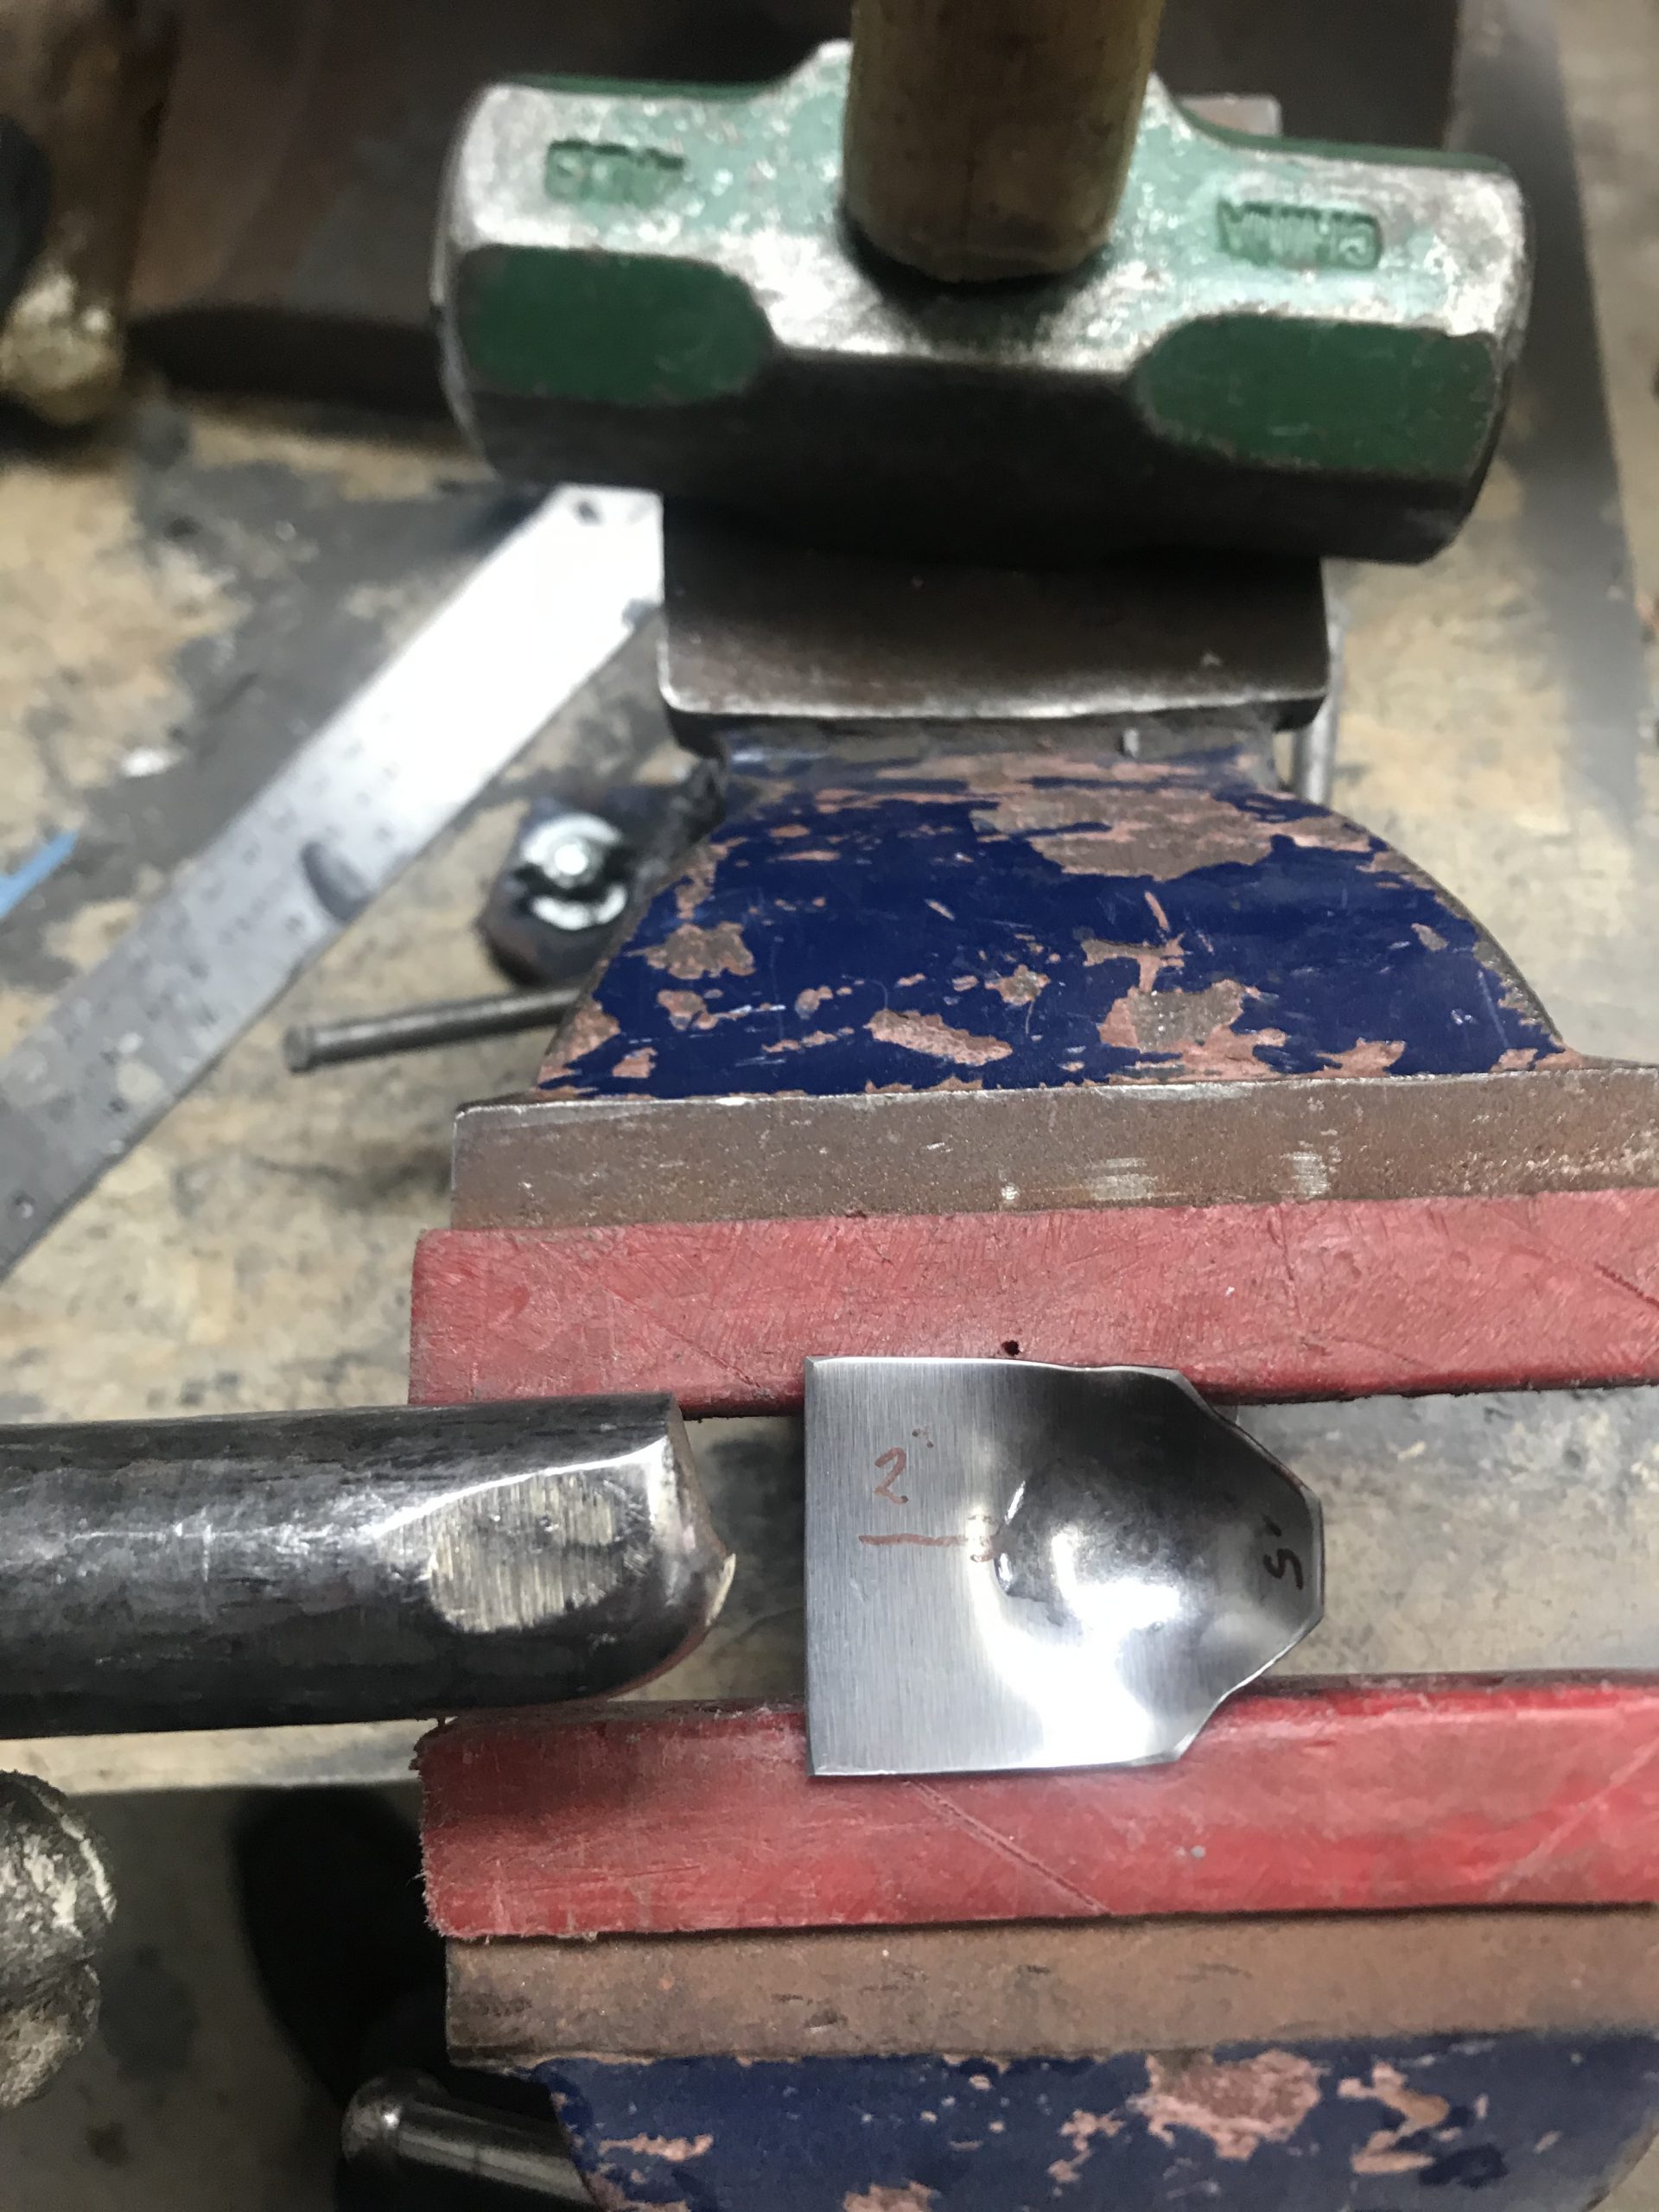
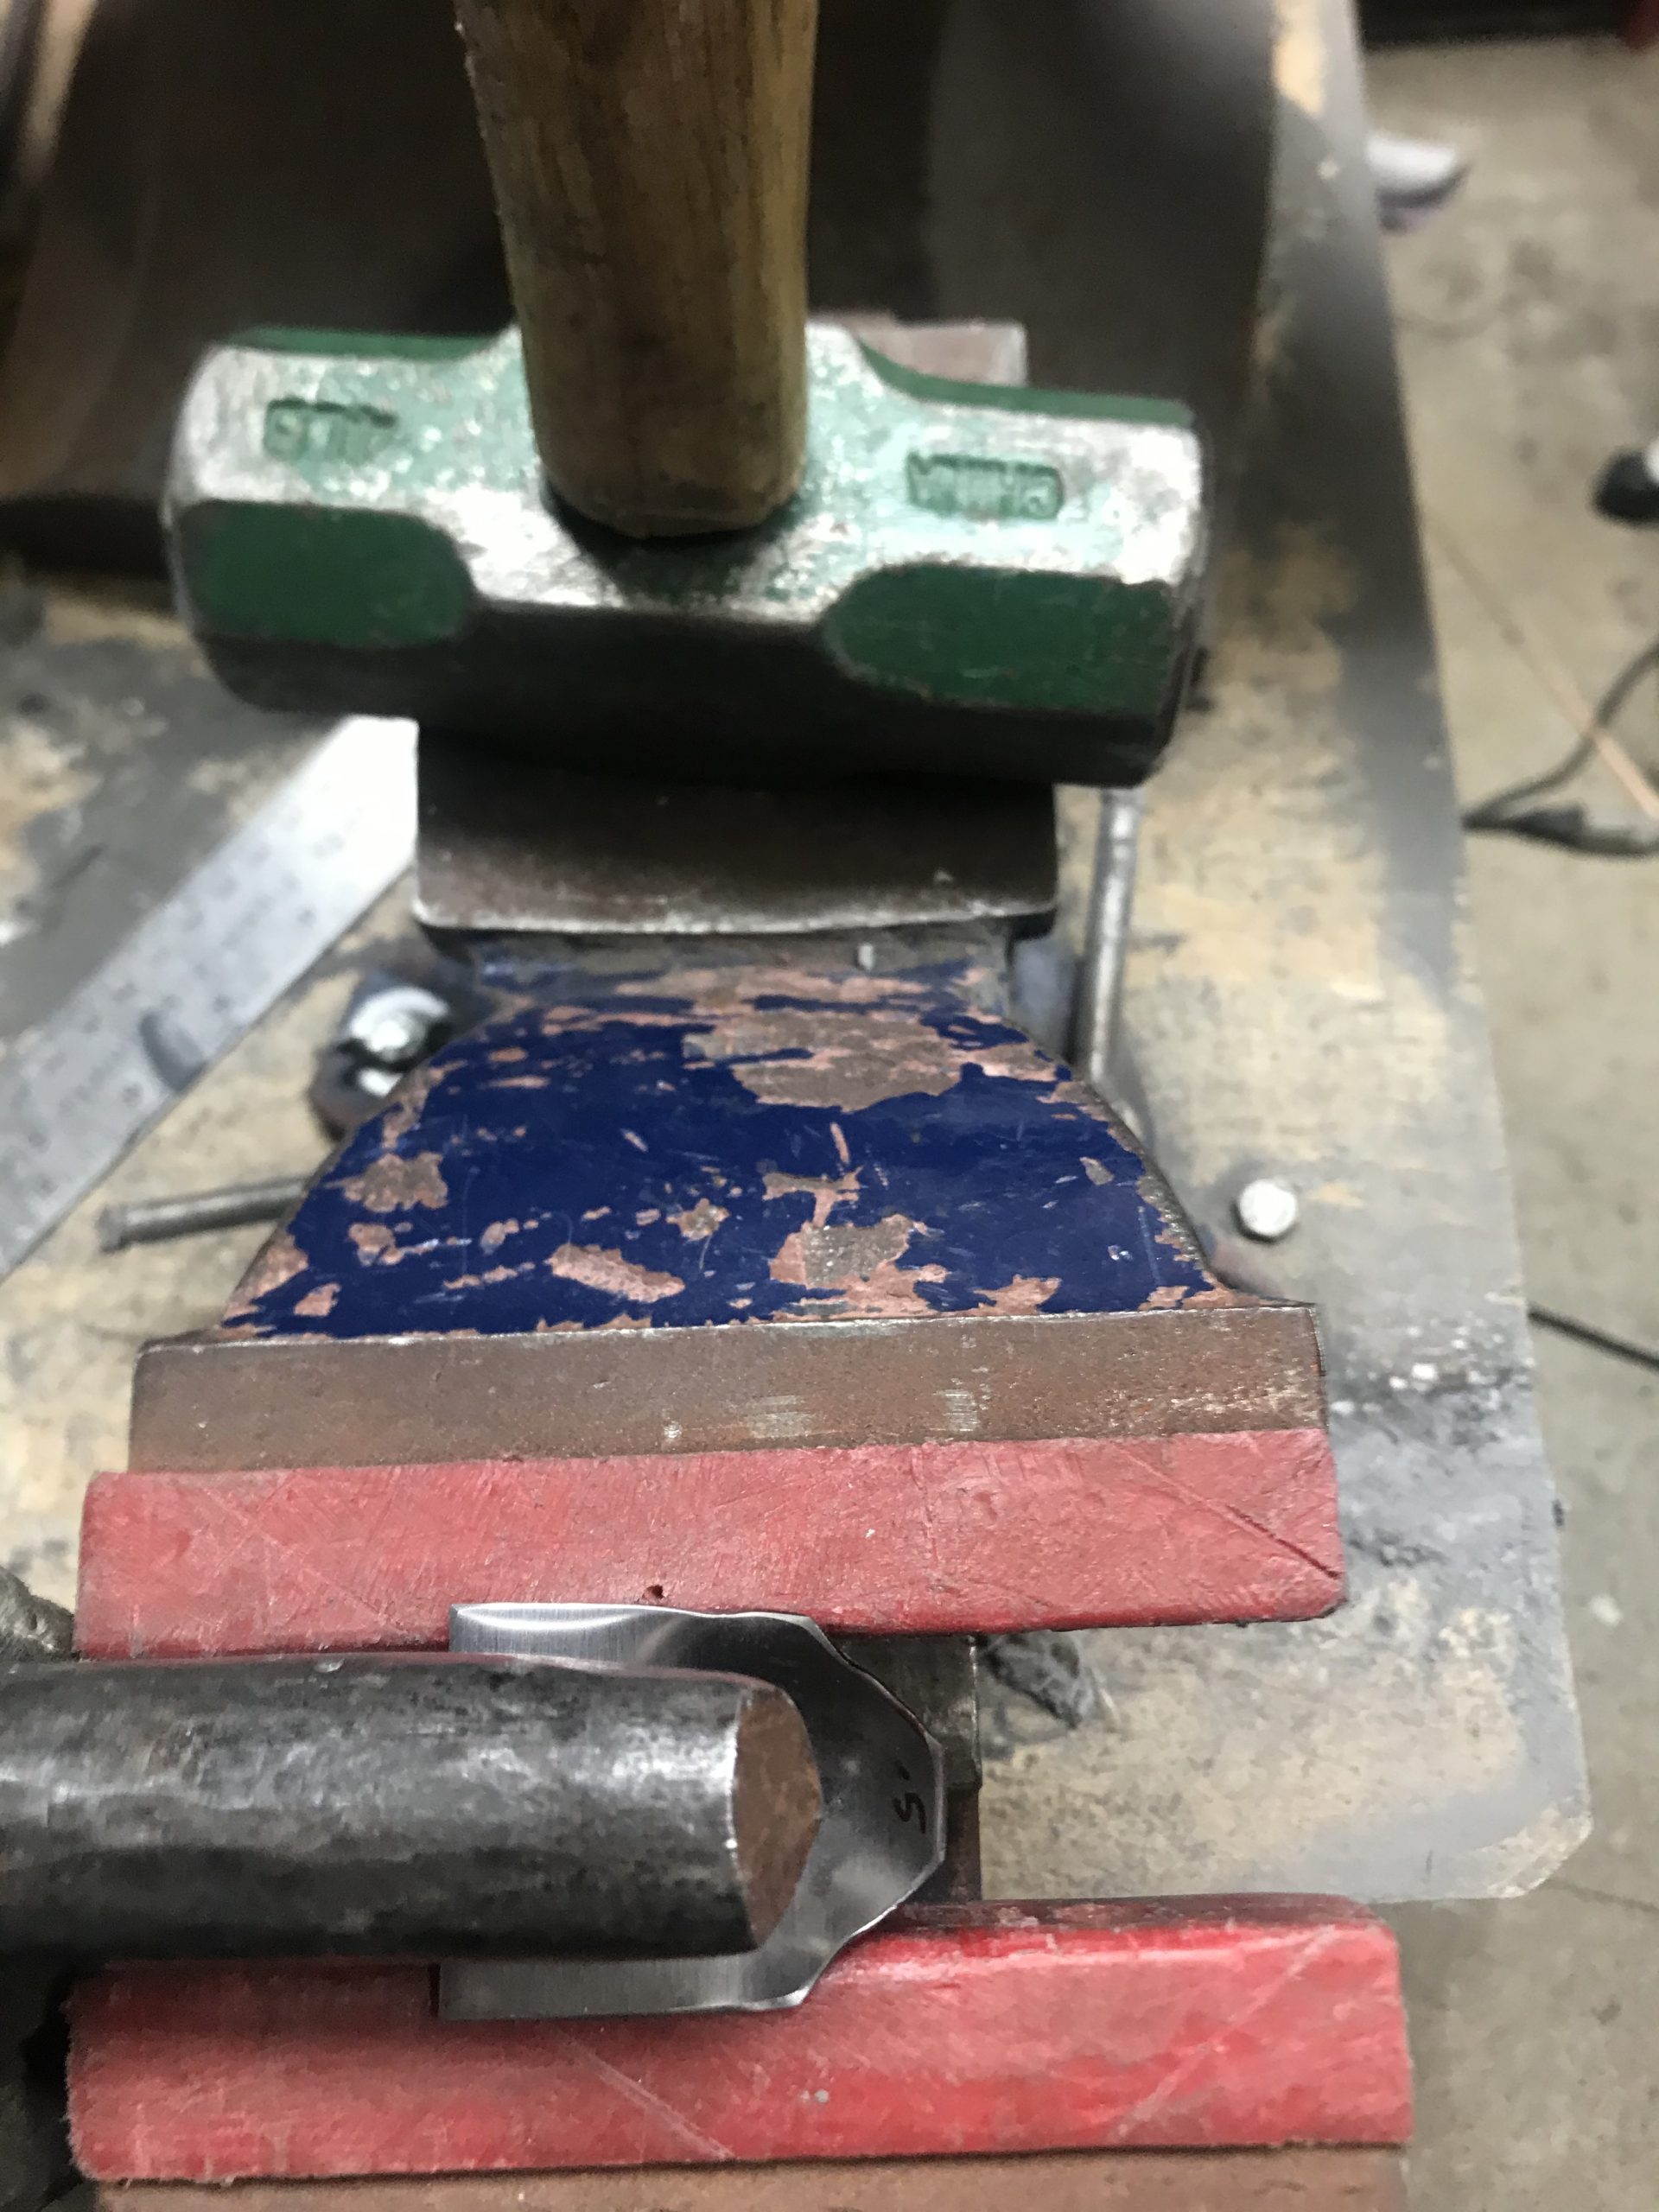
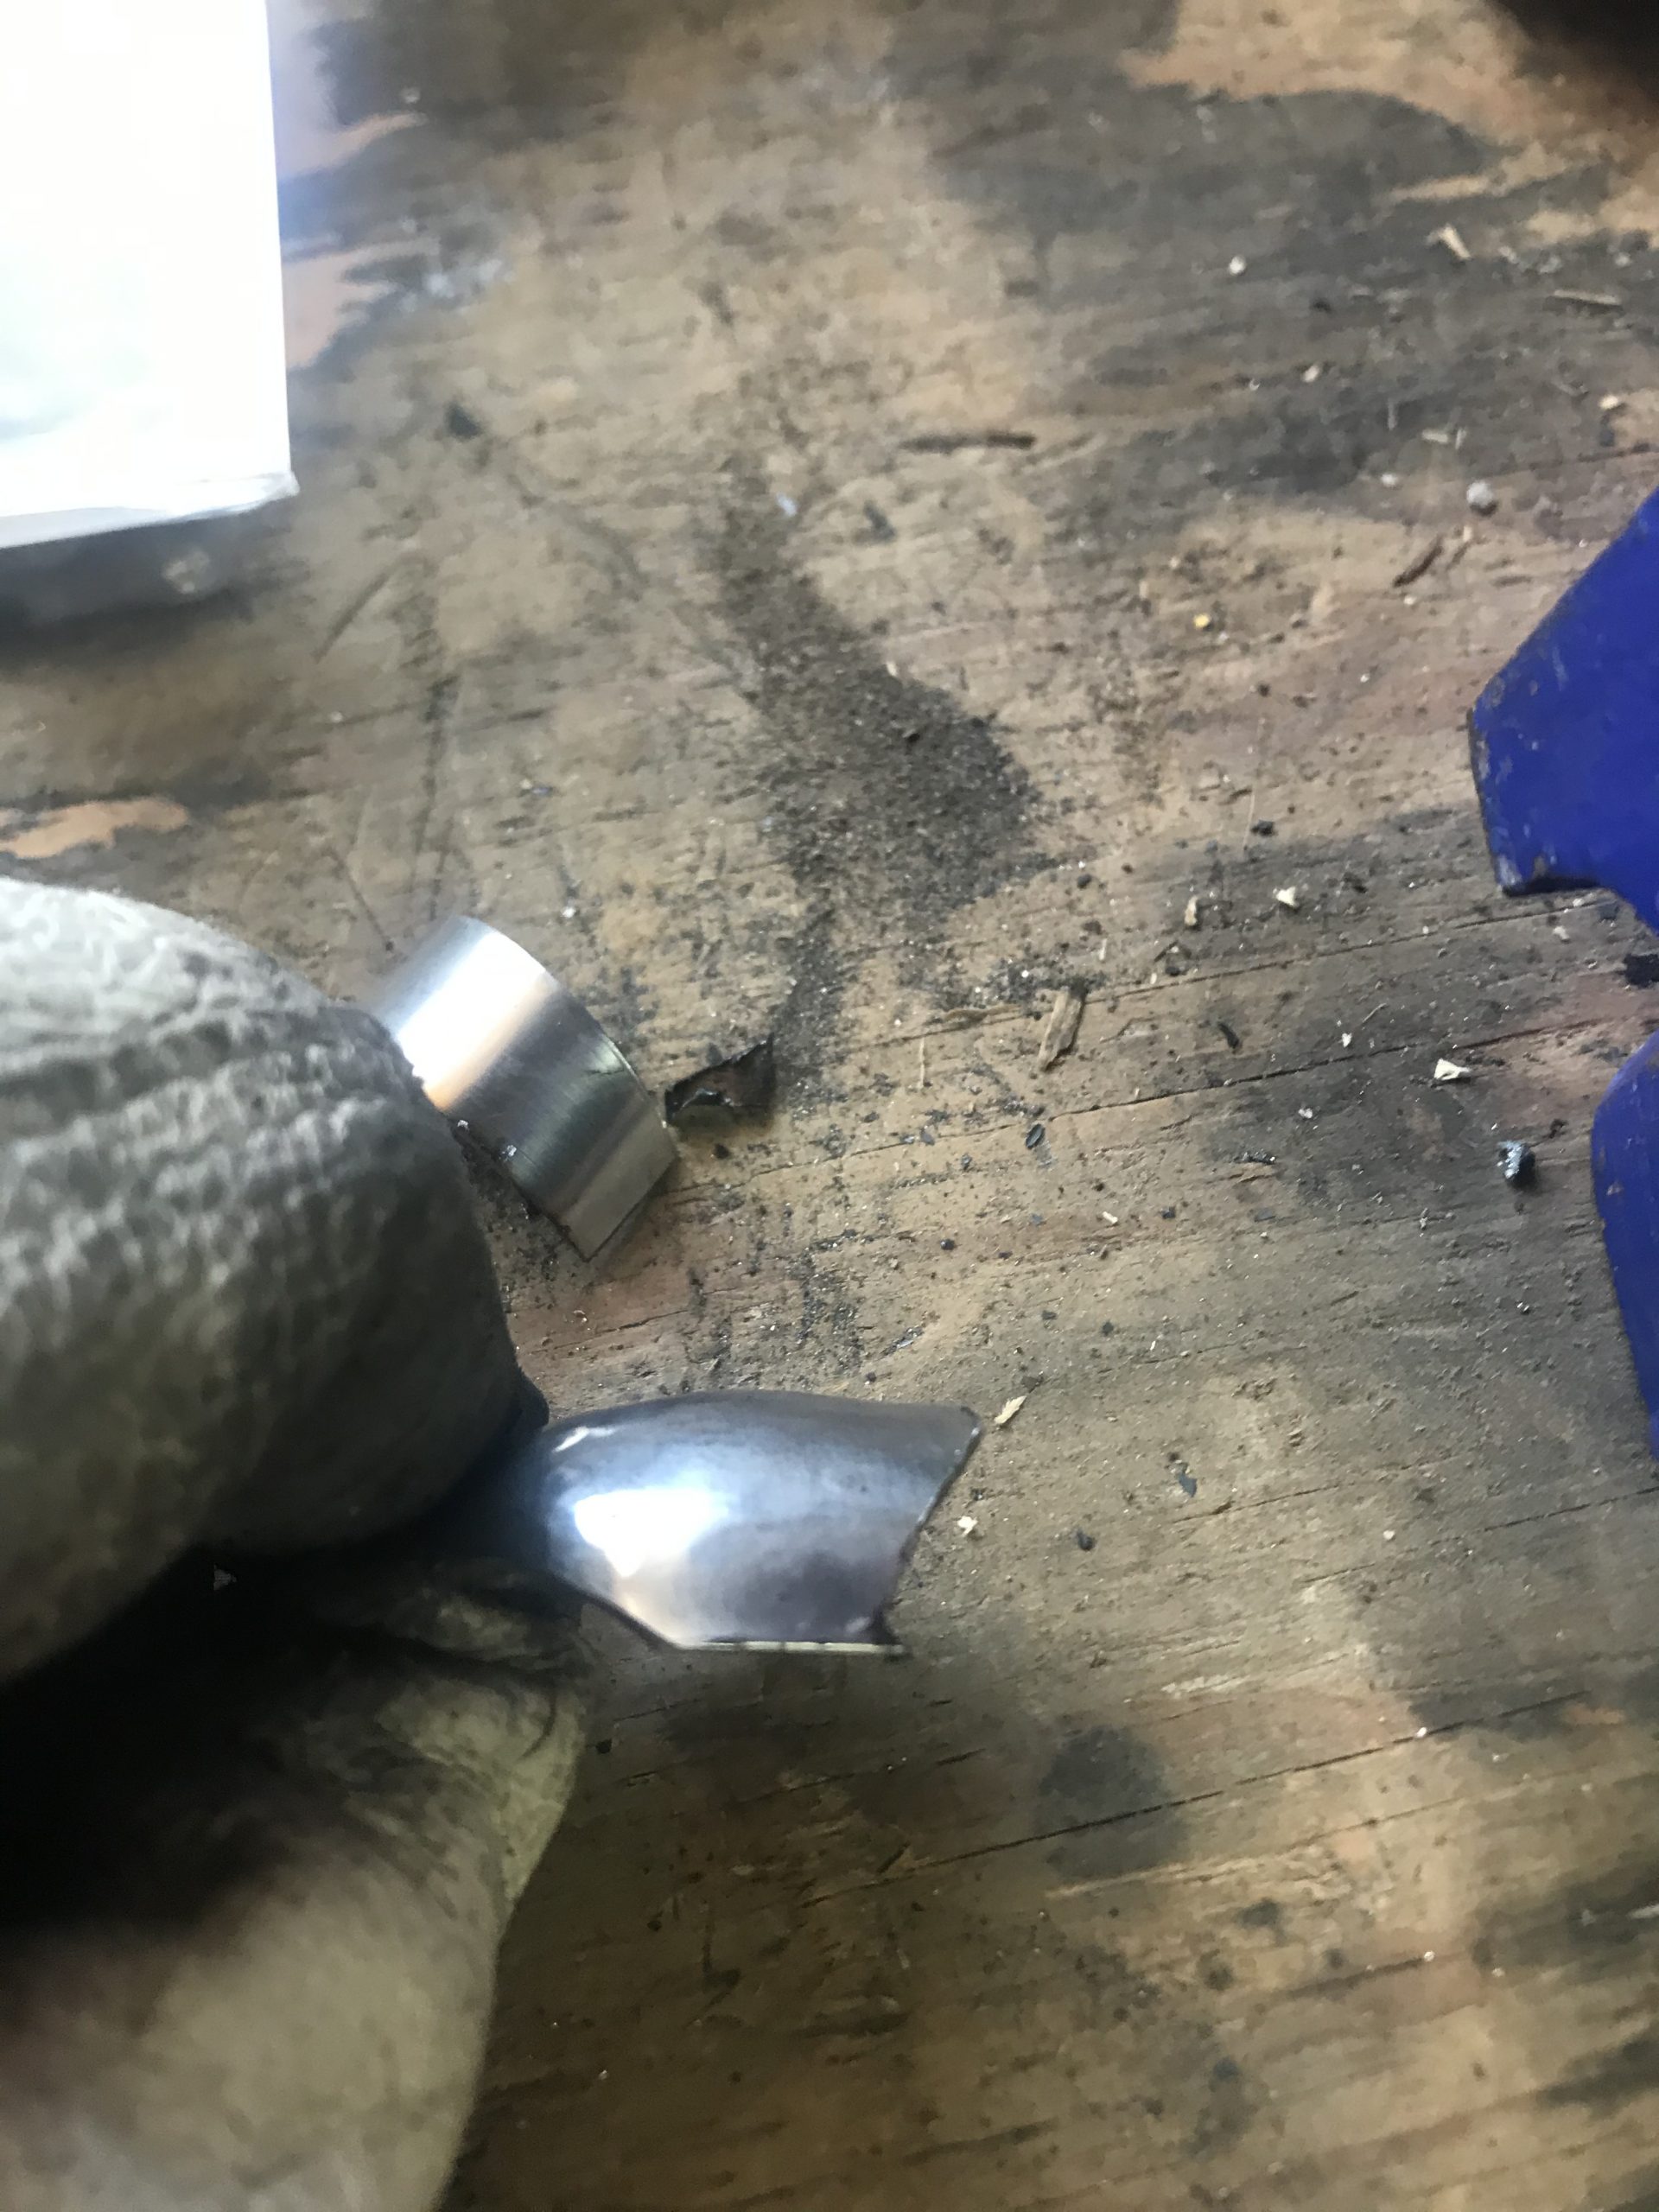
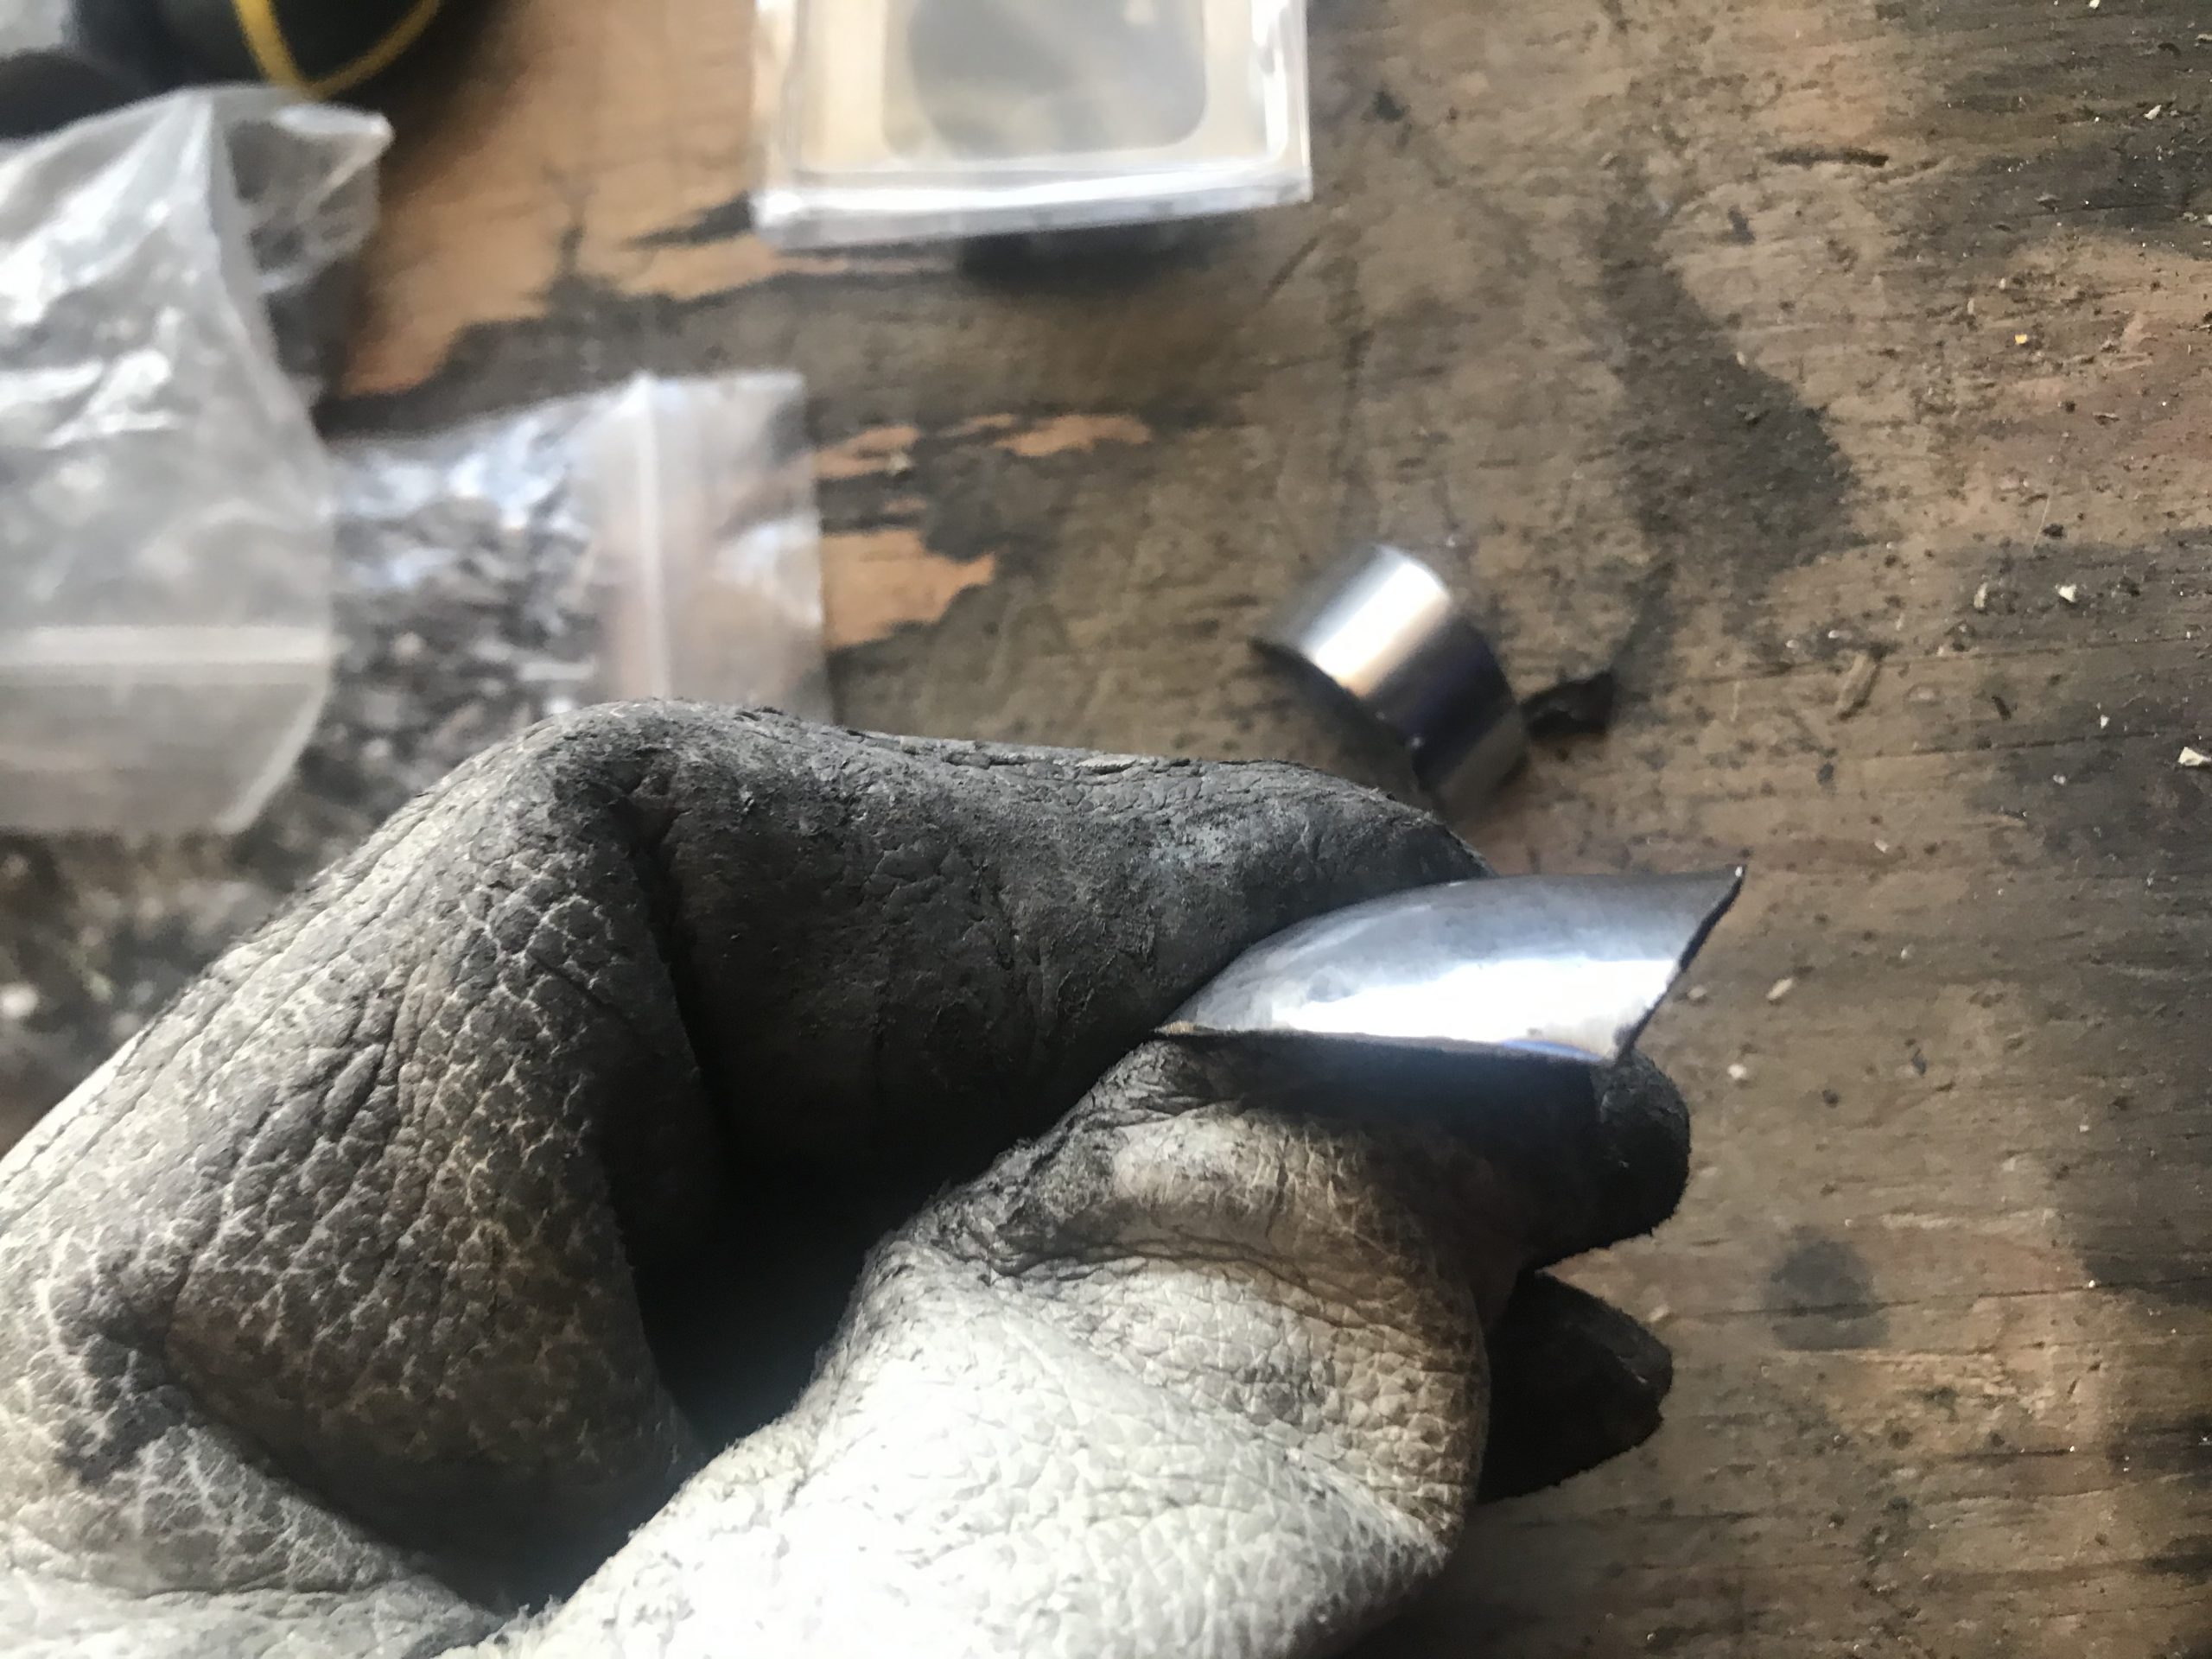
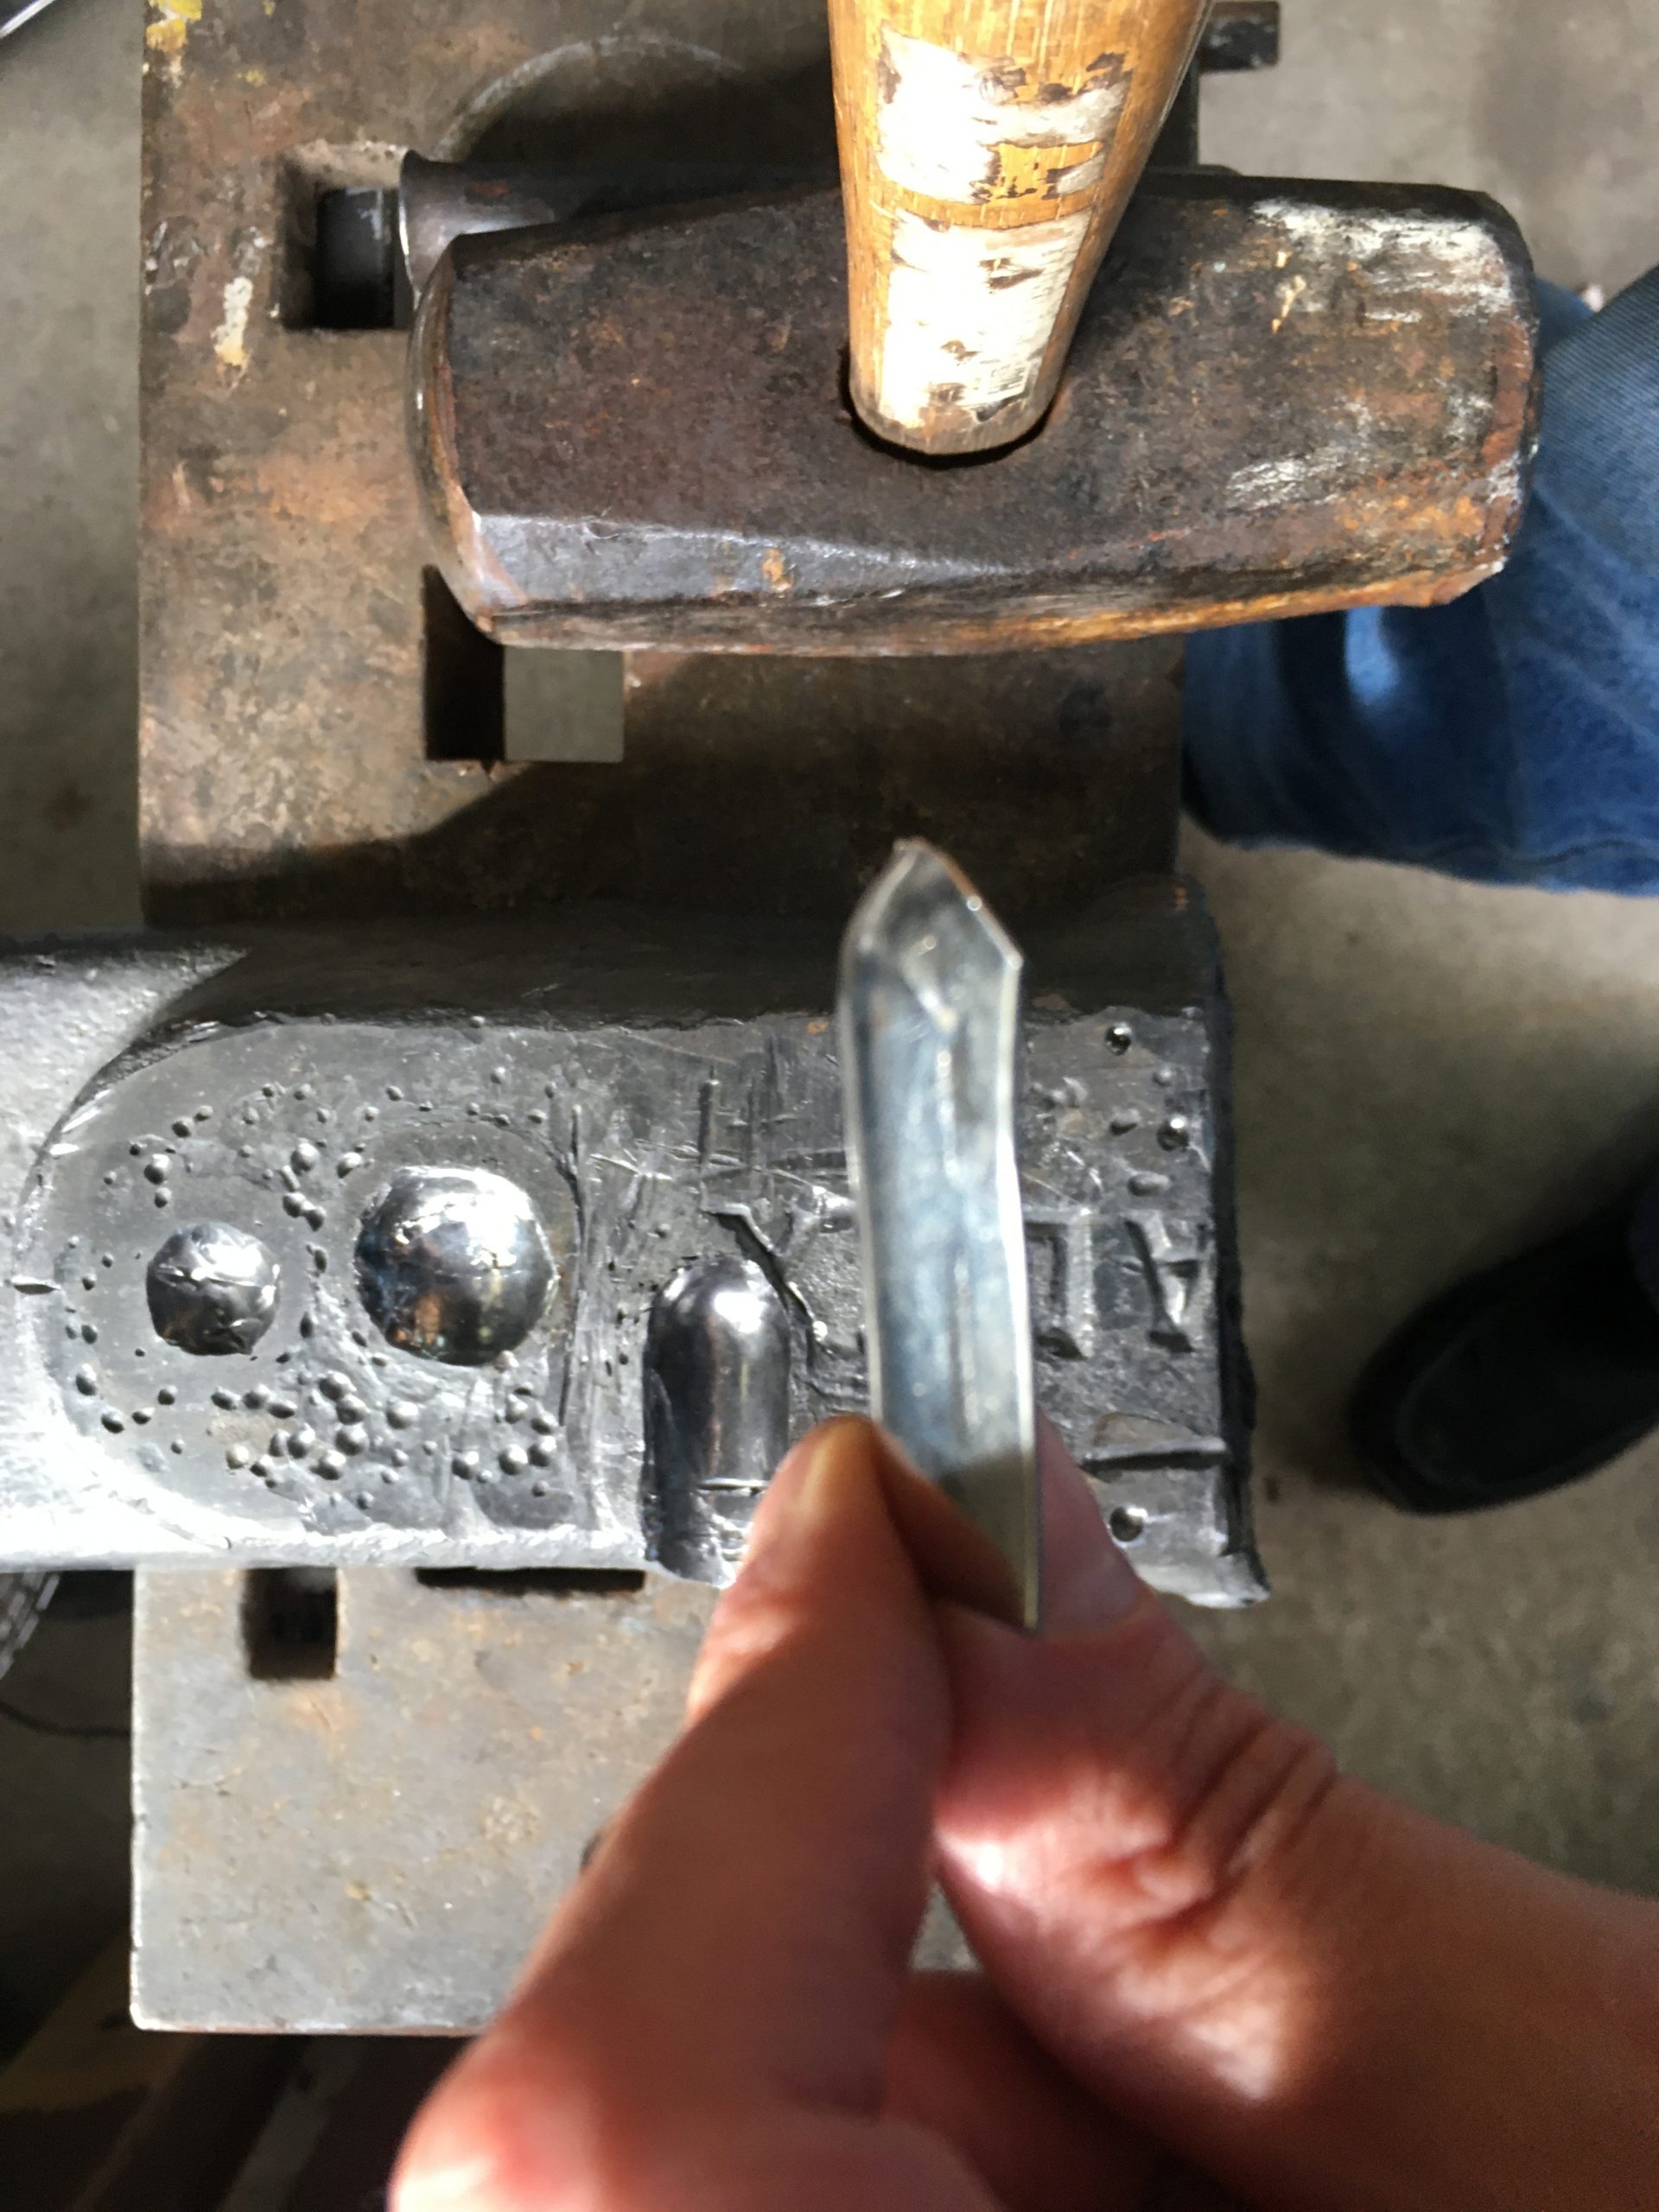
The striking tool used is a short piece of 1″ diameter round bar which has been ground to have something approaching a thumb tip shape on the one end. The profile of this tool is shown in the first picture, while in the second picture it is shown in “striking” position placed in the depression formed in the first stage. The jaw spacing is initially set such that the bar cannot slip between the jaws, and then expanded slightly to give enough room for the thickness of the material and the bar, which allows the plate to “wrap” the bar fairly tightly. It generally takes 2-3 firm strikes with my forming hammer (a 4 lb / 2kg mini sledge) before I widen the jaw spacing, and then another 2-3 strikes for the plate to complete its shaping.

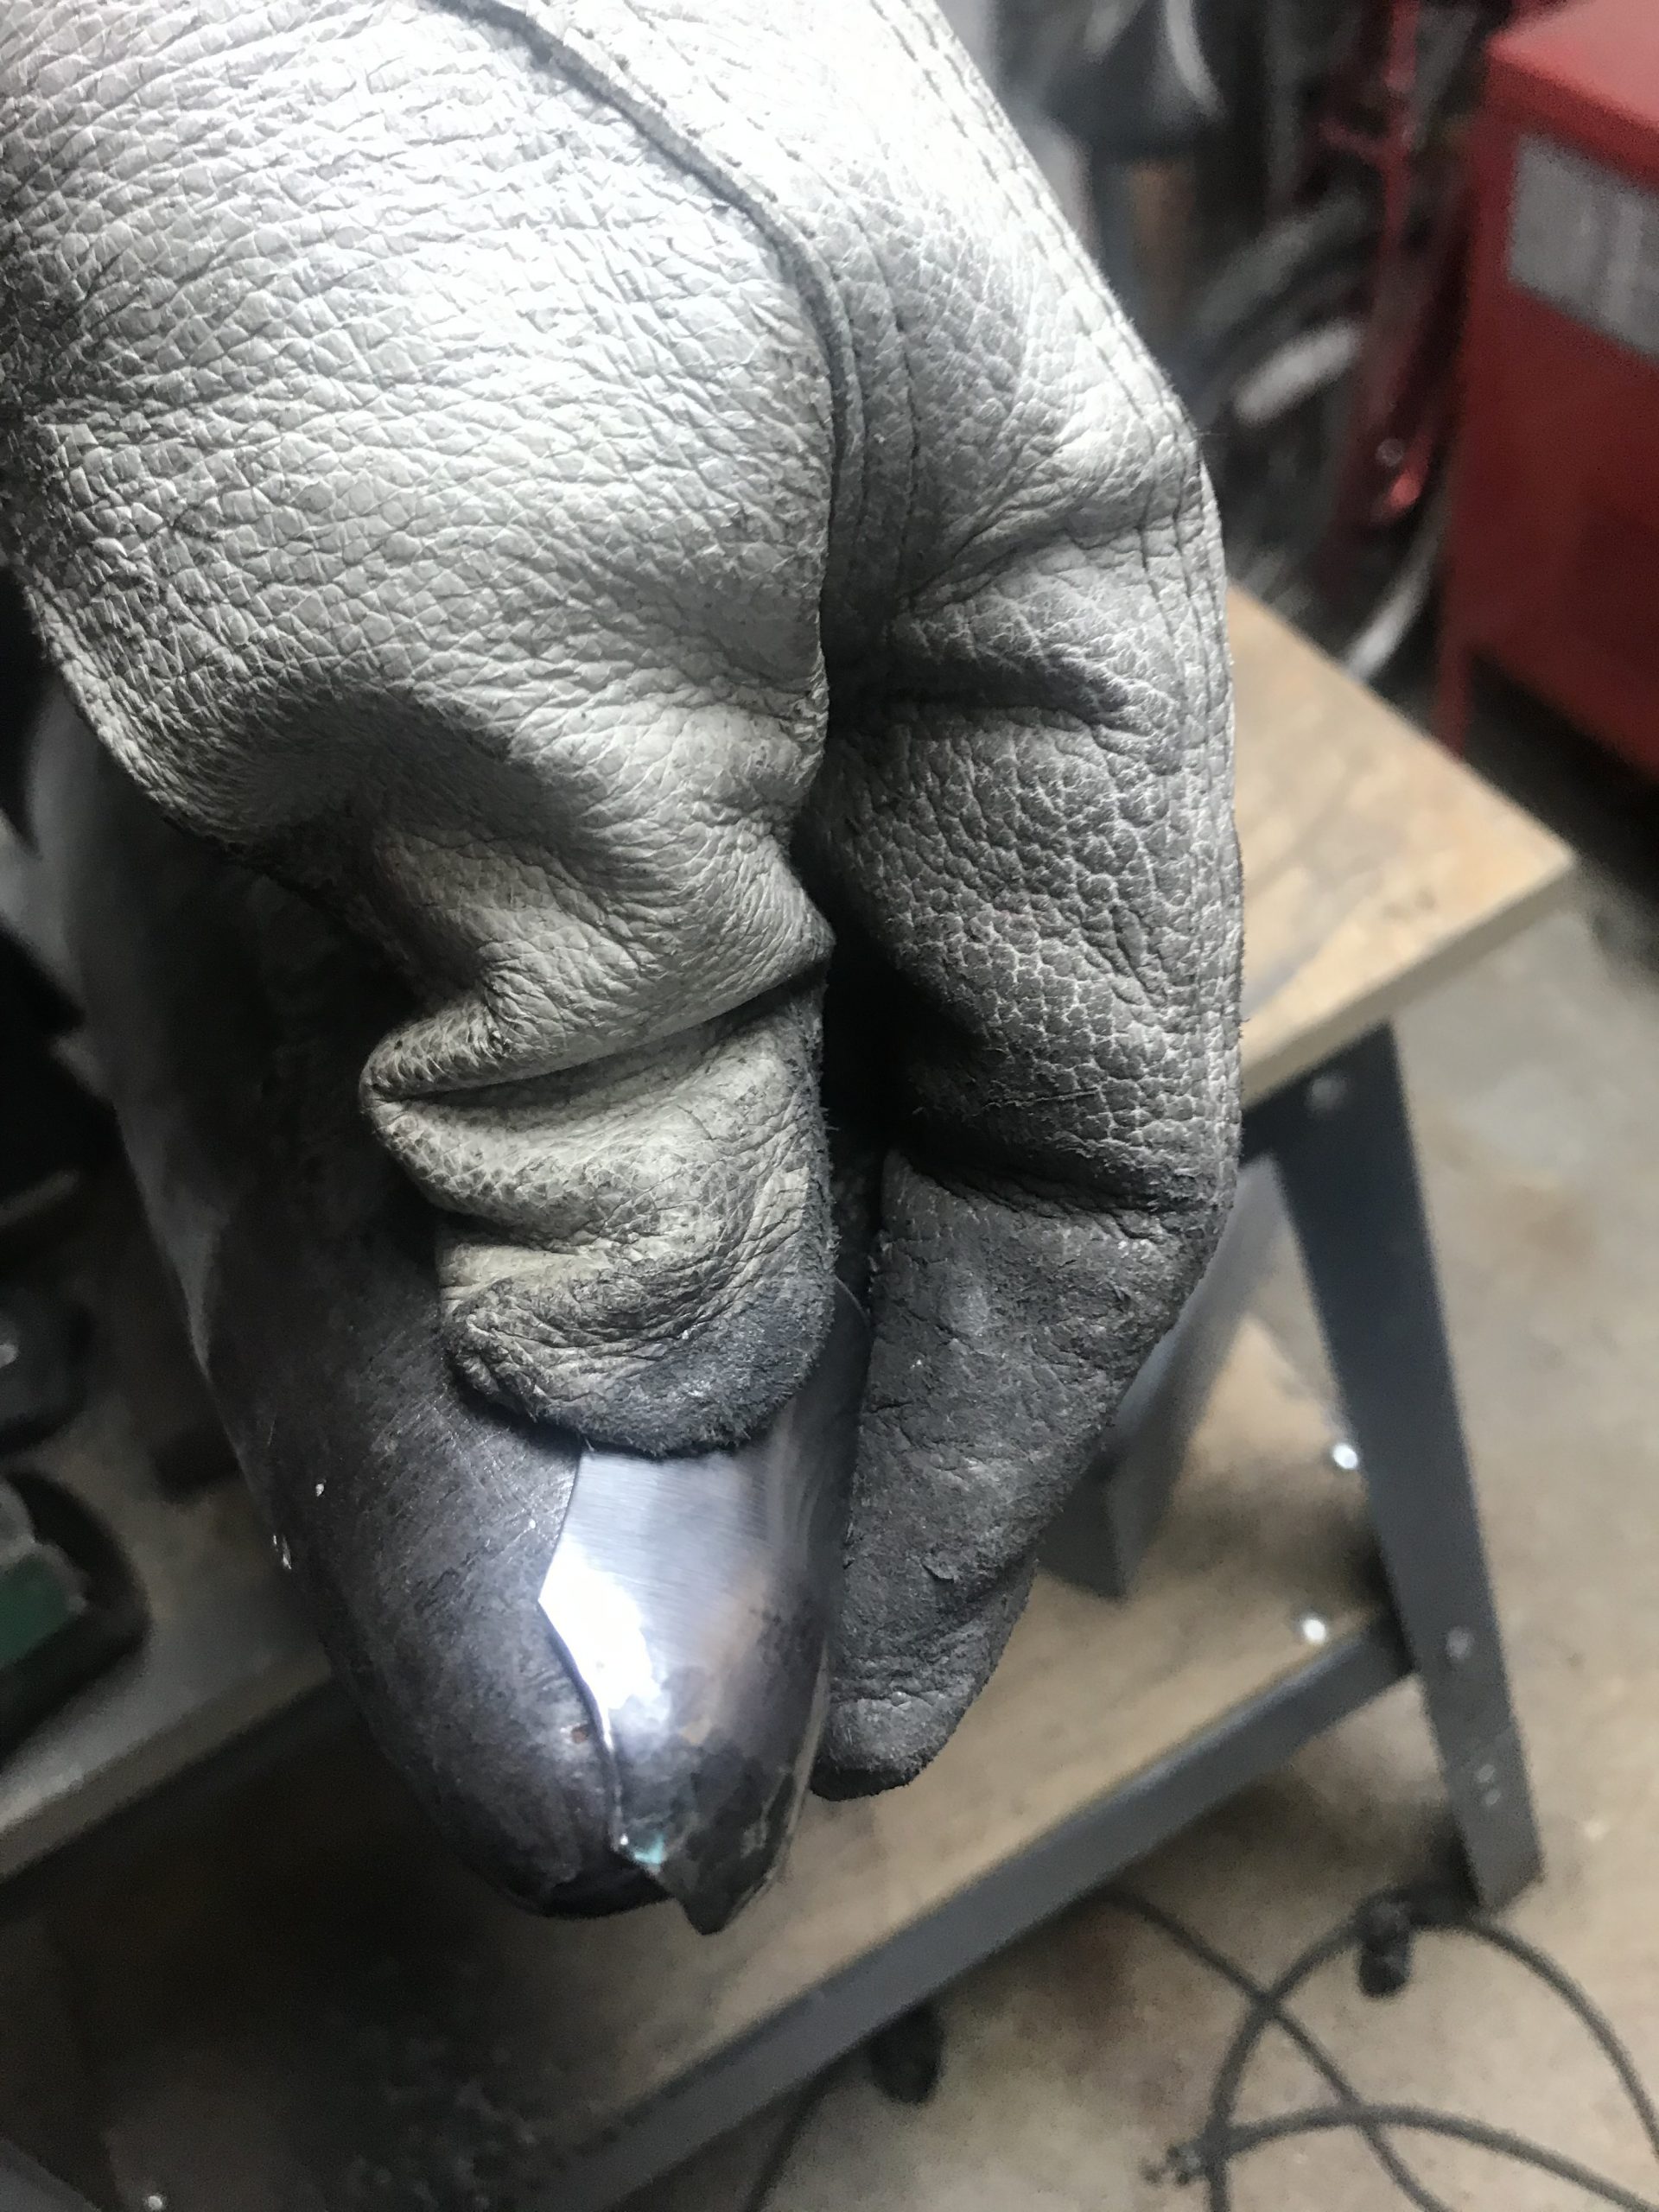
This results of the shaping can be seen in the first picture above, and you can see the slight “bulge” from the initial doming operation. I will often clean up the tip shape on the end of my anvil horn, but this is often not required. If I do a clean up, I will use the planishing hammer which can be seen in the next step.

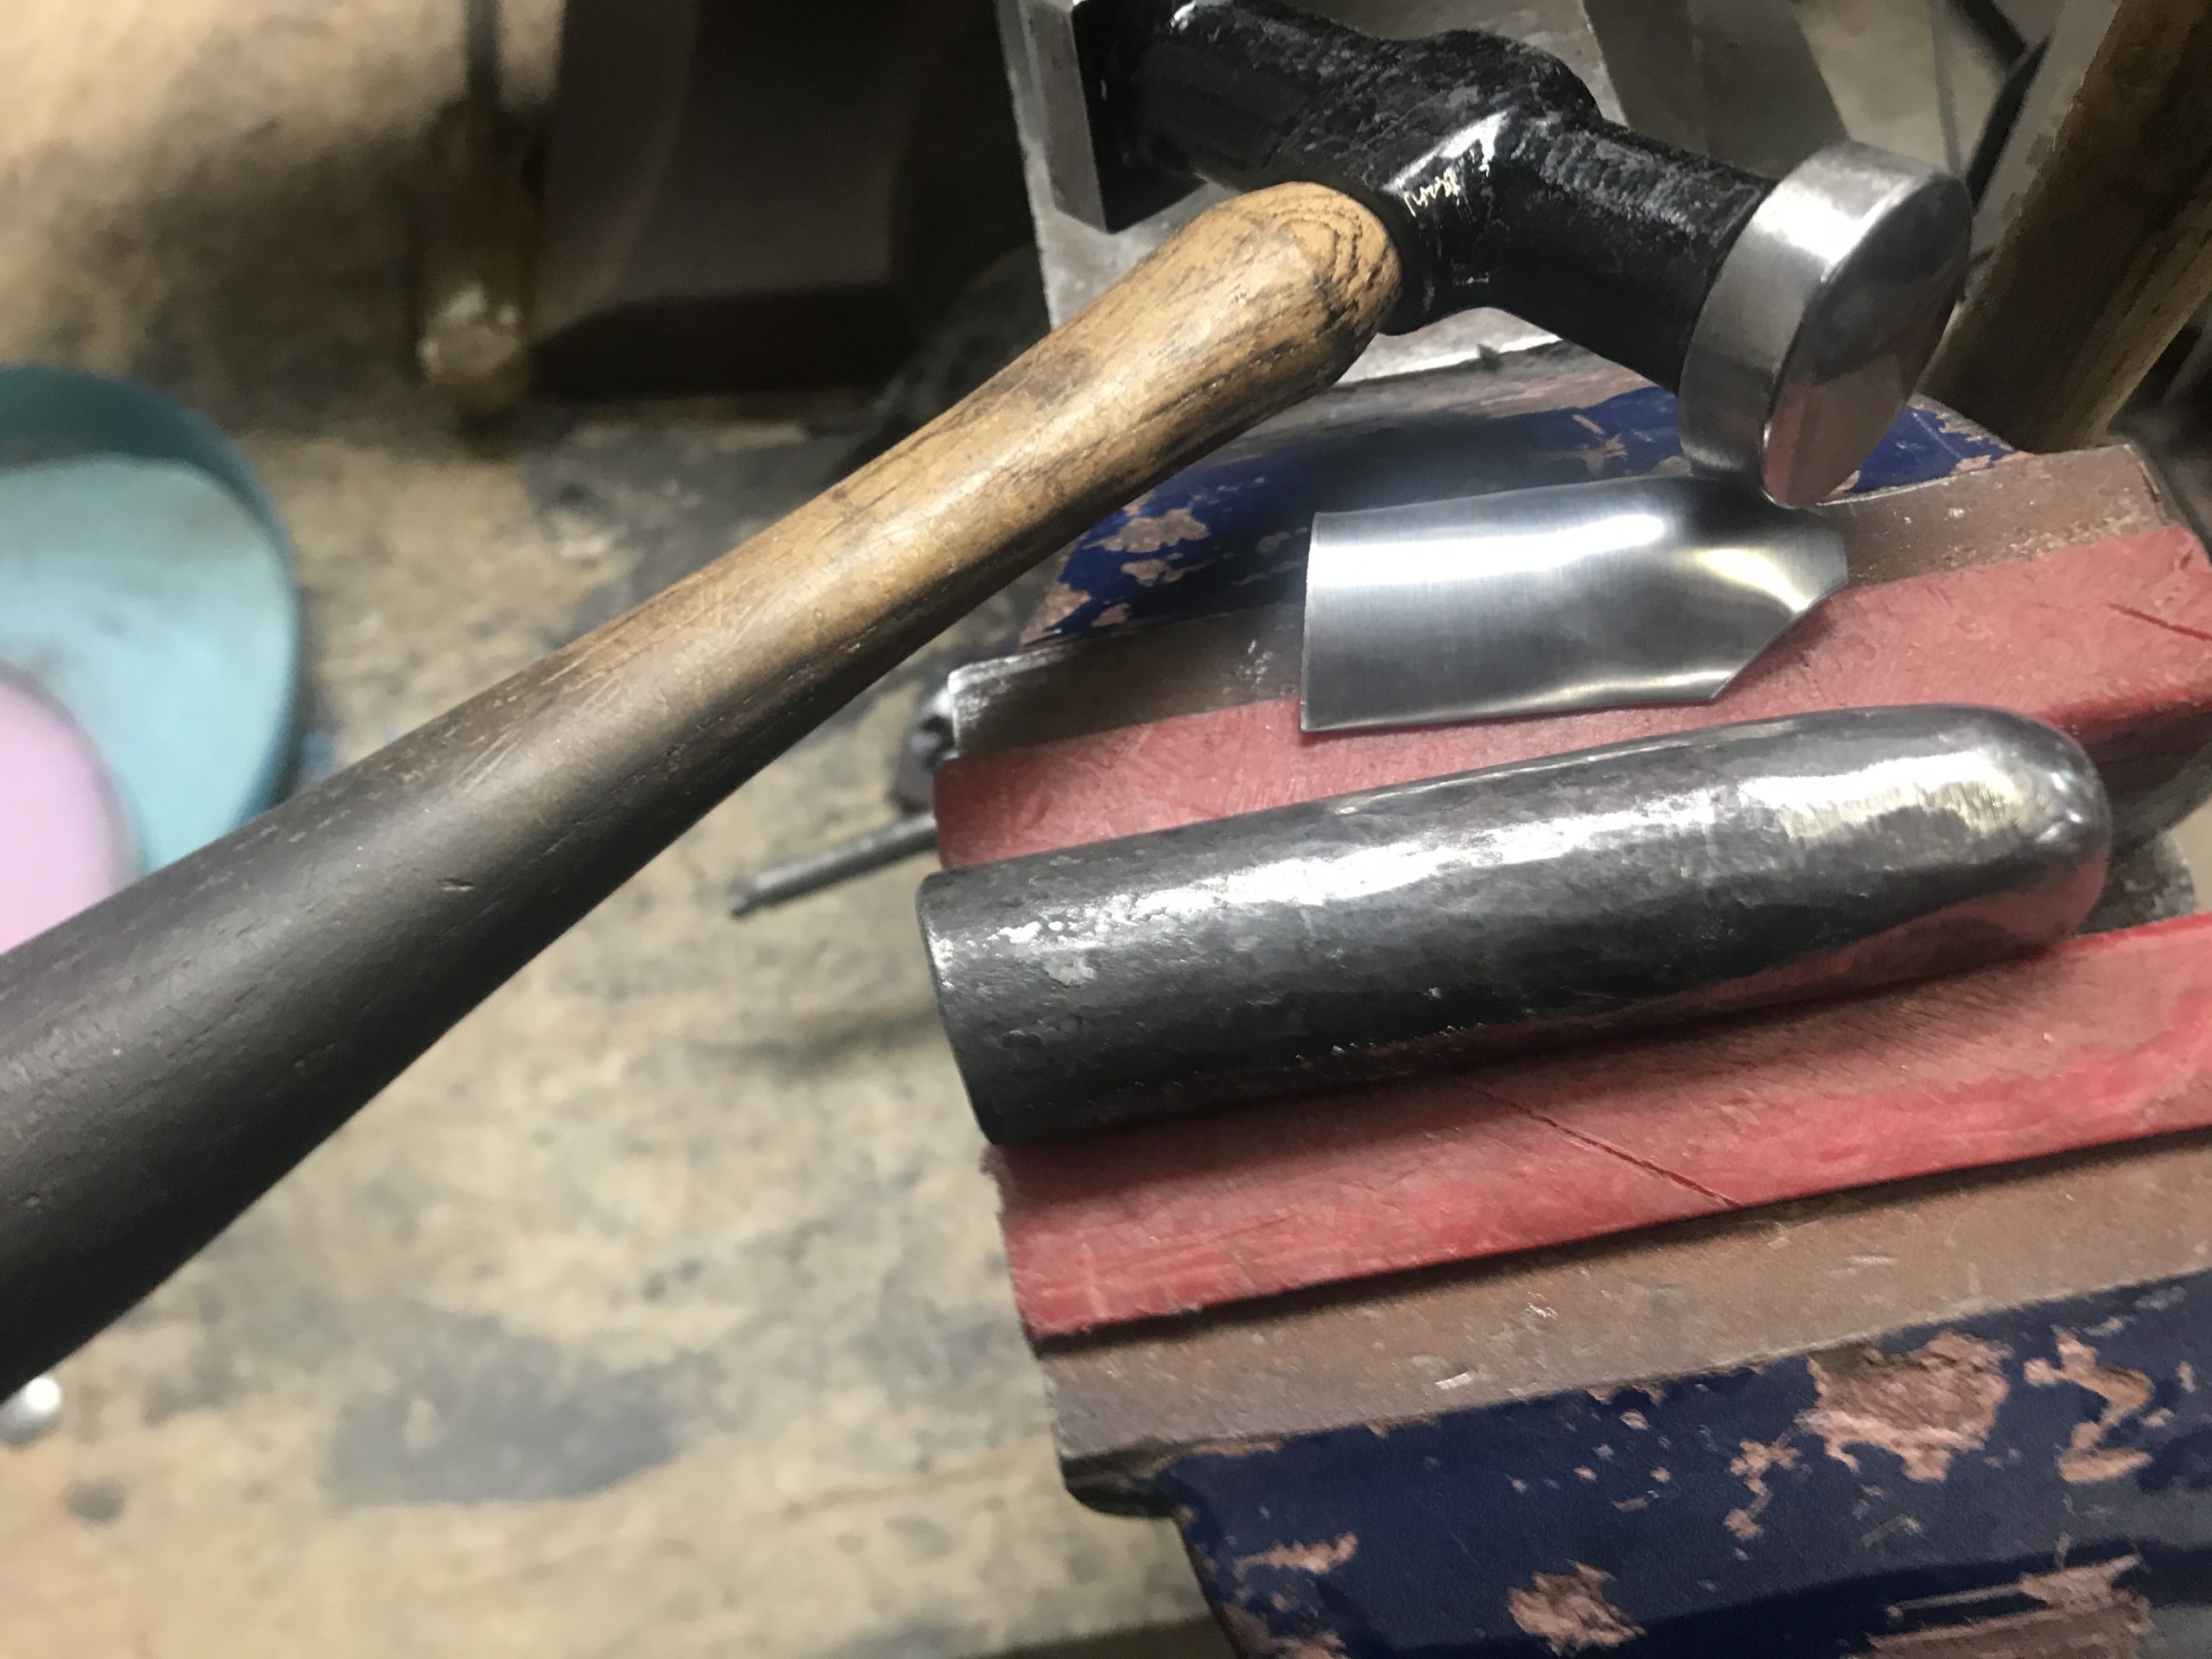
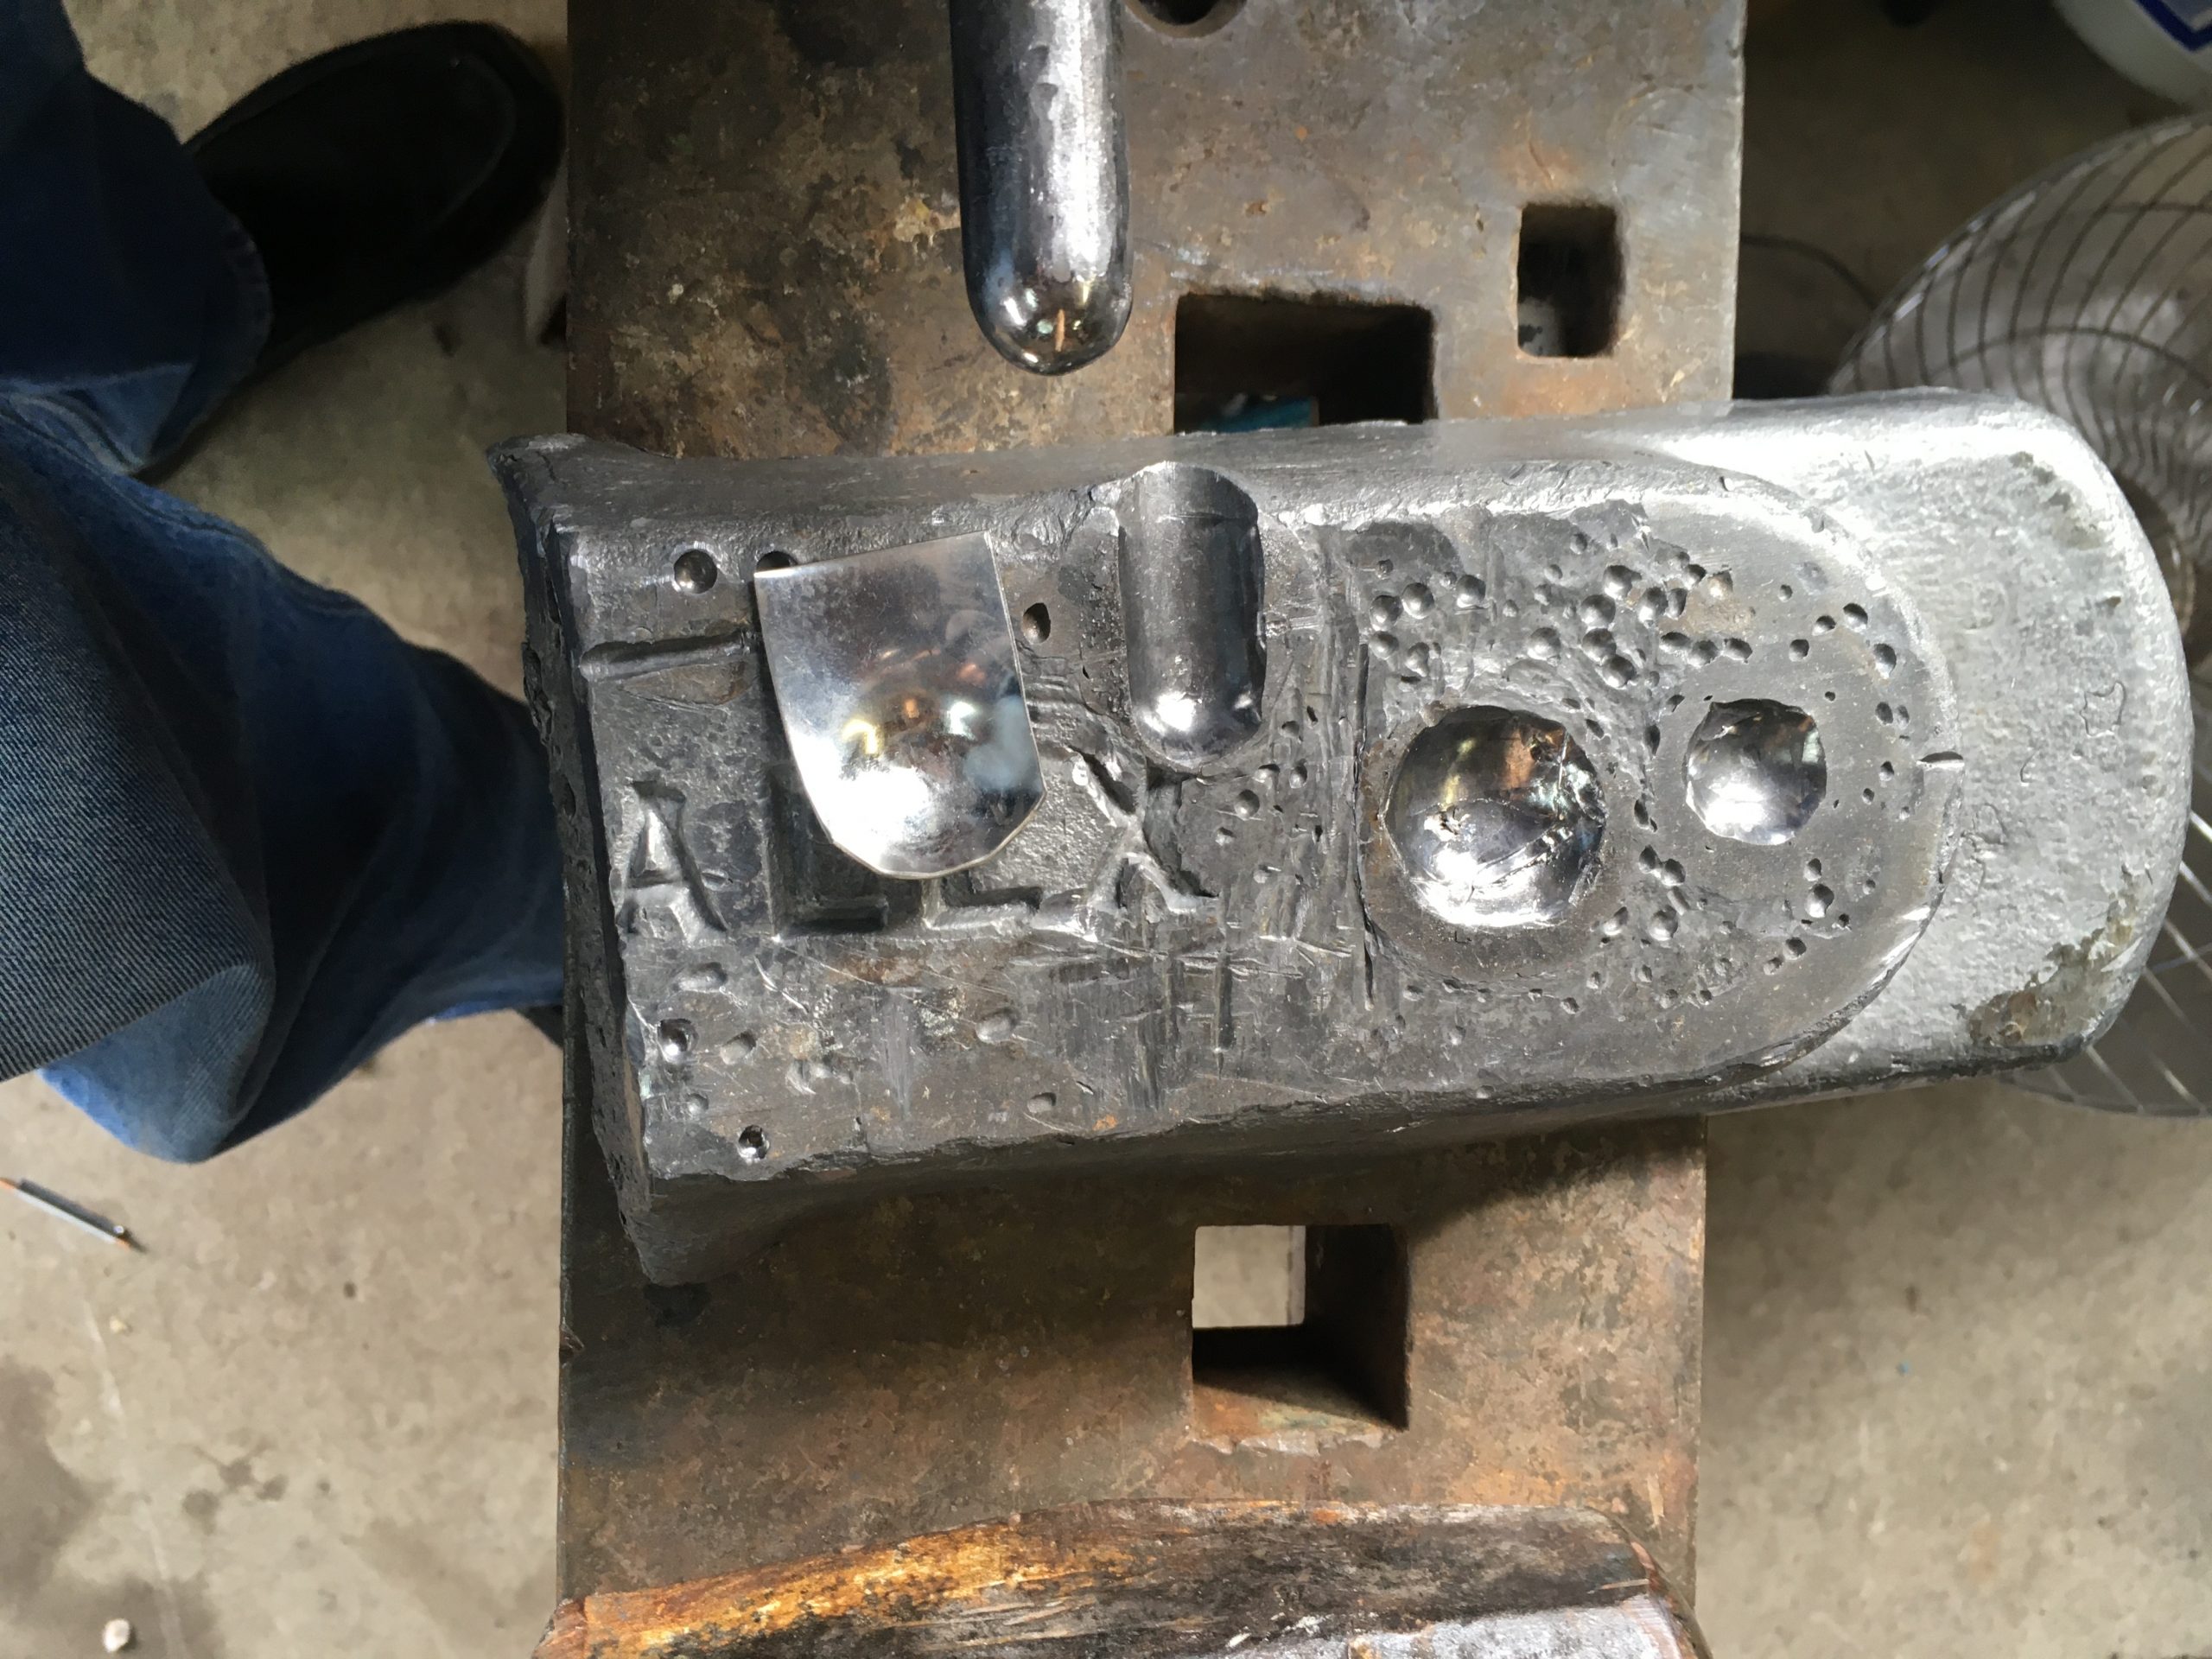
Closing the vice up a bit more so that it will support my shaping tool, I will gently planish the thumb tip, paying careful attention to flattening the “bump” left by the initial forming, as well as making sure that the curve of the thumb tip is smooth. A major reason that I include som many photos of this tool is to demonstrate that it is “good enough” – I didn’t spend a lot of time making sure that it was the perfect shape, and this crude tool does the job just as well as a perfectly raduised one would. In the later section where I show the finger tip tool, I radiused the tip cleanly because this is also uses as my second stage gadling striker, and must be symmetric. If I was using this tool to make the first doming pass instead of a hammer, then I would spend the time to make this a clean hemisphere.
I will then trim the thumb late down to size. For my thumbs (I wear a size 10 / large glove) I will cut it to 1 1/2″ length from the tip of the thumb, noting that this is “eyeballed” by sighting down on a ruler. I use an angle grinder with a cutoff wheel clamped in a vice for this step because shears will significantly distort the shape. Note that the sides are cut back (or beveled) at the knuckle side, since the gadling (knuckle plate) needs to go over top of this plate and you will need to have exposed leather for the gadling to rivet to. The rivet holes which you can see on the finished plate will eventually be placed on the centerline of the plates between 3/16″ and 1/4″ in from the knuckle plate, and roughly on the middle of the curve for the tip of the plate. On the second picture, you will note that the bottom of the late is very irregular: this needs to be ground down and the “height” of the plate matched with that of the gadling that will cover this plate.

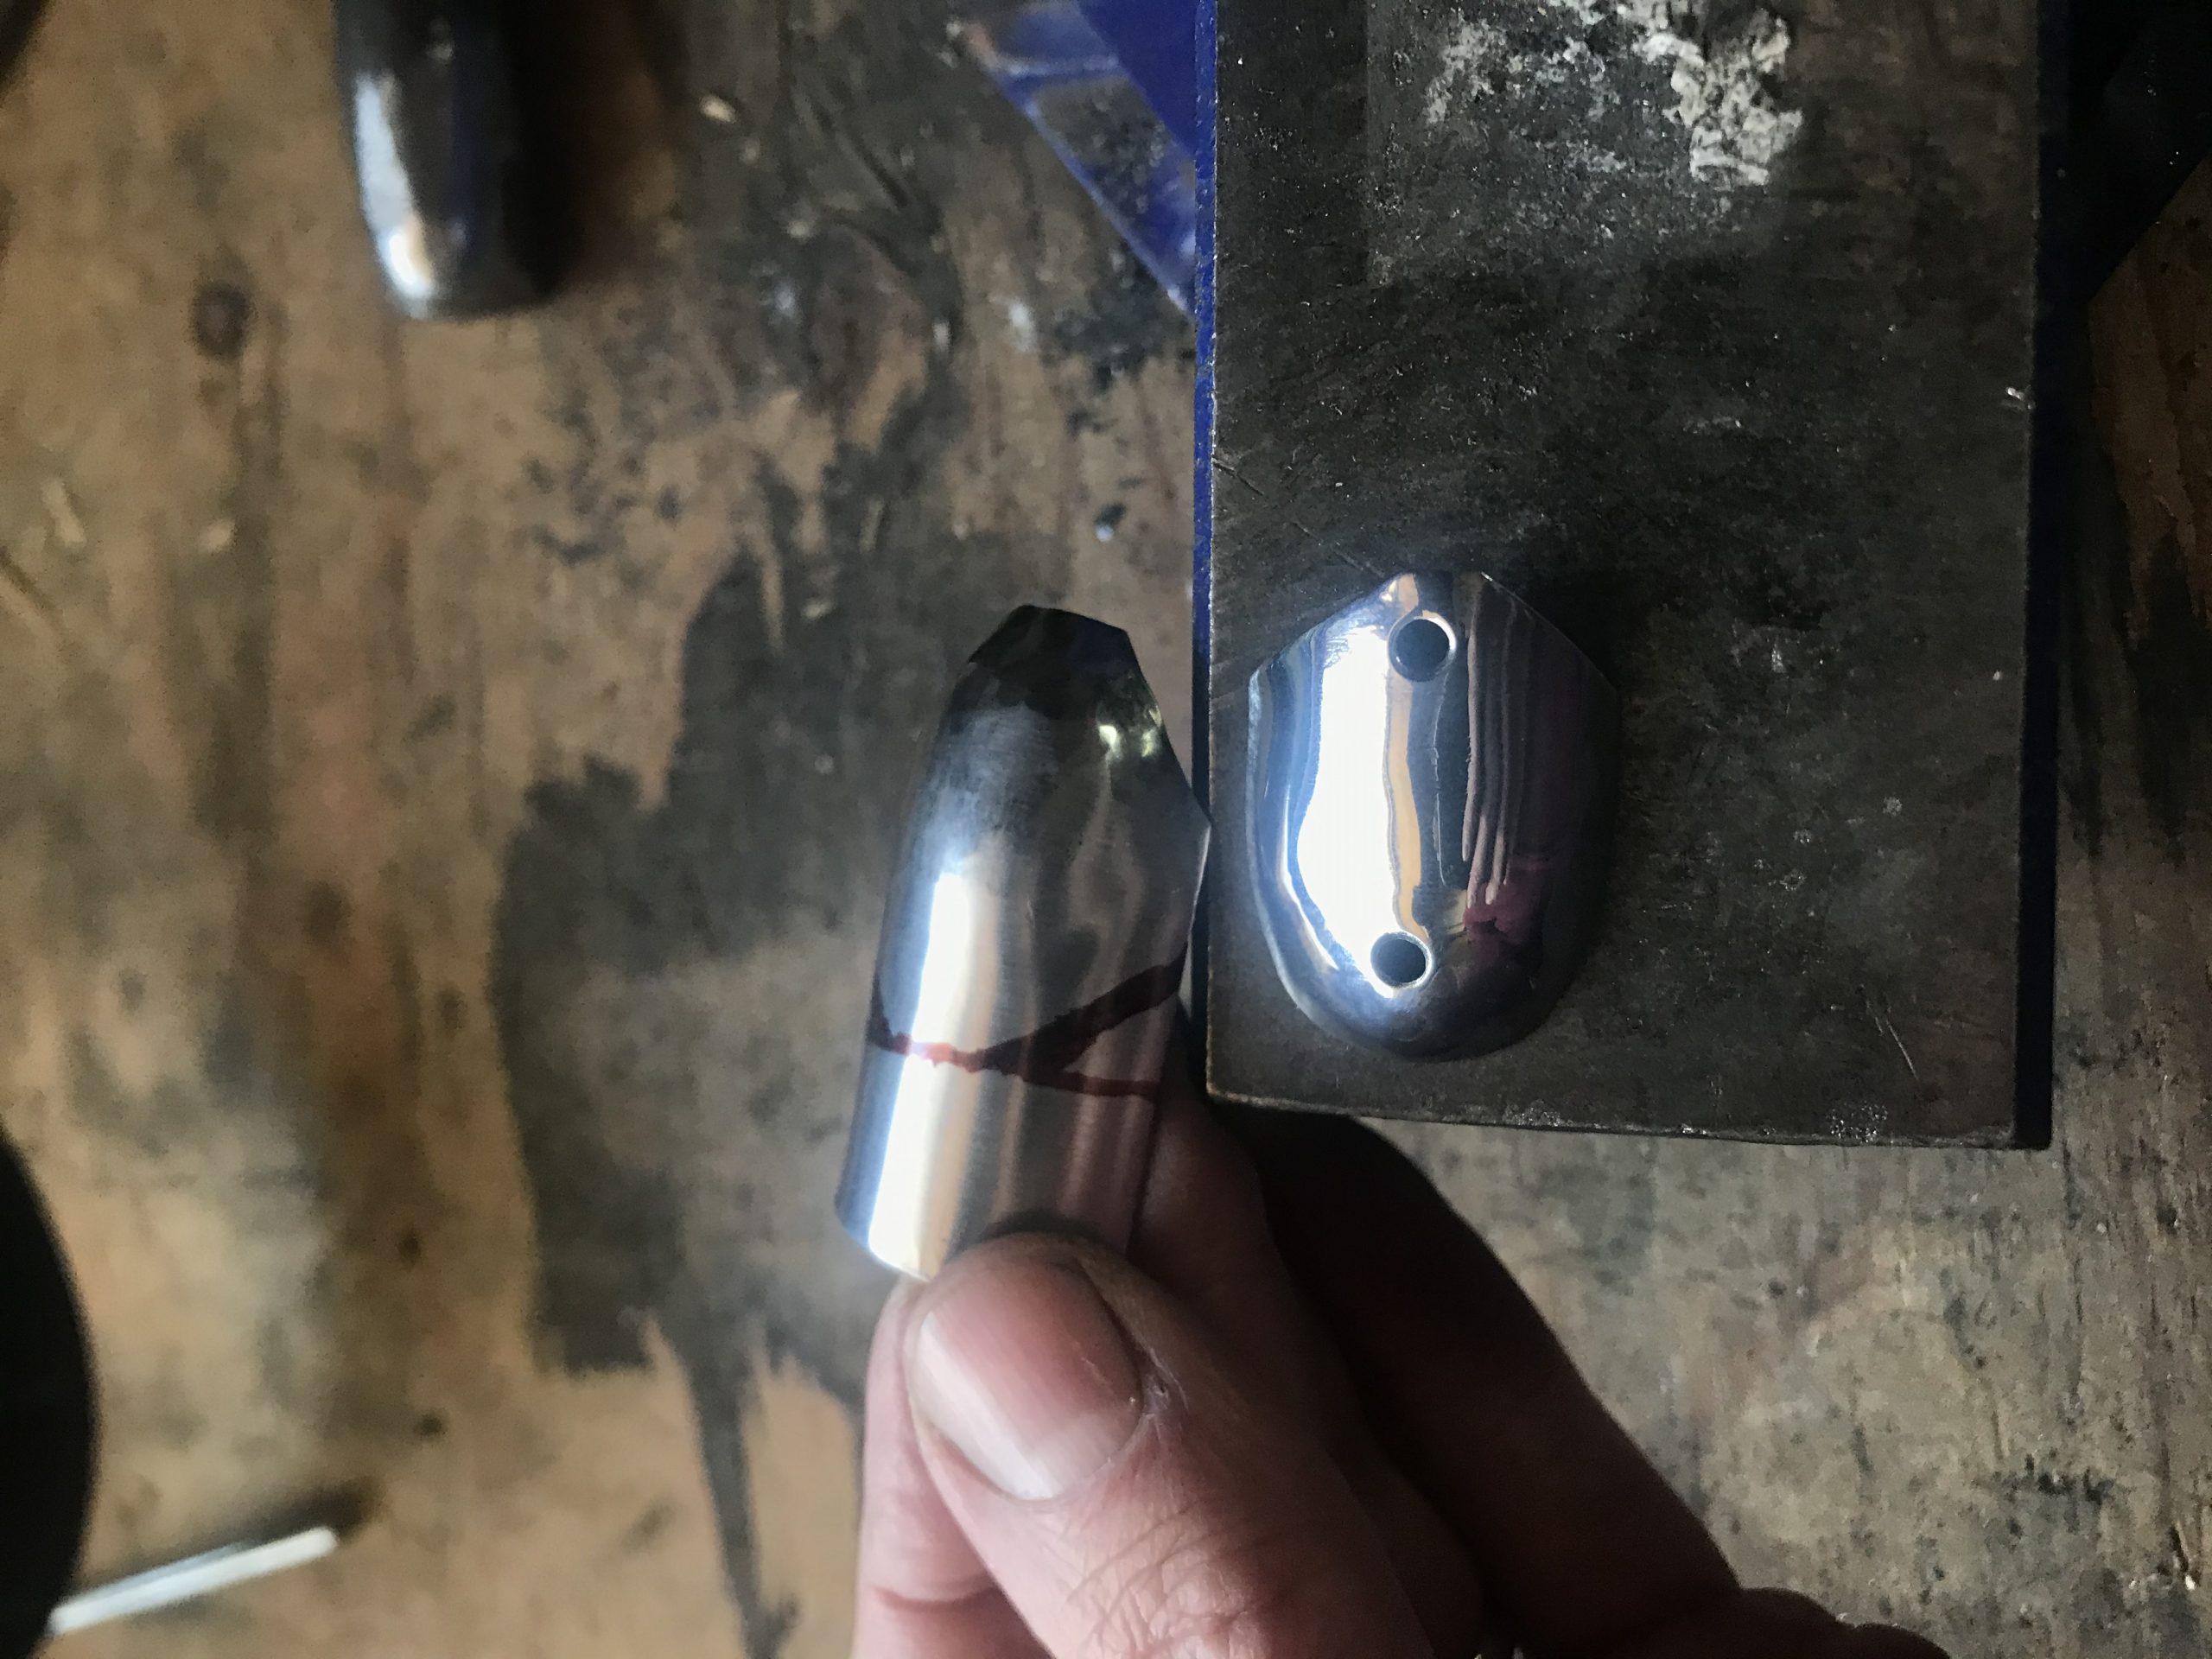
The first picture above shows the thumb plate ground so that the “bottom” is parallel, and I generally also grind this down to take about 1/16-1/8″ of height off the back of the plate as well to match the gadling. The second photo shows how much clearance there is around the thumb tip, and you can see that the sides still show a fair amount of grind flashing. The middles of the angled sections wil have very little material removed, and my current size is set such that I grind to this “depression” and then make fine adjustments as (and if) needed. I ground the extra flashing off the thumb tip because it was catching while trying to take this photo.
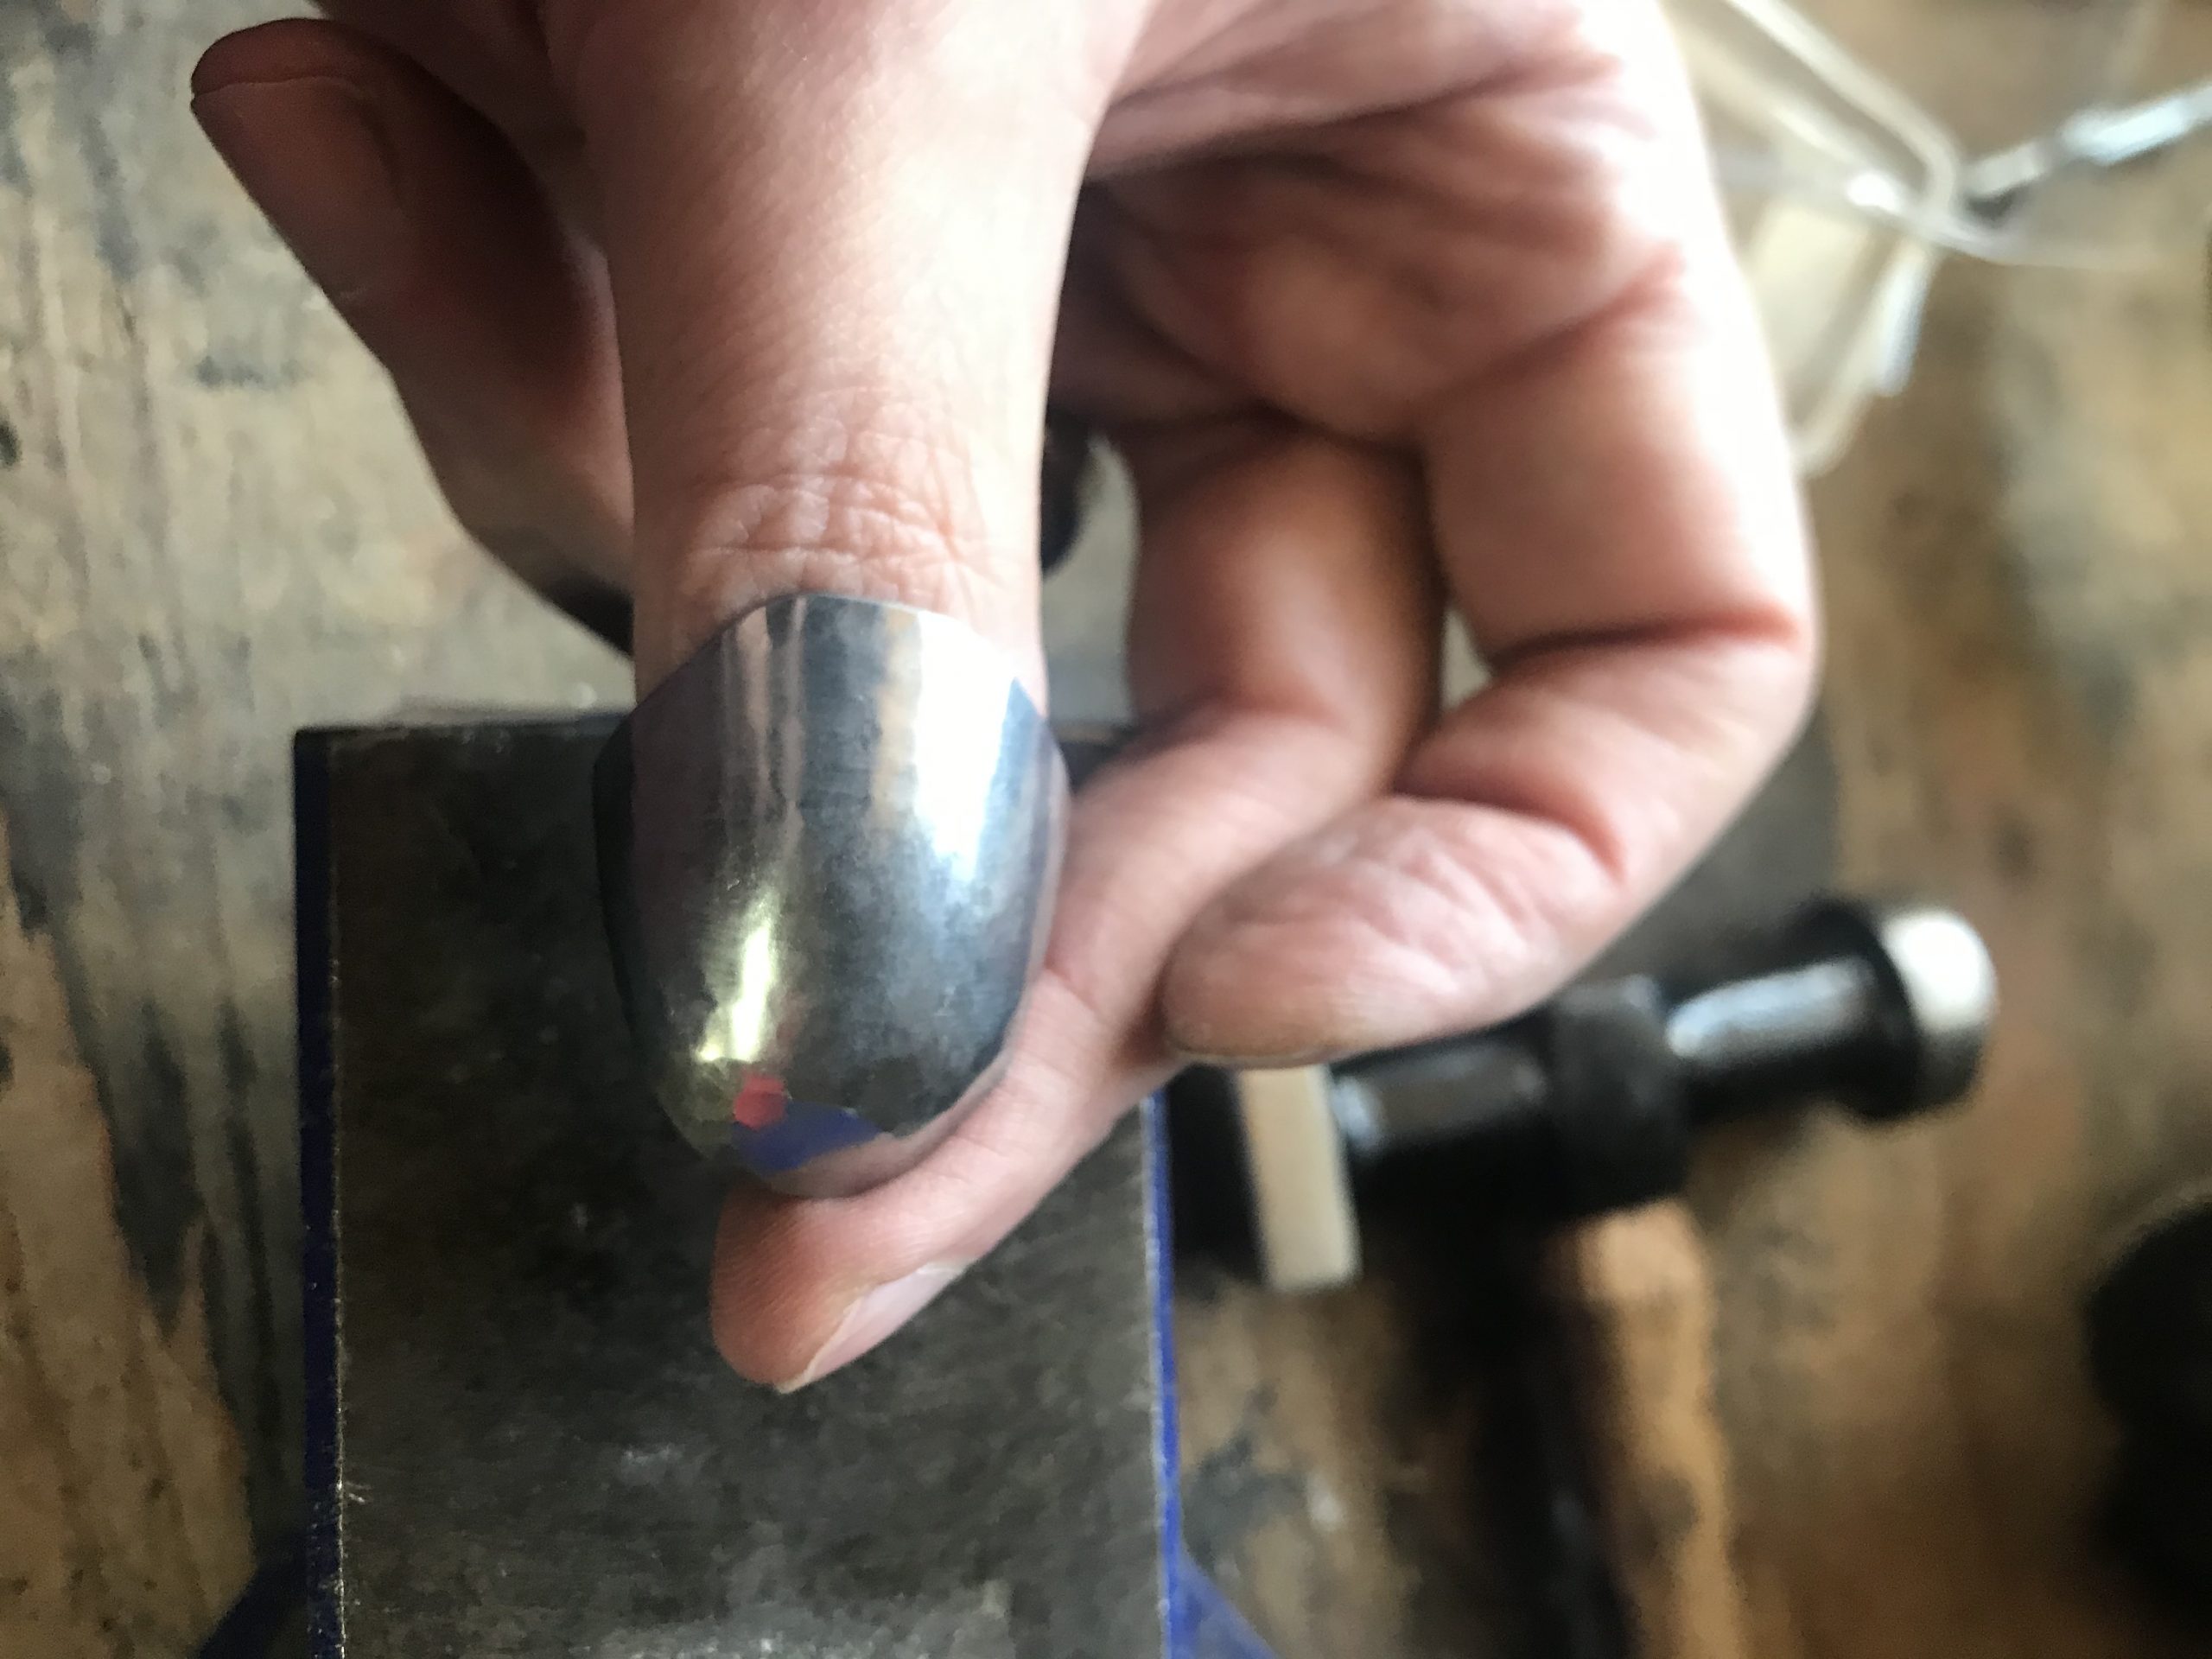
A final photo showing the outside of the thumb plate roughly where it will sit on my thumb – about 1/8″ forward from the bend of the knuckle. Note that almost the entire surface of the thumb shows light “faceting” from the planishing operation.
Finger Plates
The tools I use for finger plates are slightly different, as I use something approximating a swage made from a 3/4″ diameter rod to shape the plate after the initial dapping exercise.
As you can see, the initial plate looks very similar to a thumb plate, but instead of using the vice I put the whole assembly into a channel dapped into a lead block.
This gives a somewhat cleaner first impression and tends to eliminate the “bulge” of the fingertip. The striking tool is used as the base to planish the finger tip on, and the finger tips are then cut to length and ground in much the same way as the thumb plate.
Plate lengths
Lengths of the finger (and thumb) plates are as follows:
- Thumb – 1 1/2″
- Index Finger – 1 1/8″
- Middle Finger – 1 3/16″
- Ring finger – 1 1/8″
- Pinkie – 1″
Having made a number of finger gauntlets, these lengths are fairly typical and will fit most people as a decent “Men’s medium”. Exceptions are men with really large hands (who cannot cram their hands into my gauntlets) and some women who have very small hands. Smaller men and larger women may have a bit of “slop” in the fit, which moves the gauntlet plates away from the hand slightly. Wearing another glove inside the gauntlet seems to solve most of these fit issues, as the “arc” of the fingers extends out past the wearers fingers. Note that these dimensions assume a fairly tight fit, and may need to be extended if you want to add padding under the plates: this is not something that appears to have been done in extant armour, although the material that the plates were riveted to was typically buff leather, which is a fairly good shock absorber.