One of the things that many gauntlet reproductions don’t do (or do badly) is “droop” – the level of extension needed to break the wrist “down” toward the fingers. Wade Allen has a nice 1480 / 1490 gauntlet, and also has a nice photo showing what these should do:
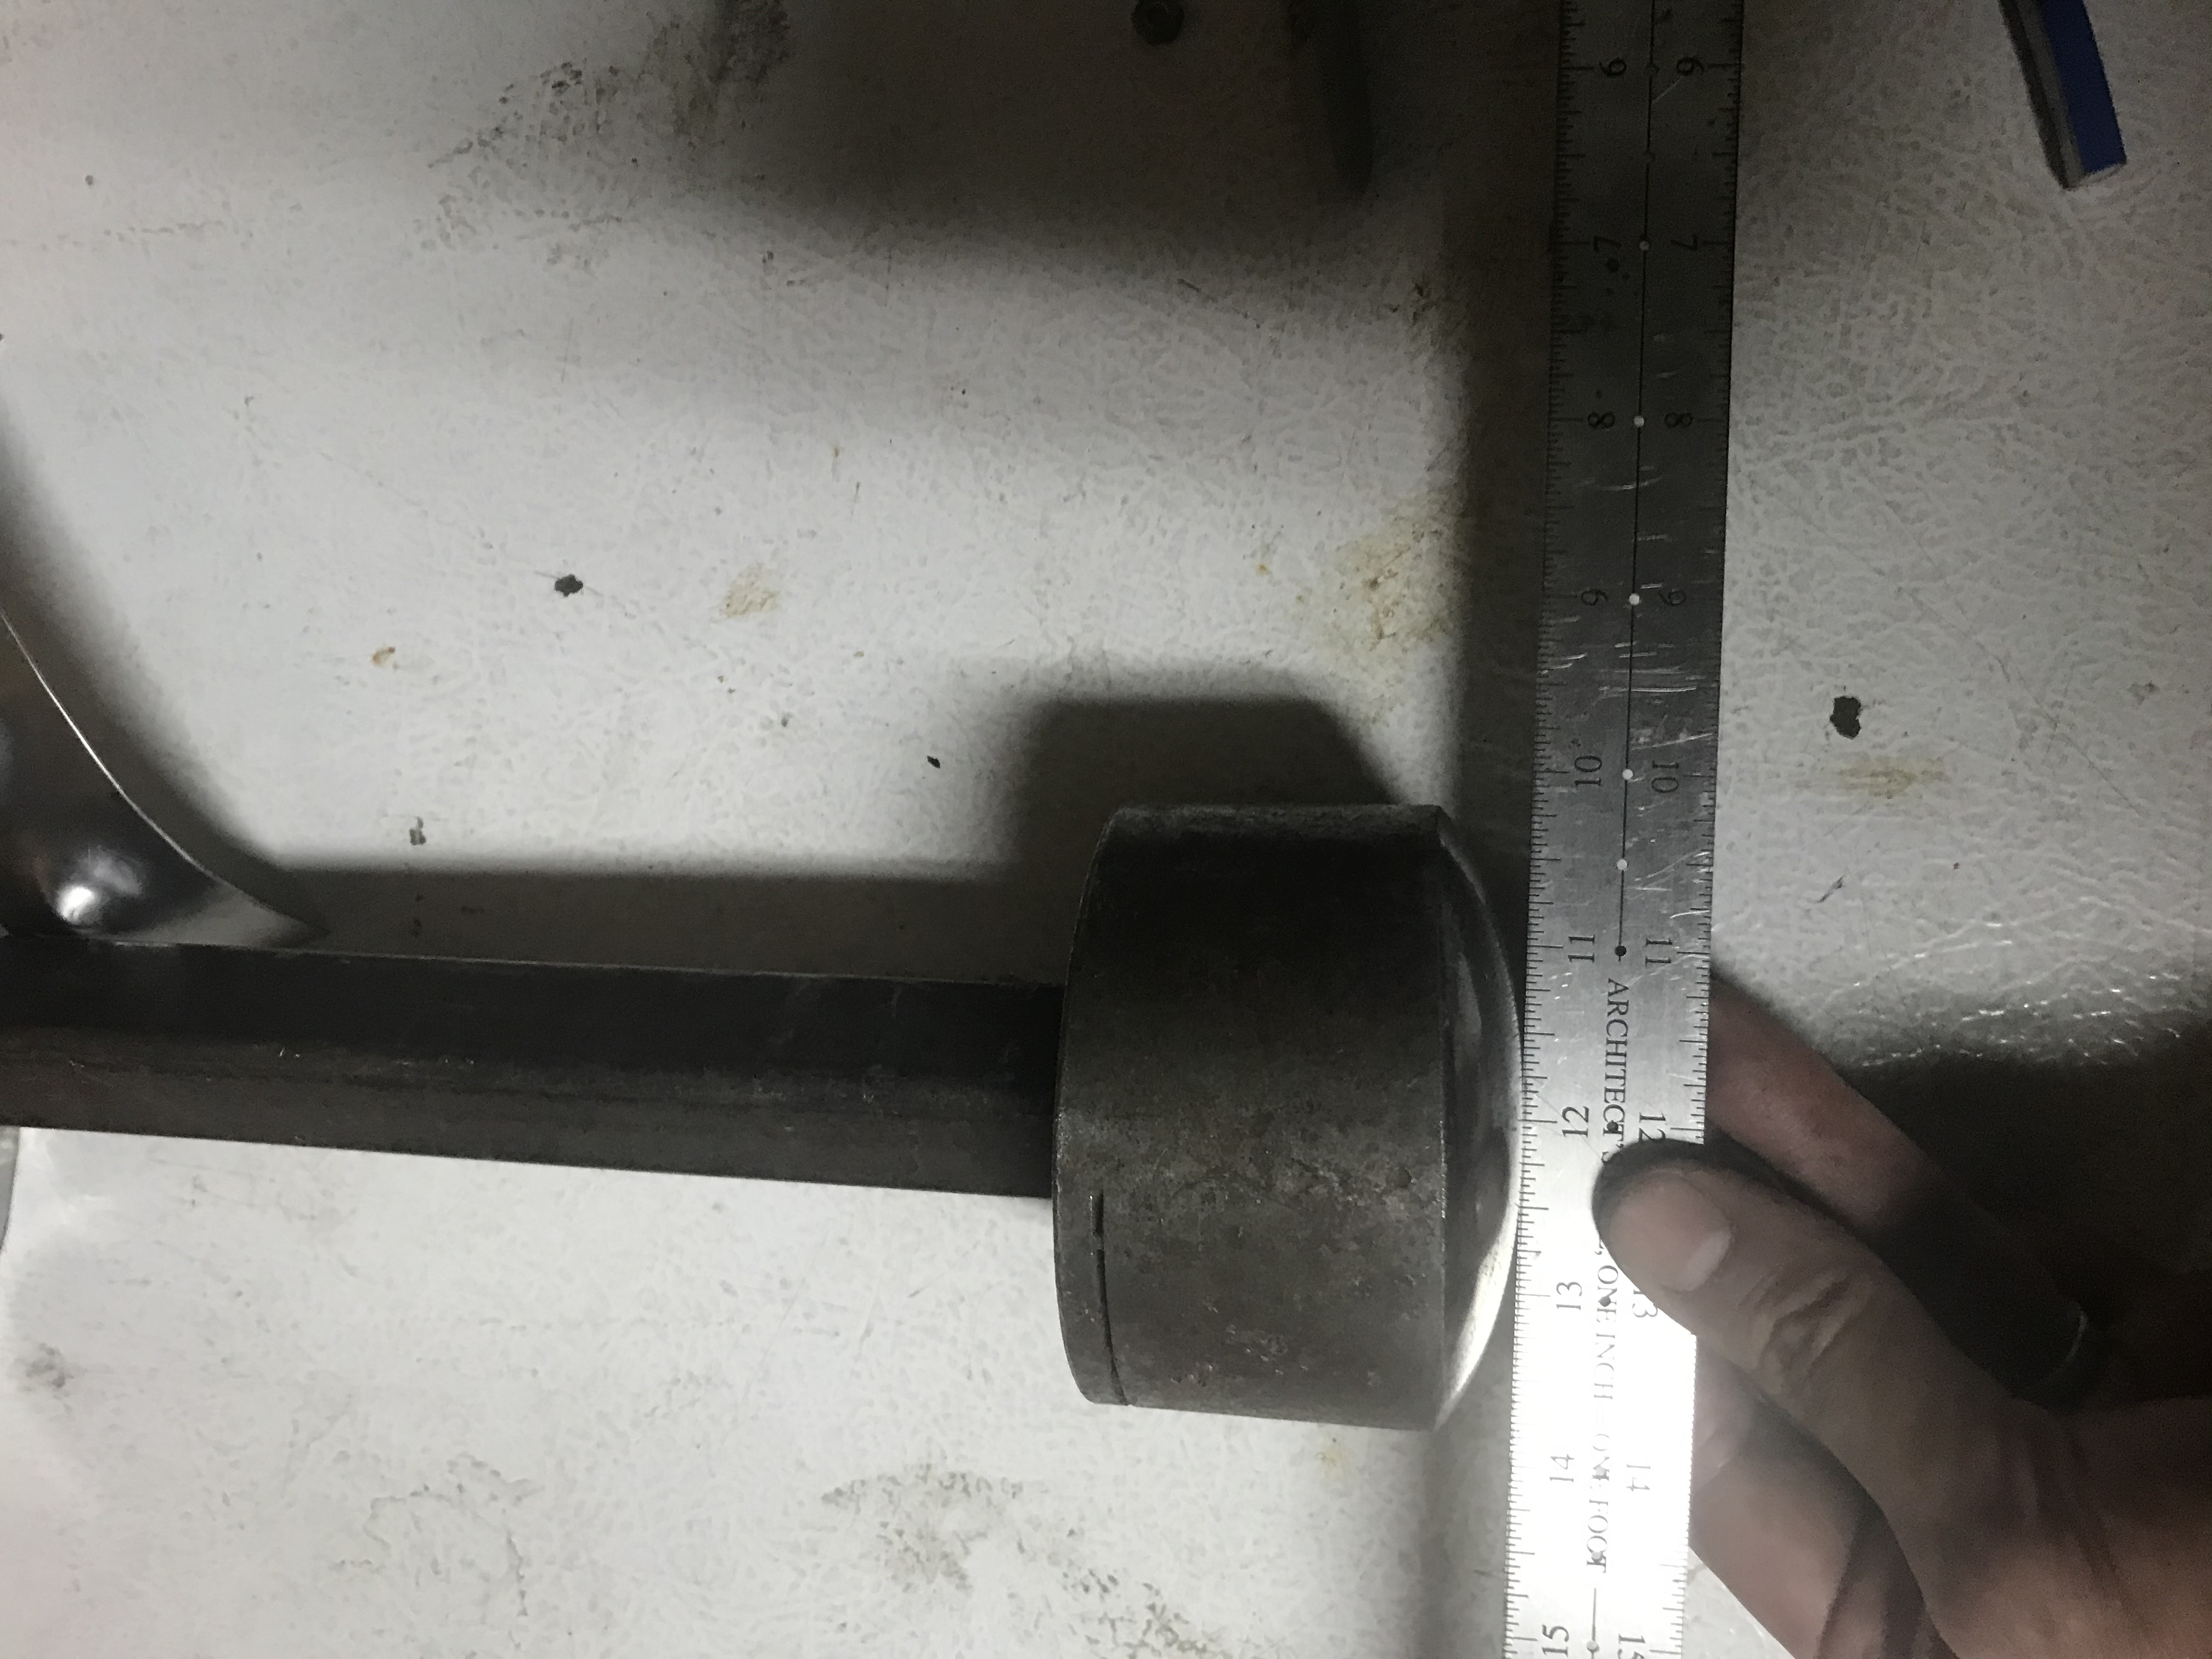
It isn’t much, but it’s enough so that the gauntlet won’t bind, and the limit of movement may be enough to keep wrist locks (or for fans of Fiore “keys”) from working well. This post will go into how I build gauntlets to make sure that I have enough “droop” and also get into how I set the slotted rivets to allow lateral movement, since this style of gauntlet is extremely close fitting, and requires approximately 1″ (25mm) of compression so that movement is not hindered.
Layout and Patterning
While computer assisted laser and water-jet cutting optimizes the layout to minimize metal wastage, in general you will waste considerably less metal (and time) if you make sure to have at least 1/2″ of space around each piece. While closer spacing uses less material, it doesn’t take a lot of mistakes (cutting through and ruining other pieces) to offset the material savings, and tight tolerances here will require more cutting time – and time is probably the most valuable component of these gauntlets: my cost breakdown was roughly $2 for leather, $15 for gloves, $3 for rivets (7 dozen rivets, more than half of these brass) and $5 for steel (largely 0.040″ / 1 mm / 20 Ga stainless steel)
Cutting and deburring
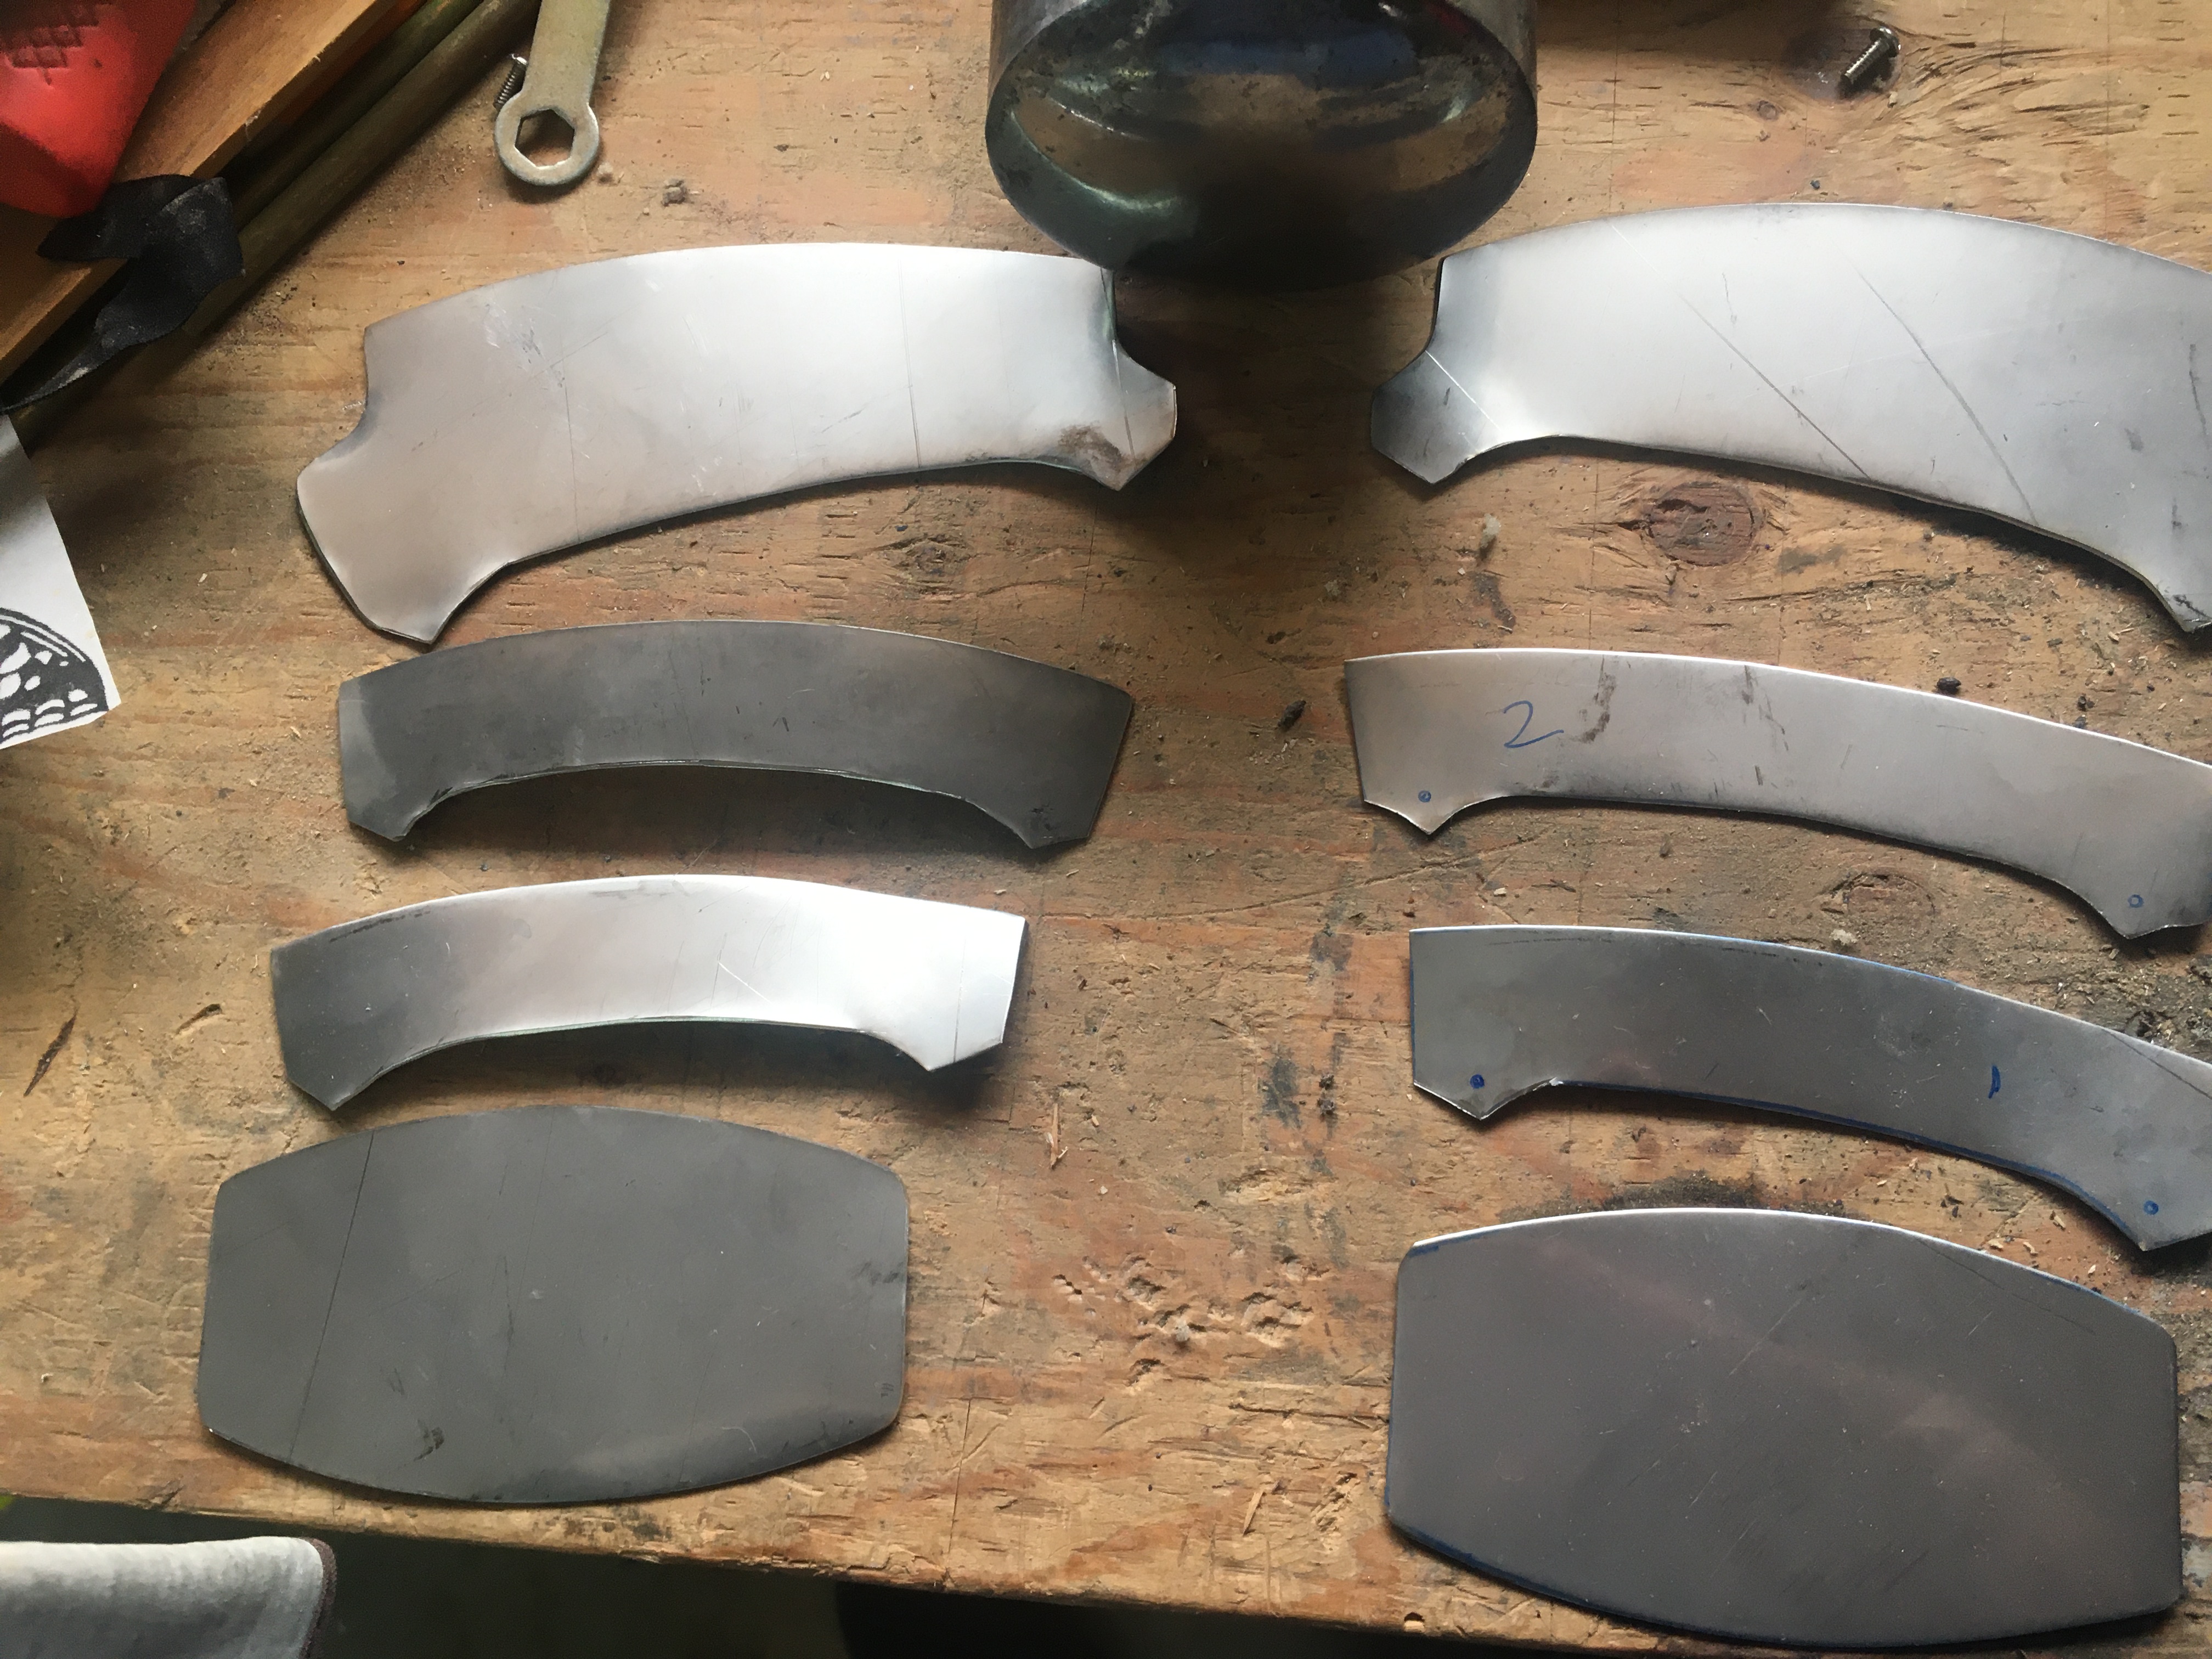
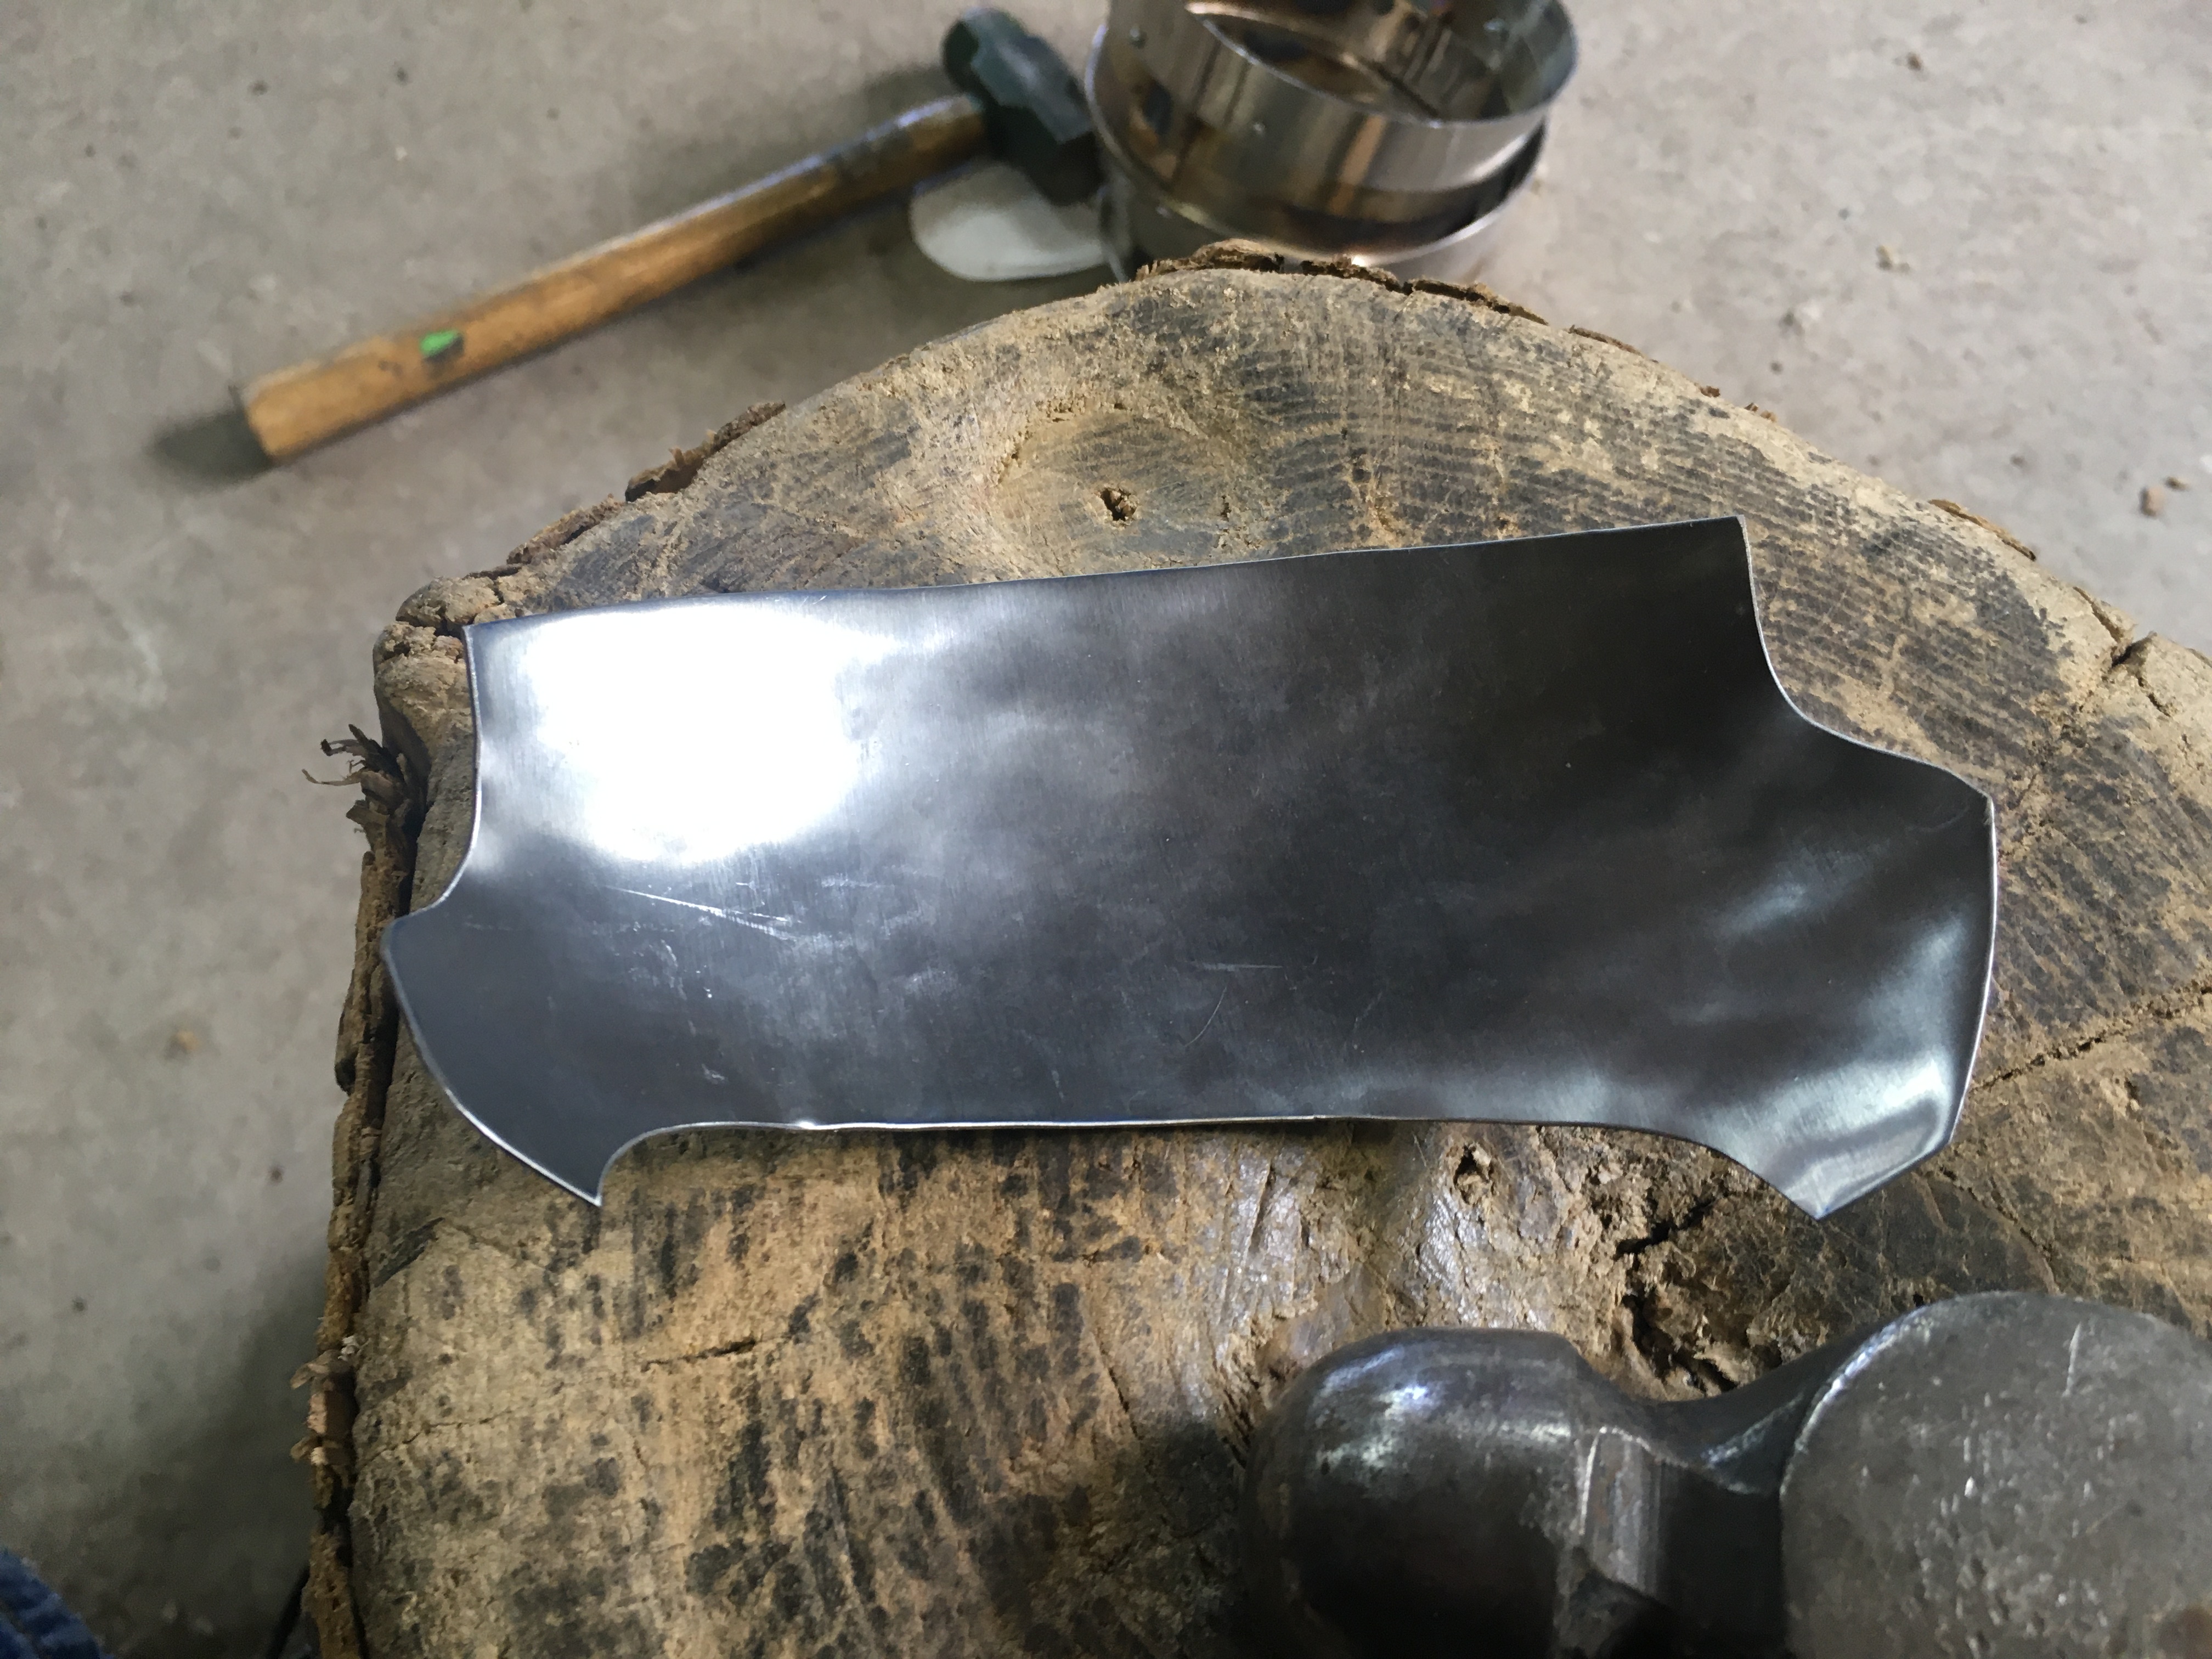
There are a number of sharp curves and transitions on these gauntlets, particularly on the “points” where rivets articulate. I have found that overall I save time if I use a jewelers saw to cut parts of these pieces. Using a Beverly shear for the entire job requires me to spend considerable time and effort straightening the pieces and grinding them to final shape, and this distortion introduced with the shear (and subsequent flattening) increases the construction difficulty as well. The pictures below show the parts where I use a jewelers saw – largely in the “tight” areas of the pattern such as the gauntlet “points” – I will cut back to where the curve flattens out, then use the beverly to cut to these areas, and finish the curves with the Beverly shear.


Shaping the plates
While it appears as if the demi-gauntlet is made of flat plates, this is actually something of an optical illusion: all of the plates are slightly dished, and this combined with the significant overlap between the plates adds significantly to the strength of the piece. To make sure that I have the right amount of curvature I start by lightly dishing all of the plates (other than the cuff) into a wood stump to minimize marring, and then planish onto a fairly shallow planishing stake. Here is the first pass of rough dishing, using a 3 lb (1.25 kg) hammer with a very broad face: this takes about a minute per plate, and my focus is on striking all parts of the piece without leaving major lumps.
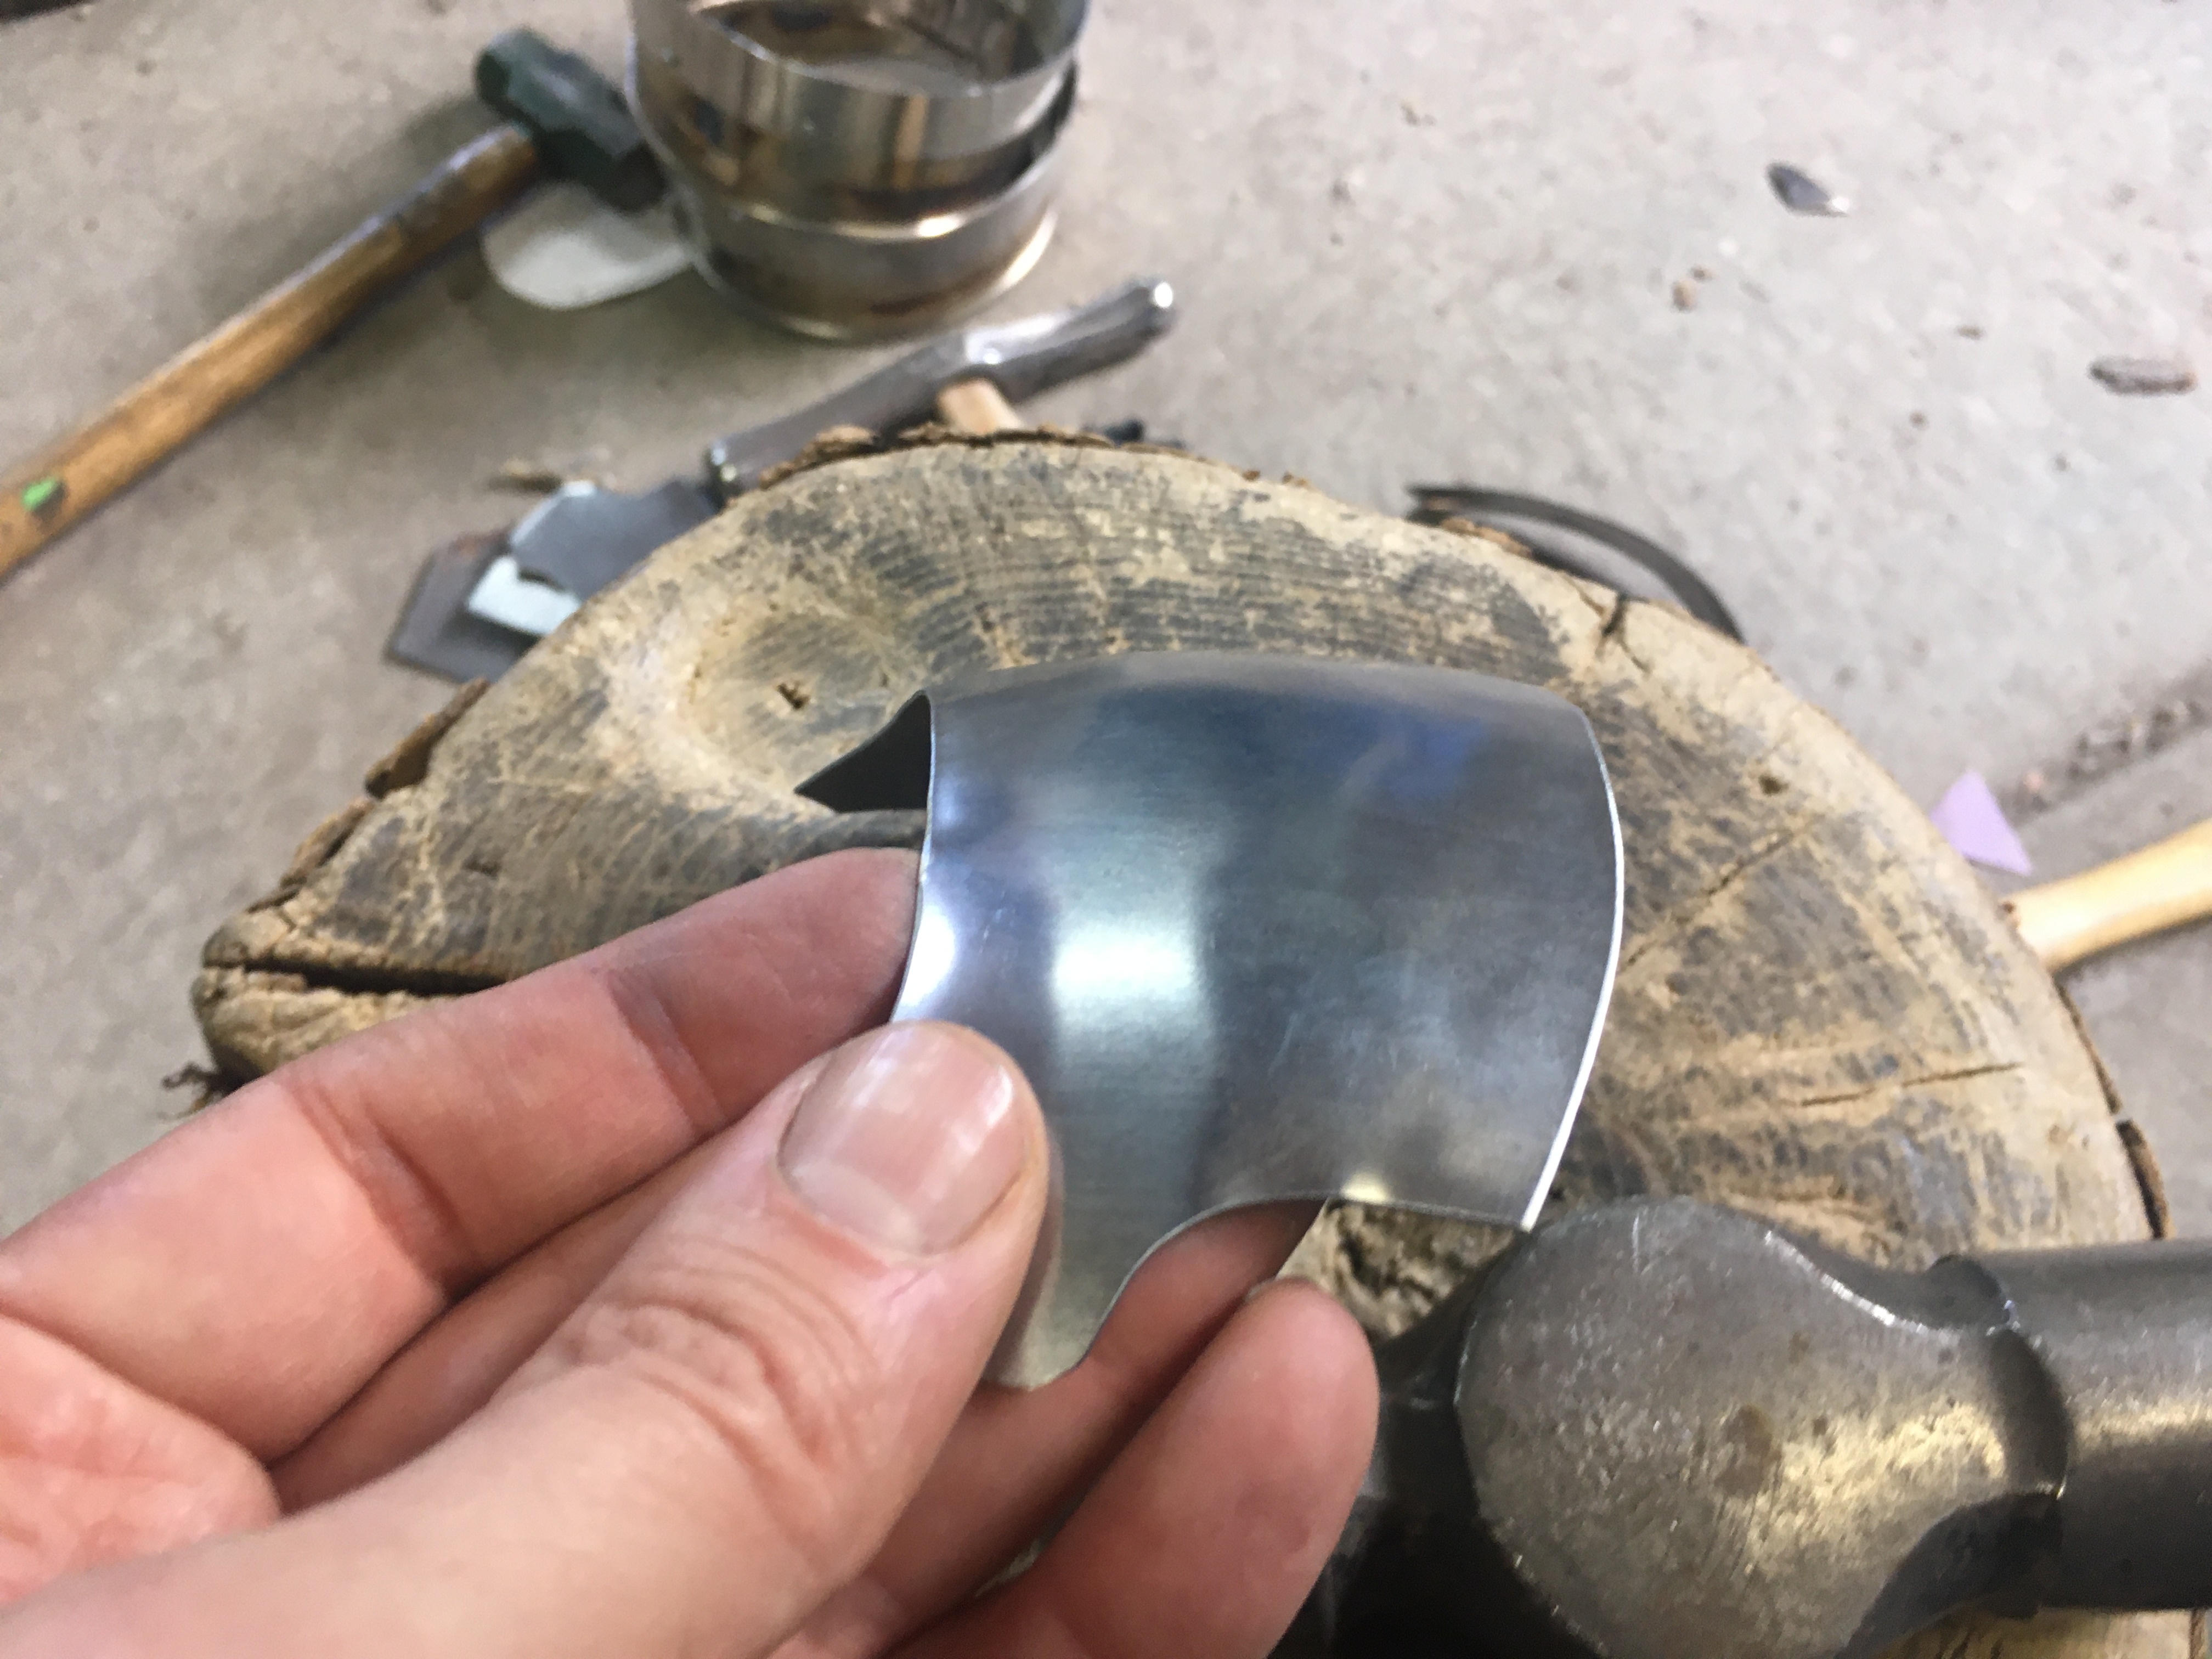
Once the plates are roughly shaped, I will planish them onto a very broad planishing stake (I built this stake for shoulders, so it is very shallow). My preference is to use a rawhide mallet for planishing. It is probably worth noting that in the past I have simply used the mallet to raise the curve using this stake, but dishing first saves me time – planishing takes about a minute or two per plate, raising takes about 5 minutes per plate. In the background of the planishing picture you can see the two hammers I use most often for this, a small rawhide mallet and an autobody planishing hammer.
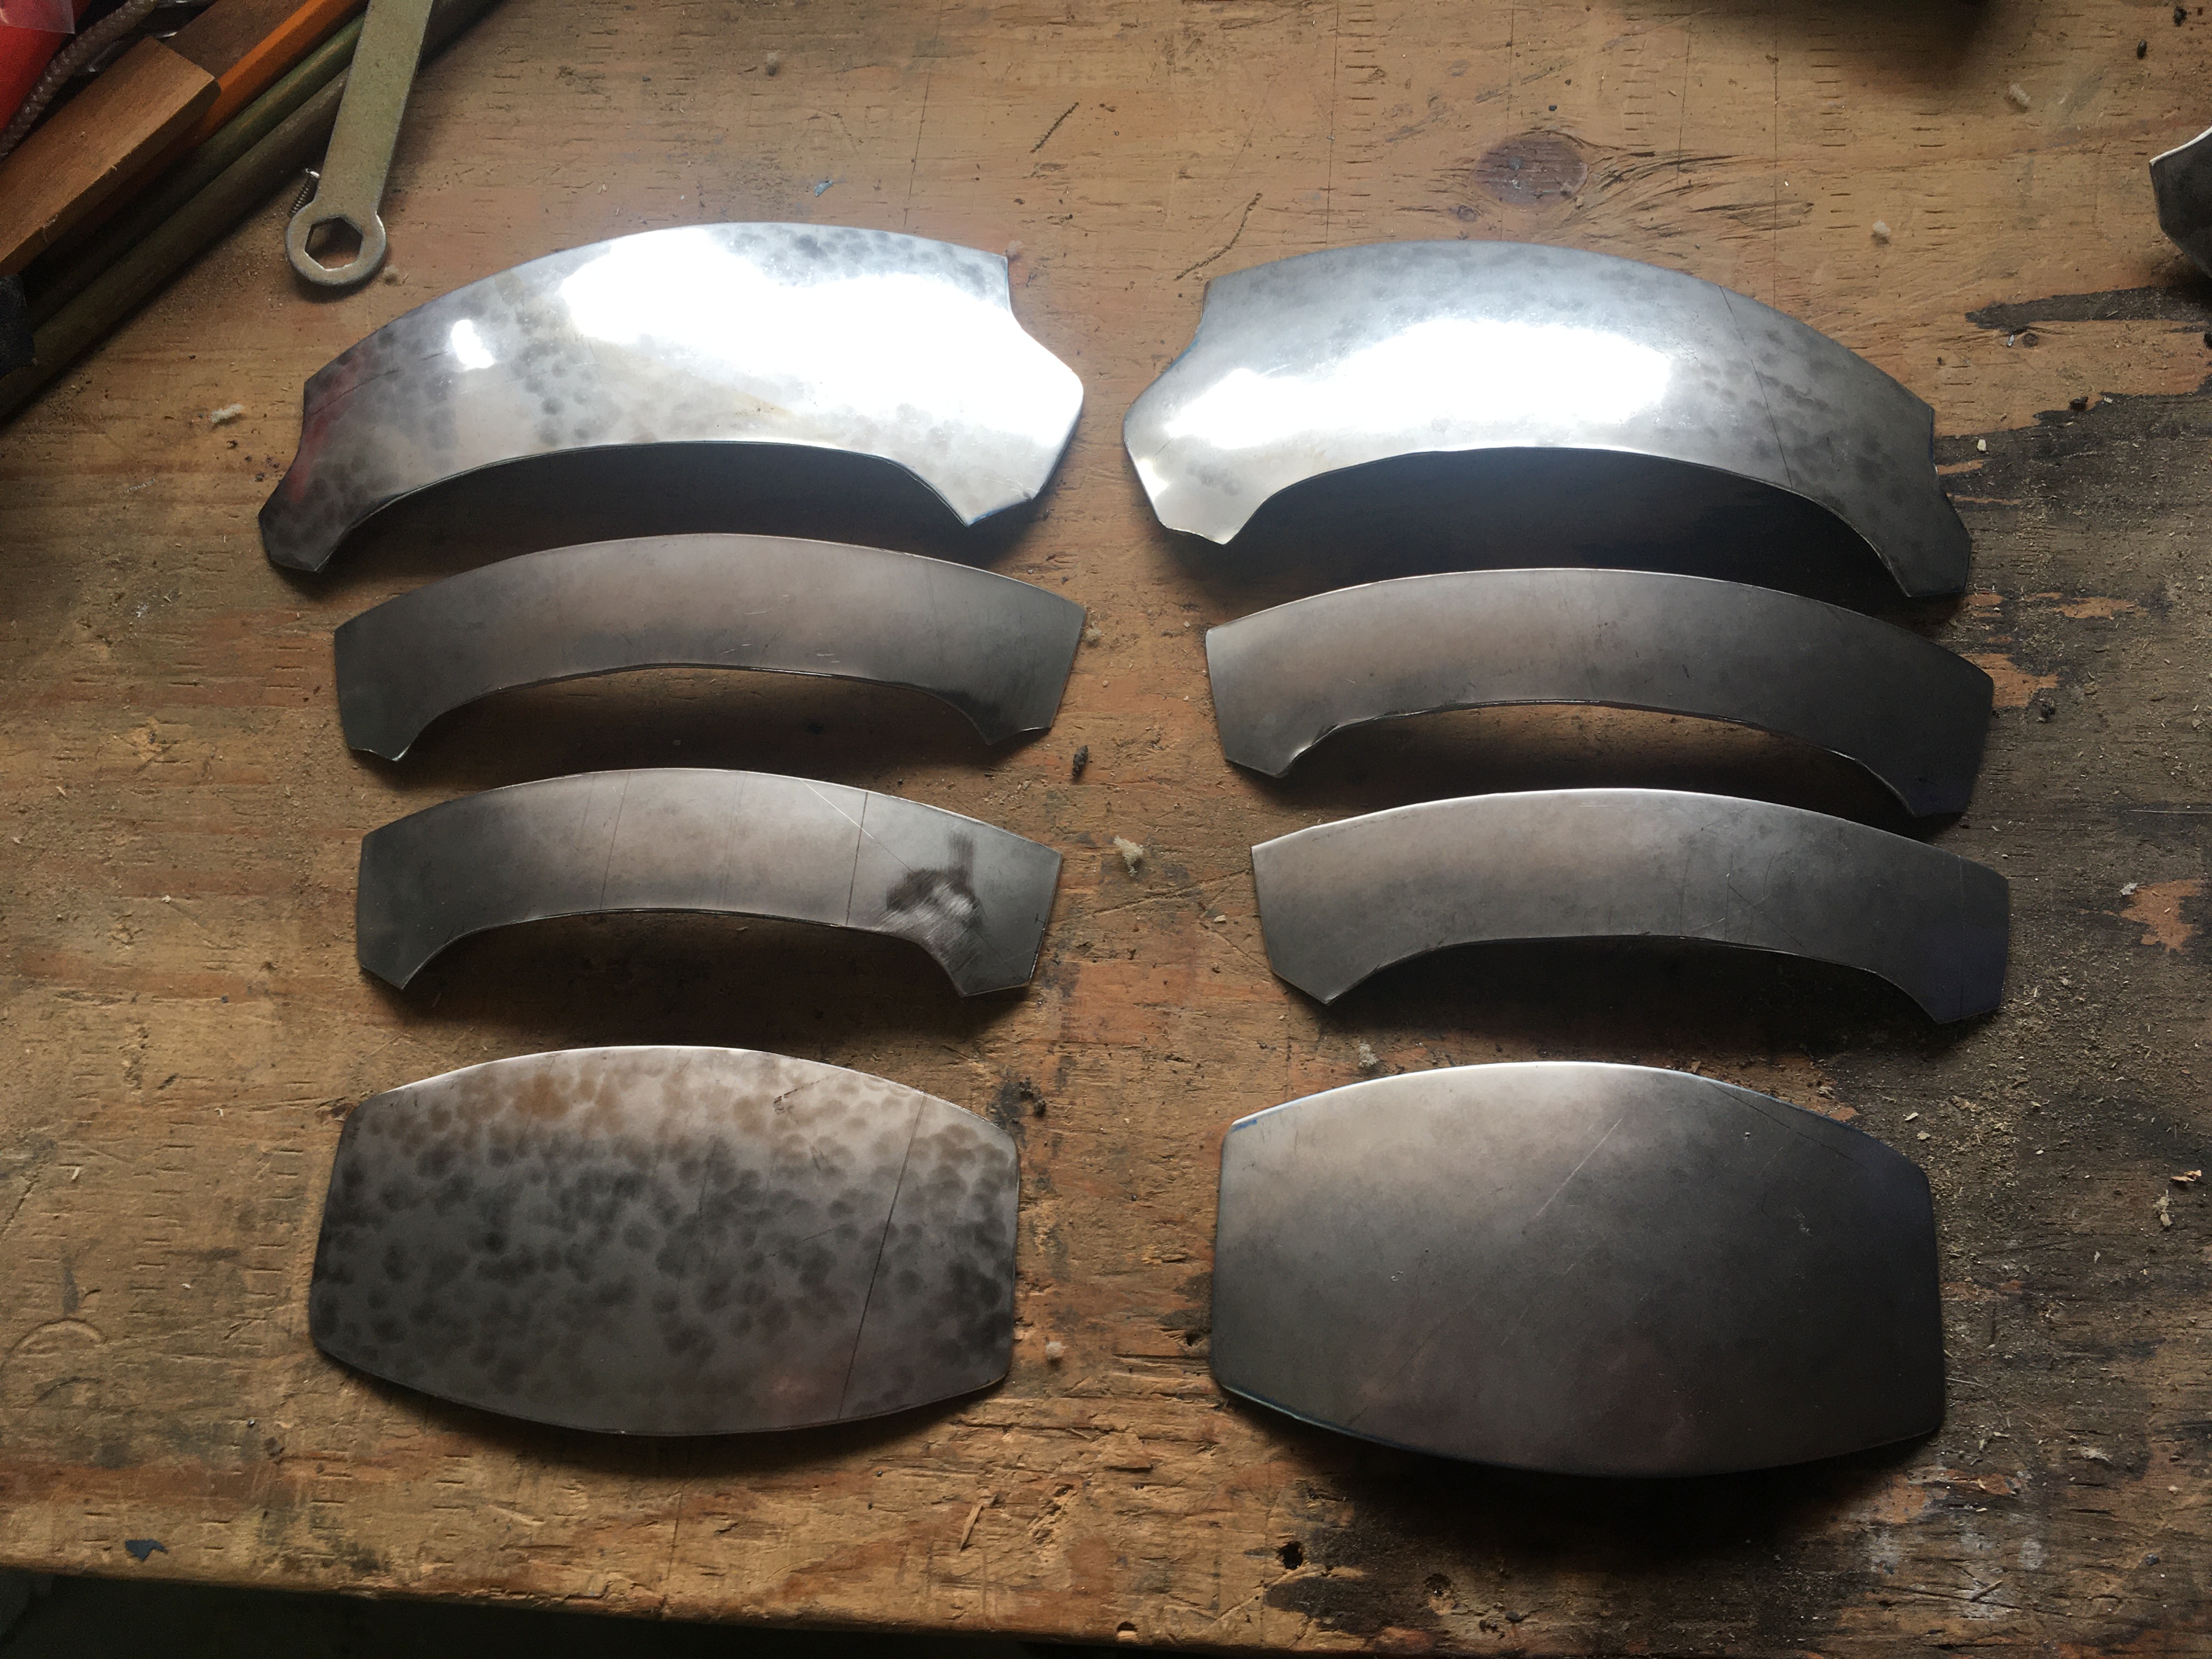
Once planished, the curvature of all of the plates is quite consistent: here is a stack of them (a pair of gauntlets) nesting inside one another, while the second picture shows the very small curvature that can be seen across a single plate


Articulating the gauntlet
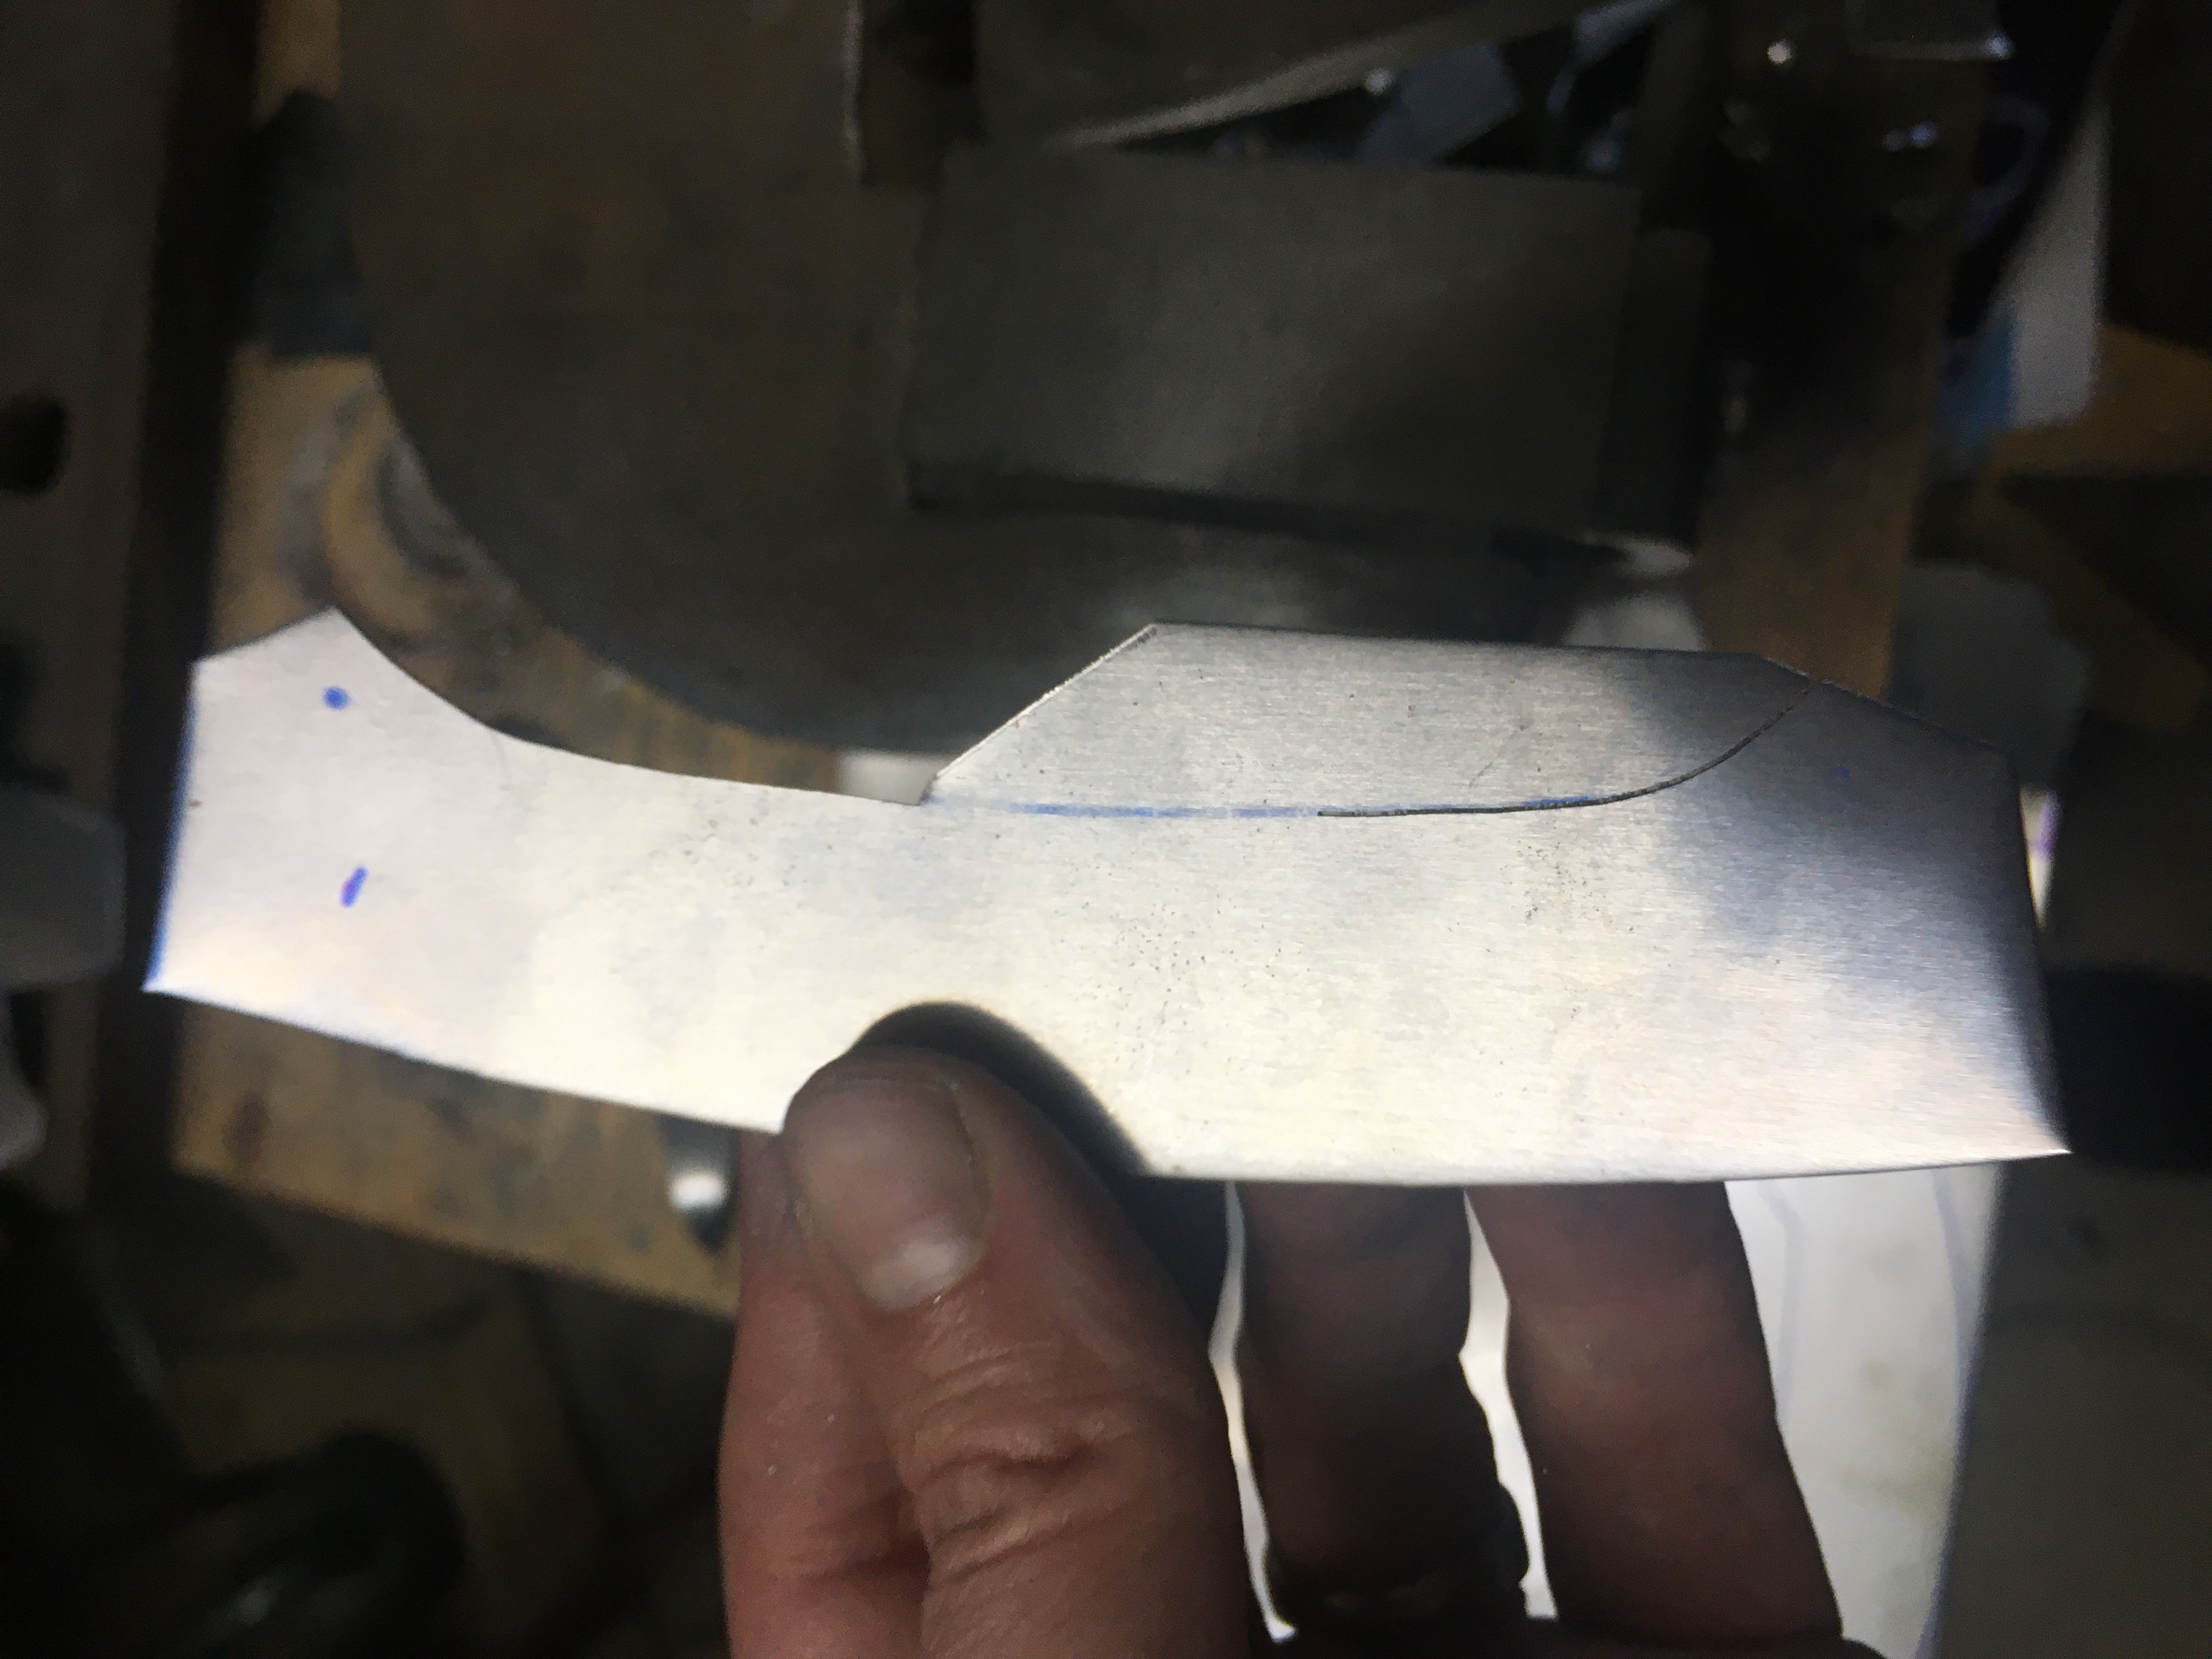
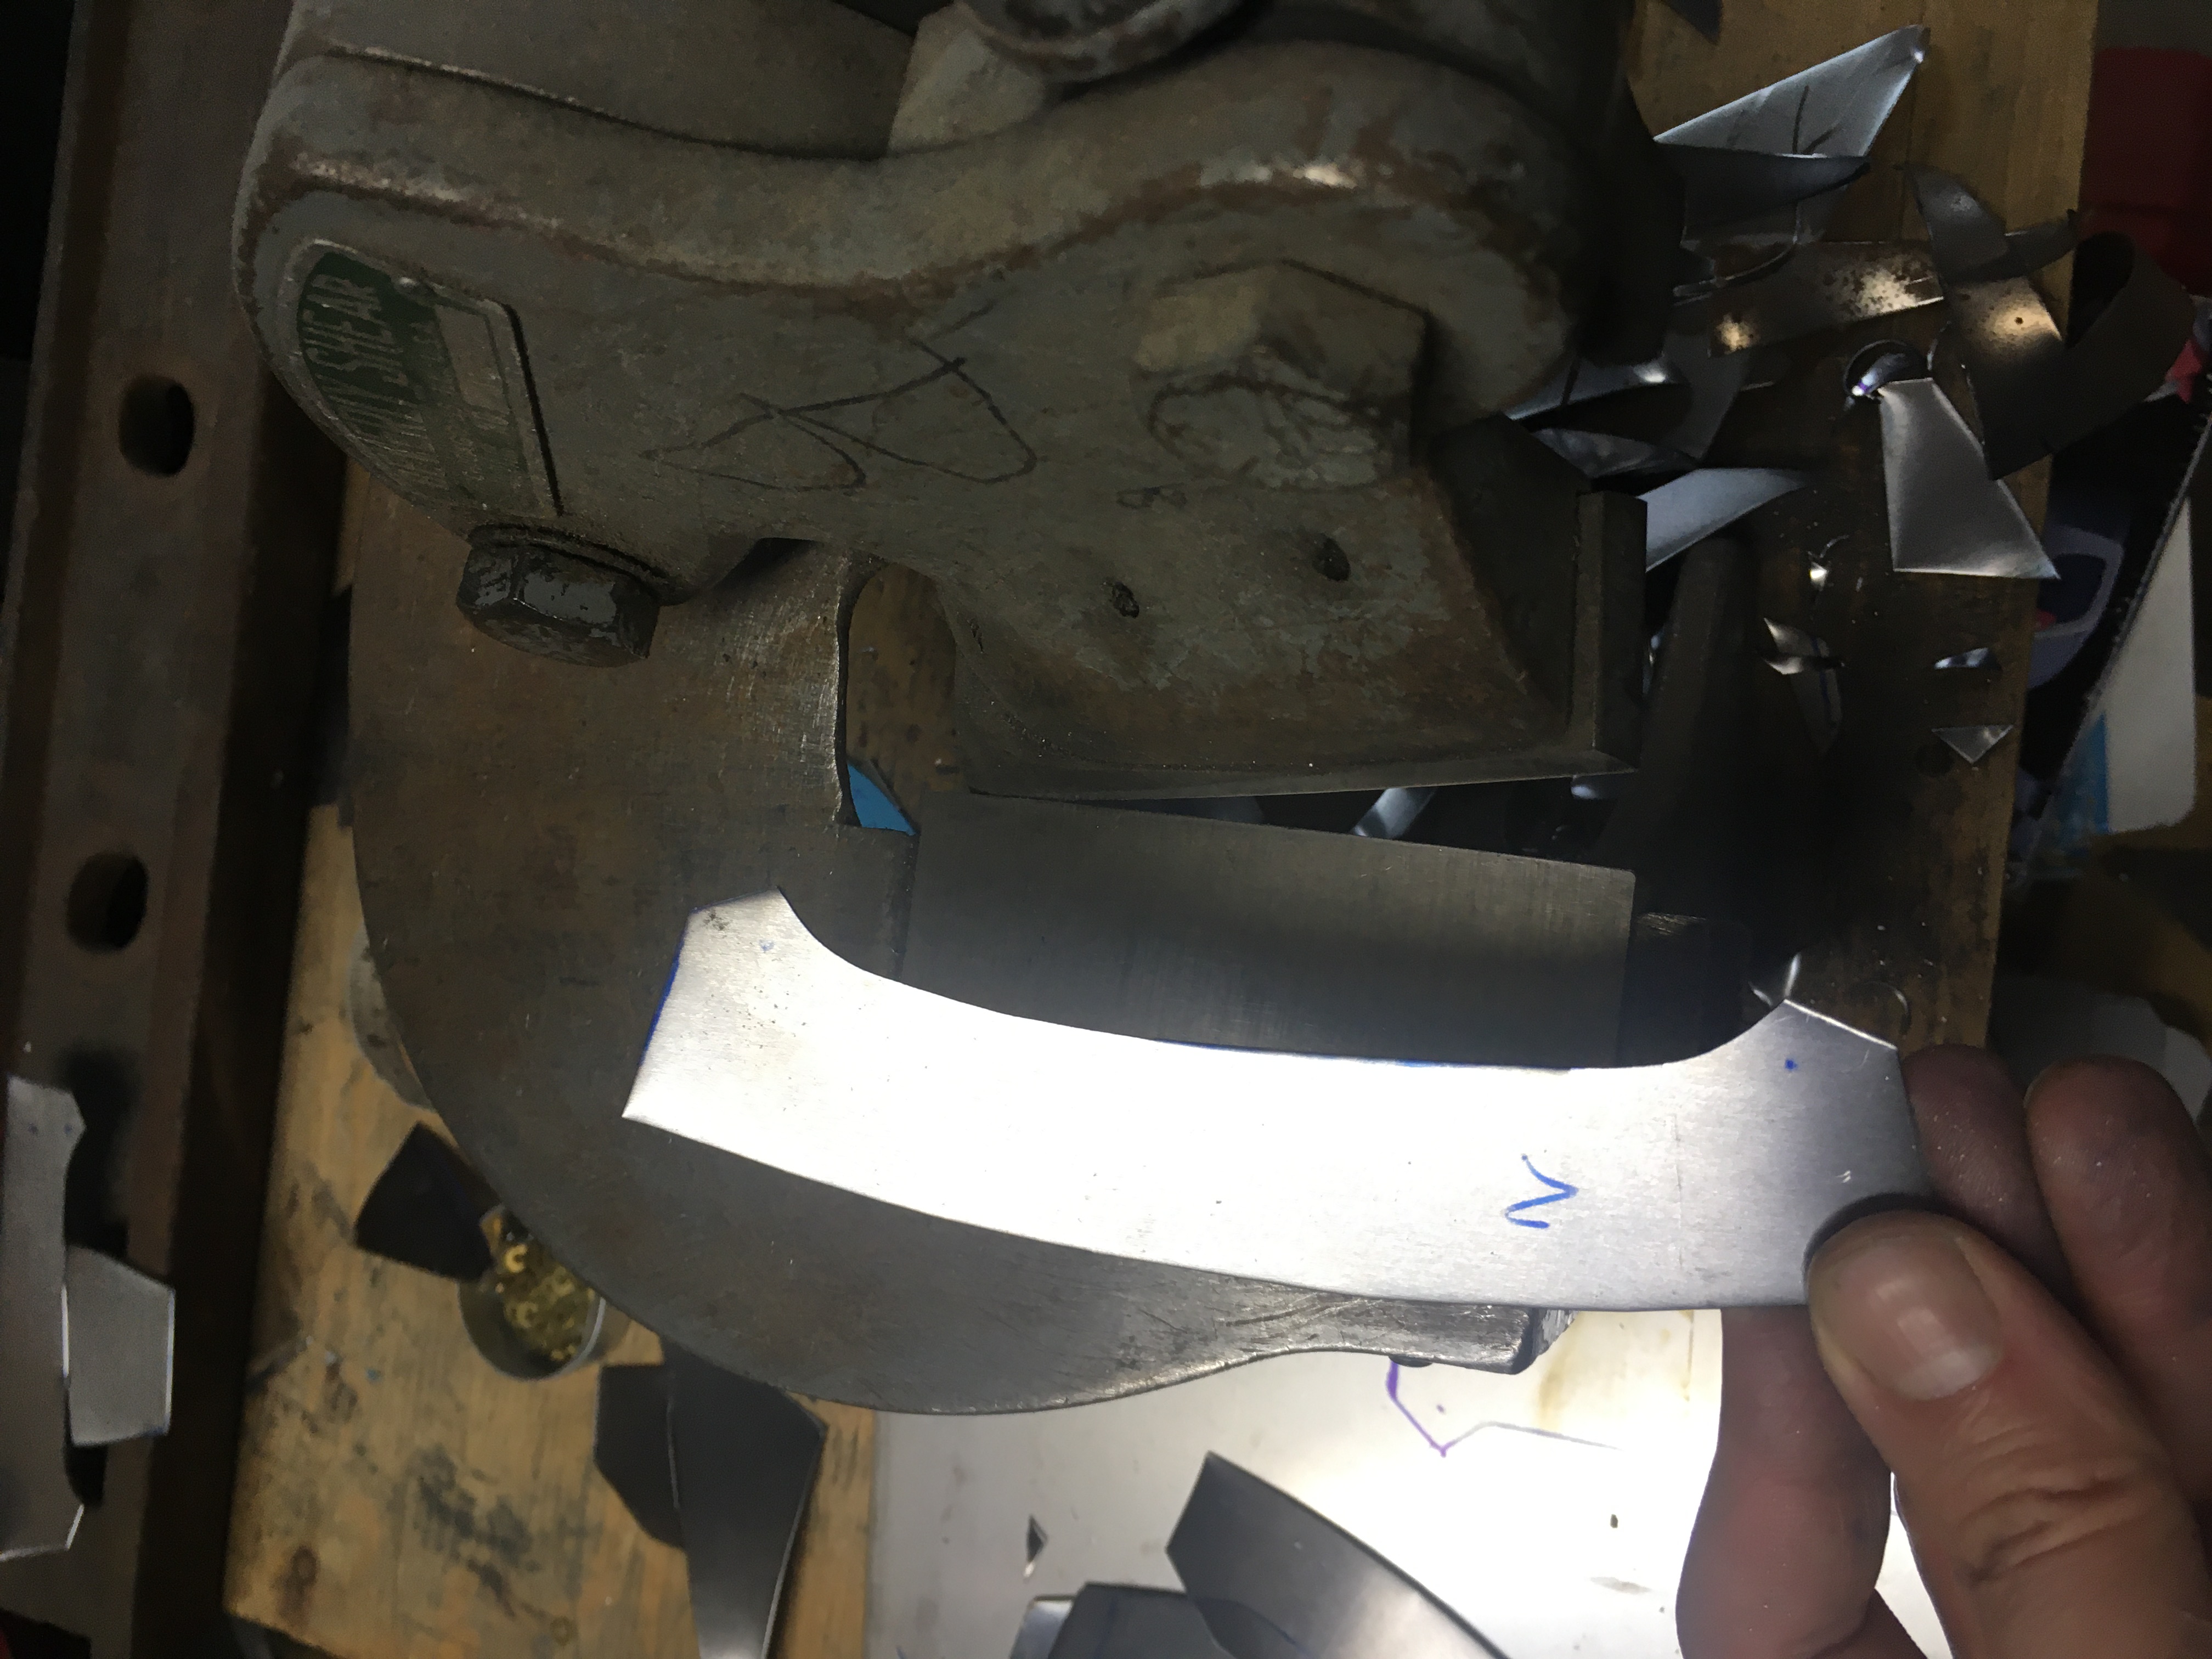
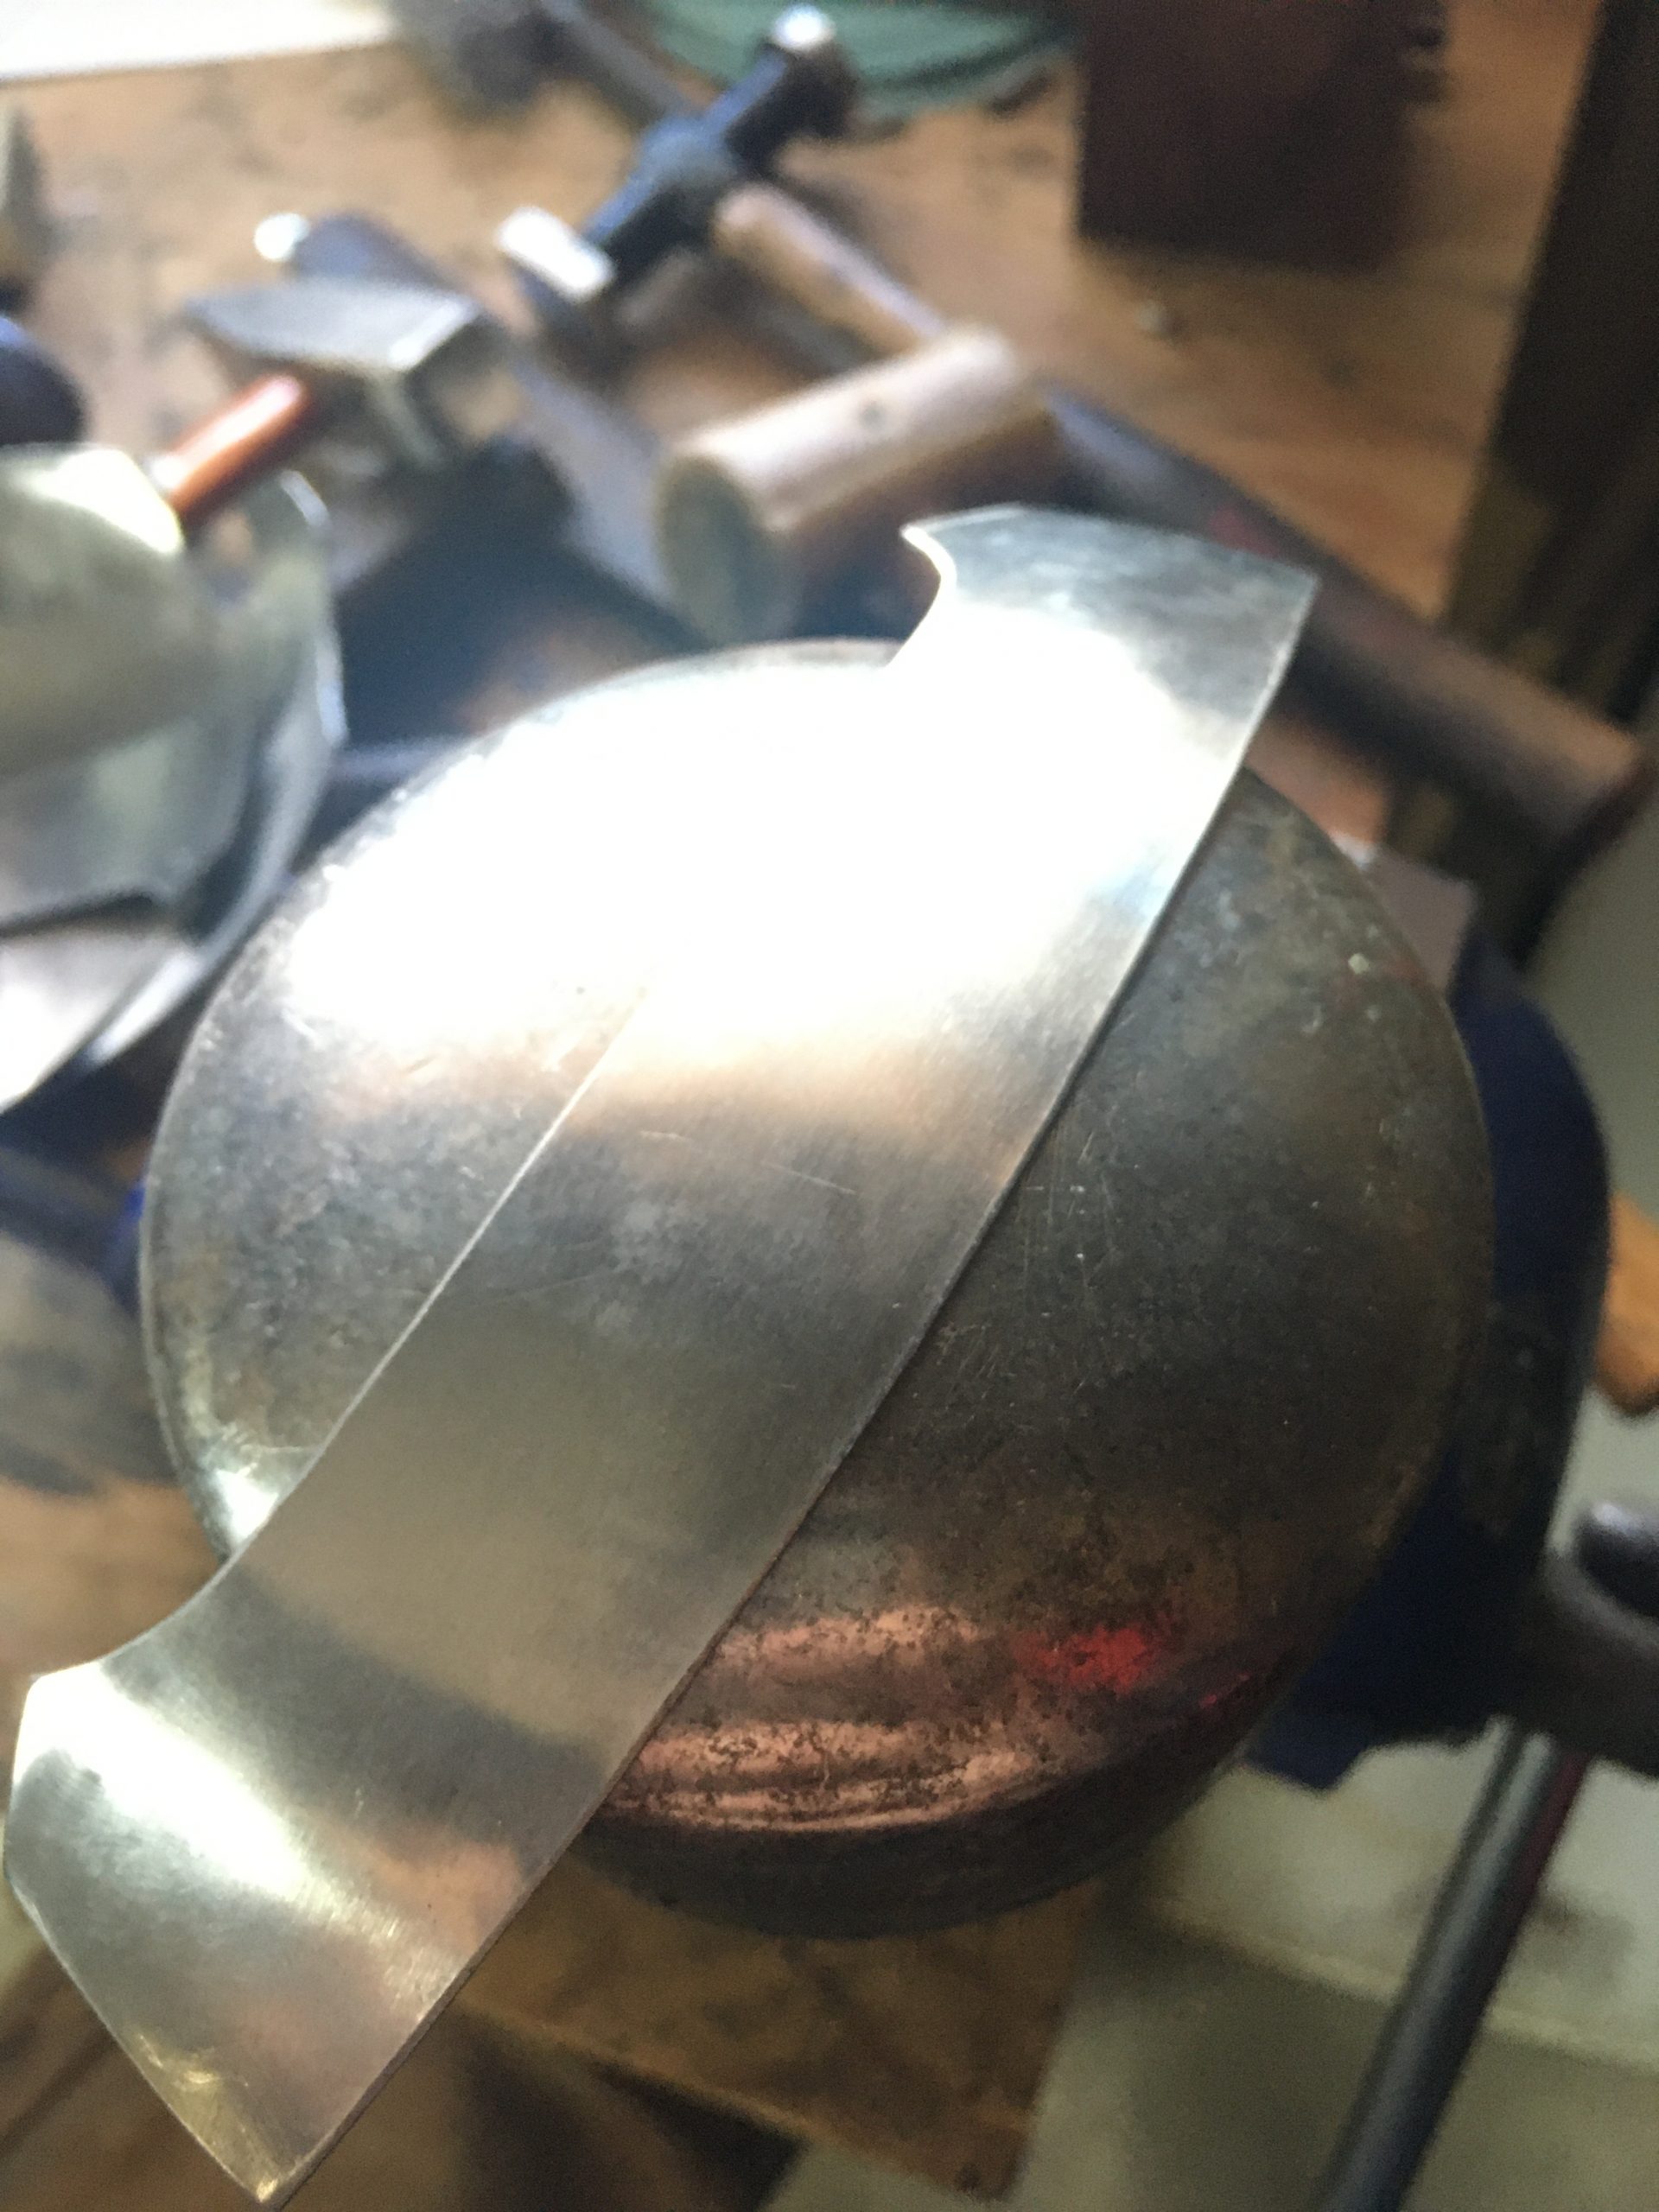
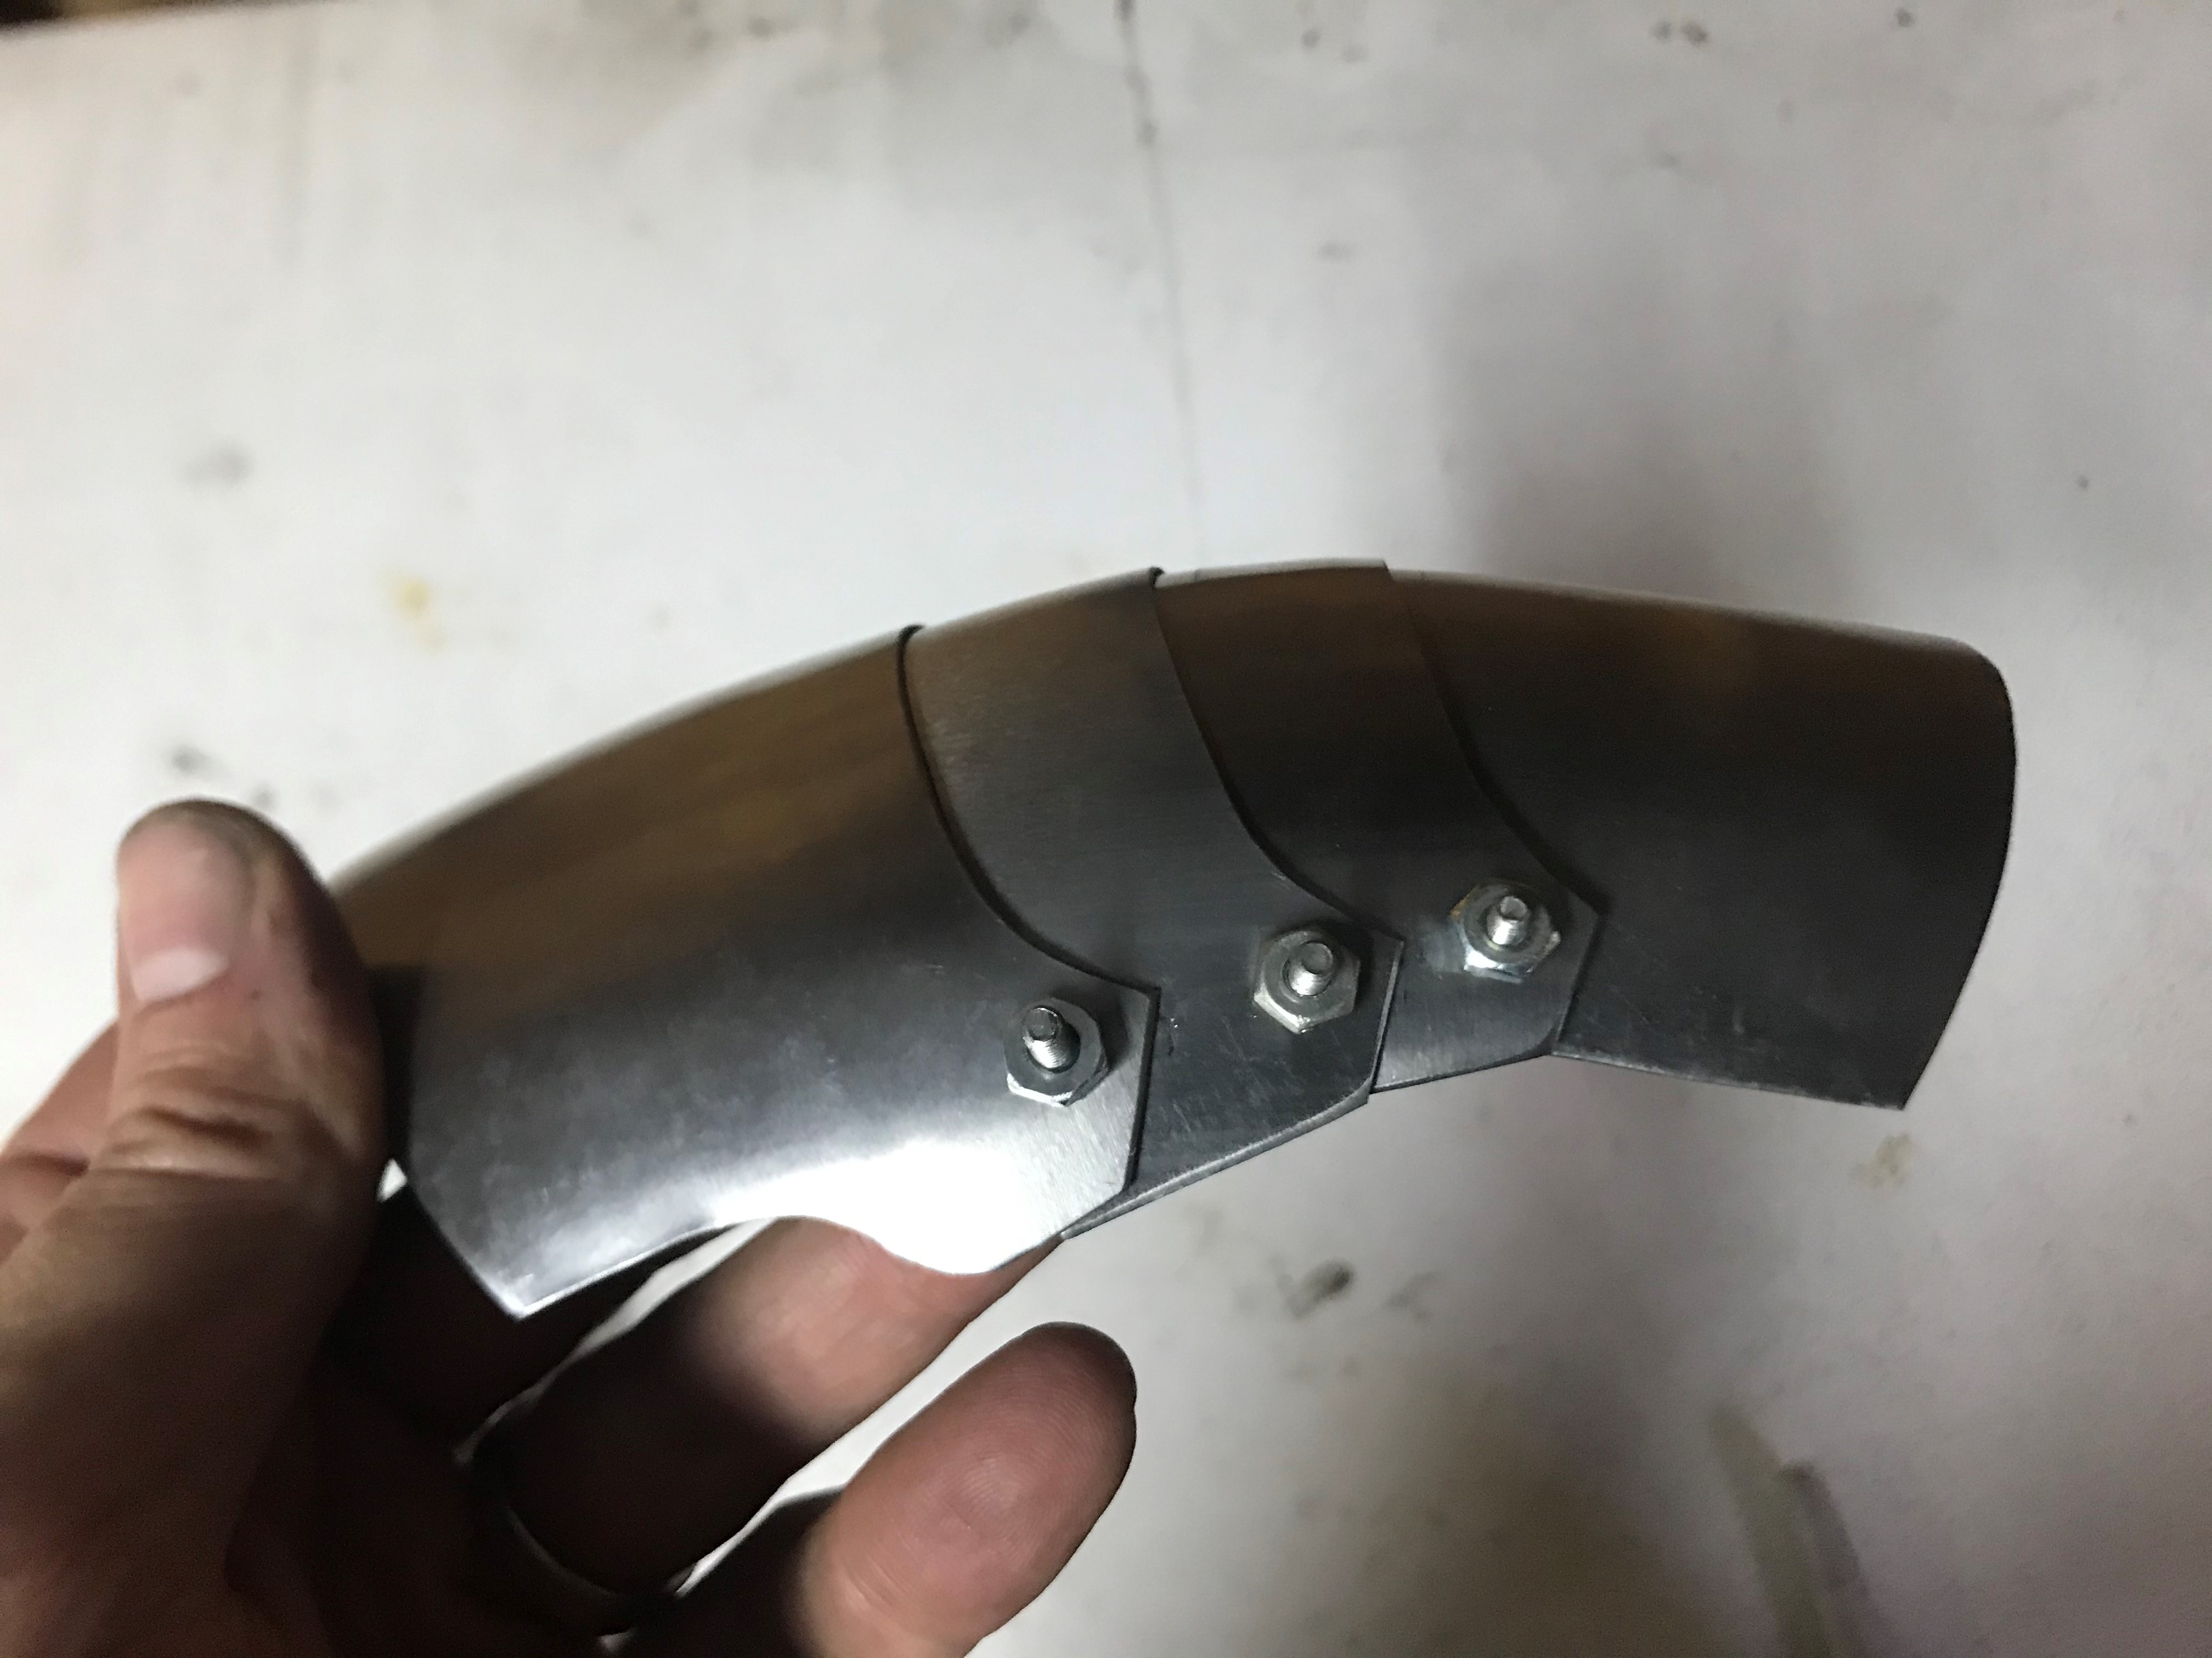
Once the plates are planished, I use a 2″ diameter steel rod to shape them into roughly conical sections. These nest fairly easily, and the articulation is fairly straightforward: first punch the articulation holes on the plates (I use dividers to scribe lines on the inside 1/4″ from the “points” on the plate edges: where these cross is where I put the articulation holes. I then scribe the leading edge of the “underlapping” plate 1/4″ back from the leading edge and simply rest the plates on top of each other so that they are roughly aligned. This gives me the vertical placement which I mark. It’s worth spending a minute or so to make sure that the alignment is more or less symmetric, since you don’t want one hole 1/4″ from the lower edge and the second 3/4″, with this pattern I the articulation holes tend to be around 1/2″ from the bottom of the plates. Once you have decent alignment then punch one hole, put in a bolt and make sure that the second point is near the middle of the hole as you articulate it. As you come to the limit of articulation the “dot” will try to wander out of this hole (and this plate binding is what causes the plates to “lock” when you reach the limit of articulation. If the holes line up well then punch the second one, if not then adjust until it does and then punch the second hole. Once the plates are rough shaped they will look like the below plates, and the second photo shows the “hand” section completed before the additional (slot) rivets are punched: if the piece doesn’t fall into a graceful arc just with the (minimal) weight of the pieces, more work is needed!

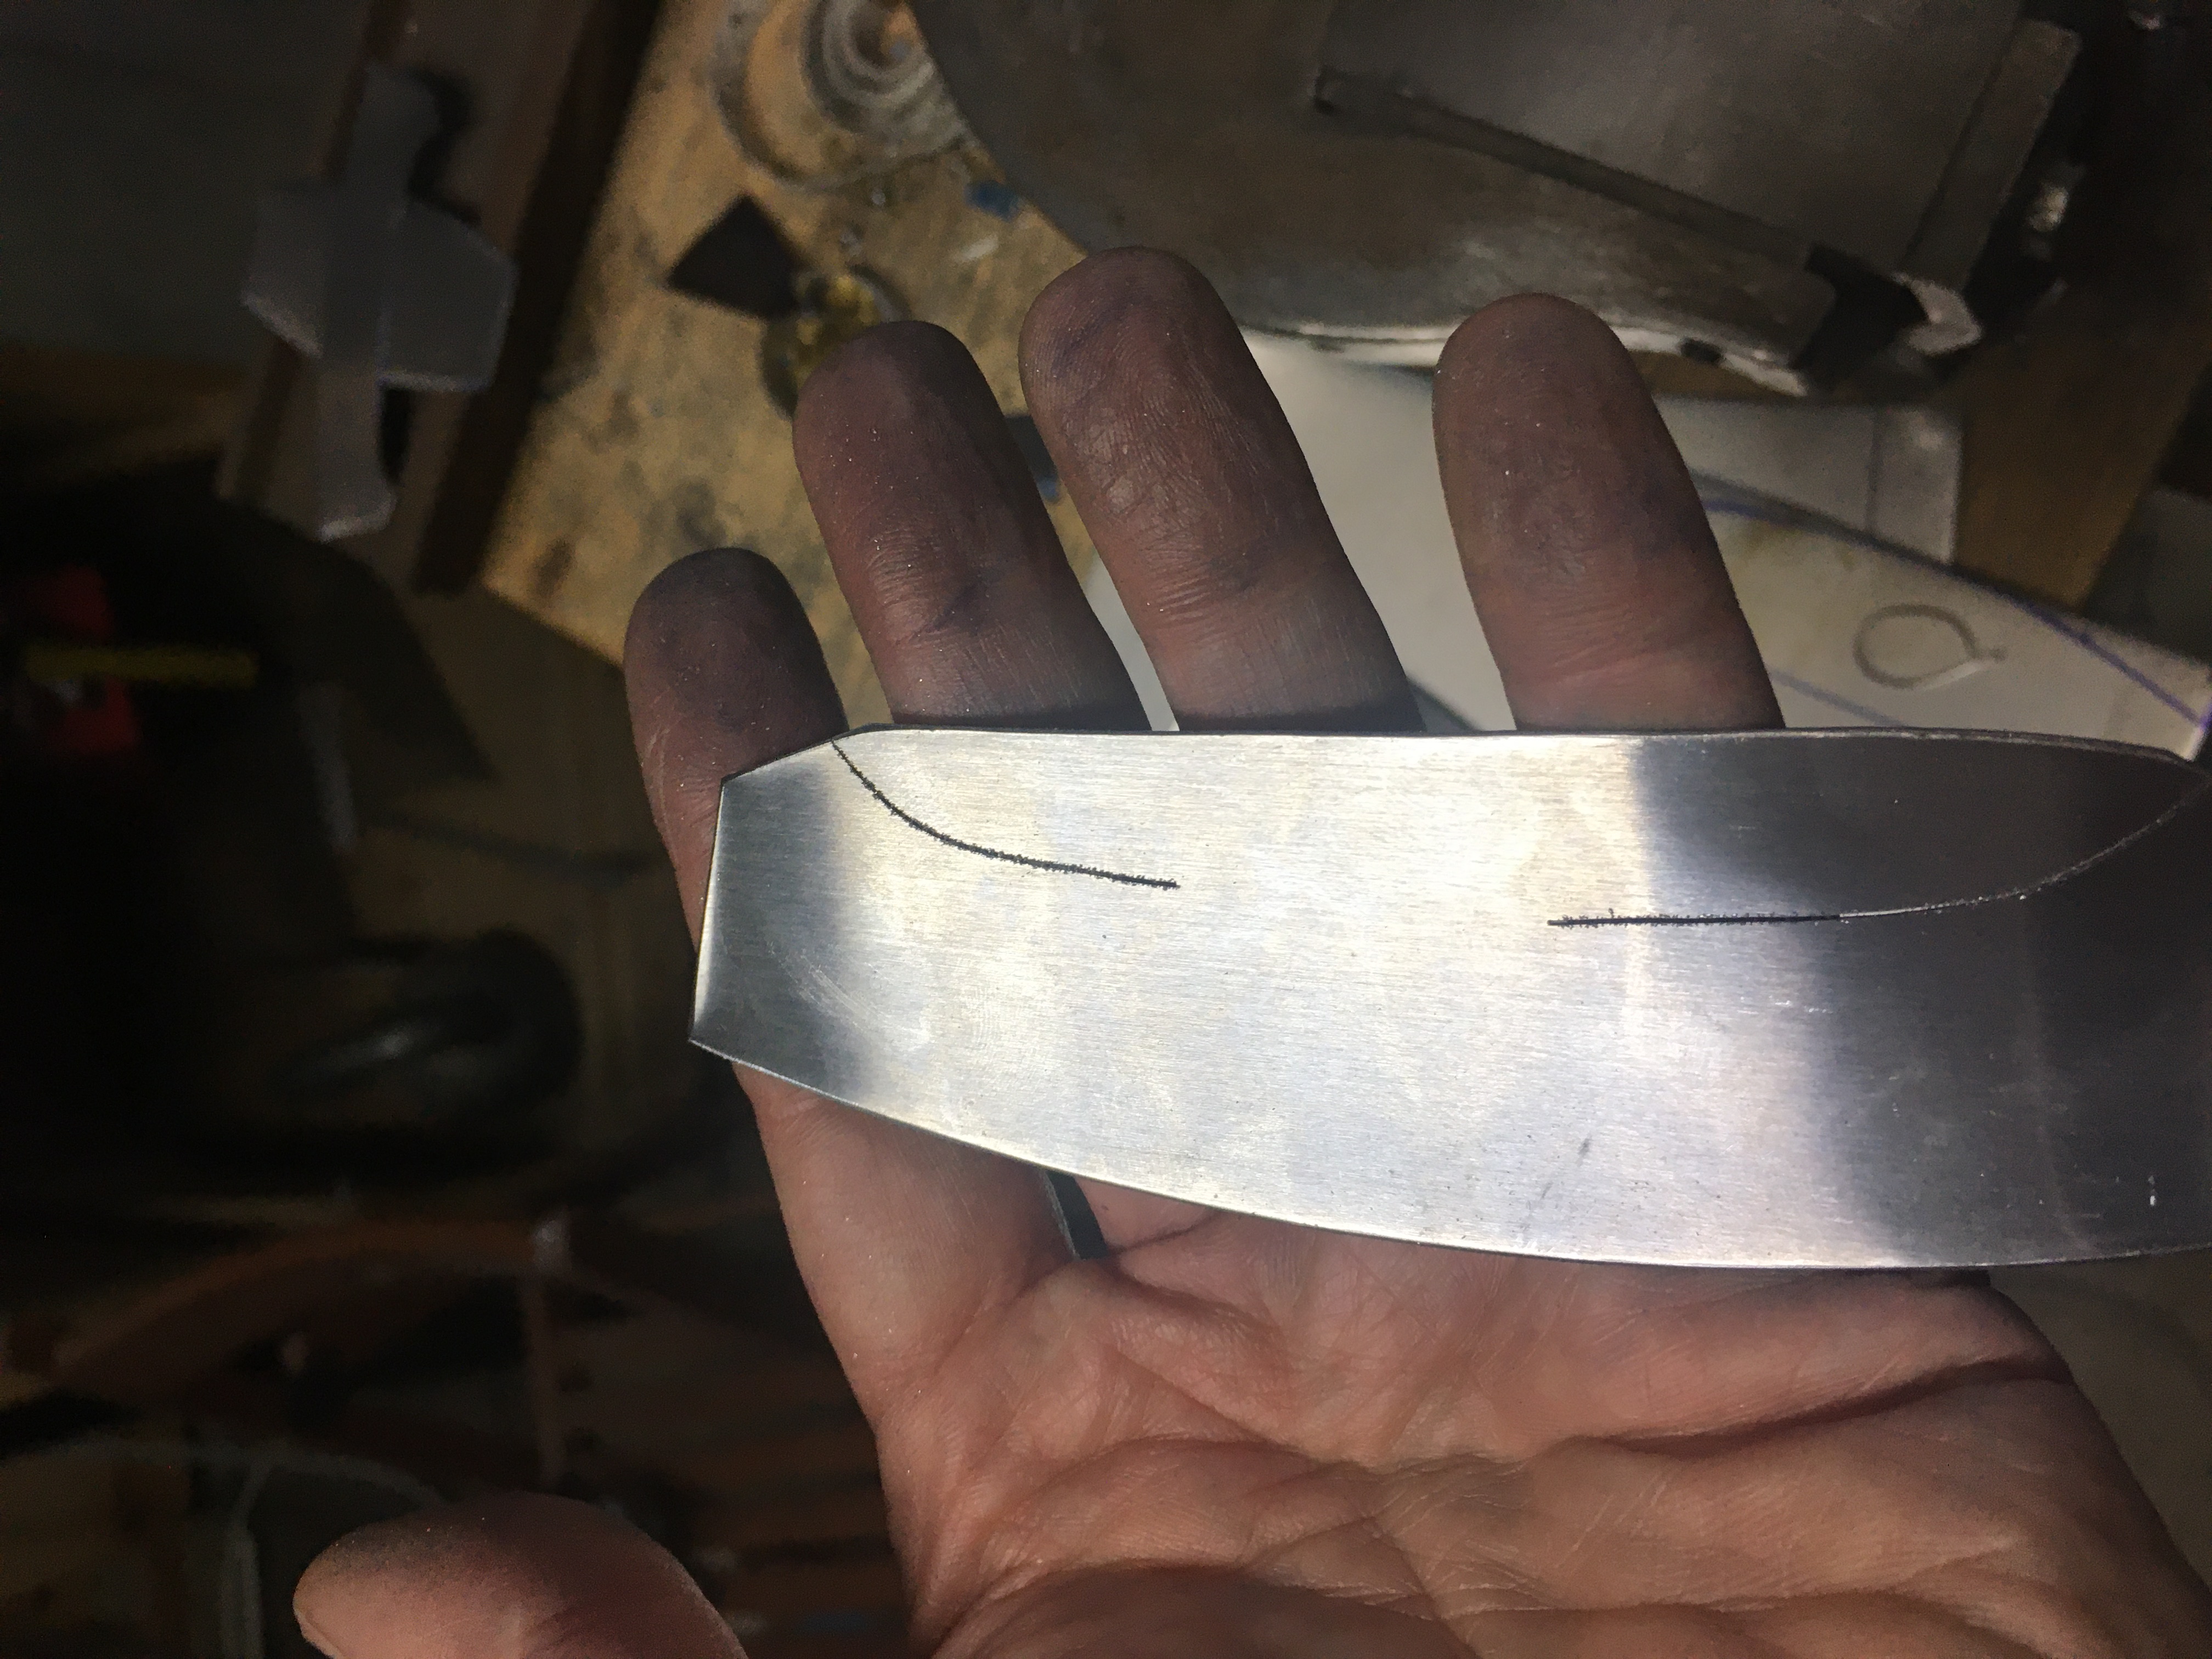
The slotted rivets are actually even easier. since I need roughly 1″ of compression, withe 4 sets of articulation rivets each set of slotted rivets needs to provide roughly 1/4″ of slot. I will again use the dividers and scribe a line at 3/16″ from the trailing edge of the holes. Then I put one of the bolts back in, align the hole with the line which is parallel to my original guide line and mark it. Switch the holes that the bolt is in and repeat on the other side, and check to see if the marks seem reasonable for both sides. While I can punch one hole and check to see if the other is in the right place, I haven’t done this much lately, since these articulation points are very conservative, so I’ll generally just punch both. That said I’ve been doing this for decades, and still occasionally miss one – but the time saved on not checking 20 or so pairs of points makes up for the occasional plate rebuild: your mileage may vary, especially if it takes more than 5-10 minutes to build a new plate. The photo below shows all of the markup lines: 1/4″ from the edge, the parallel line which is an additional 3/16″ to 1/4″ in, and the mistake in the forward slot, since the slot is not covered by the “point” of the overlapping plate.
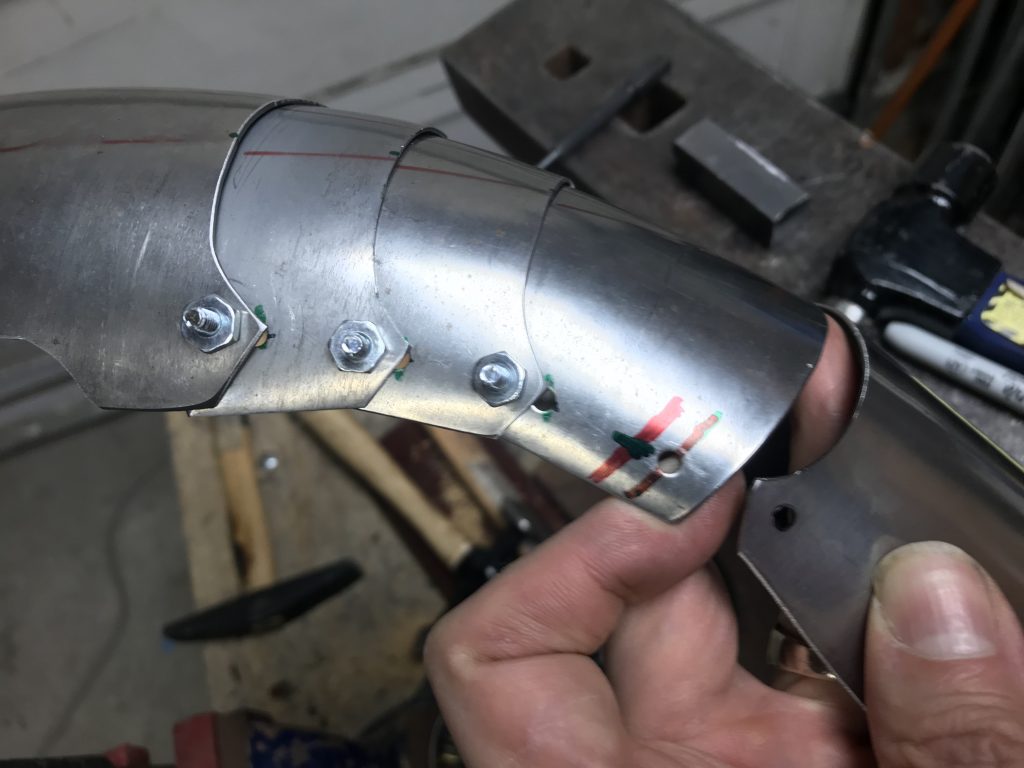
You can see that the black line you see here intersecting the red “depth” line was drawn by sliding the plate forward with a pen through the outer articulation hole as described above. If you look closely you will notice that there are a bunch of extra lines on the forward part of the gauntlet, because I’ve taken to building the forward sections and then adding the cuff once these pieces are finished – these marks are where I will be adding the embossing and fluting, and we will get into how to place these later.
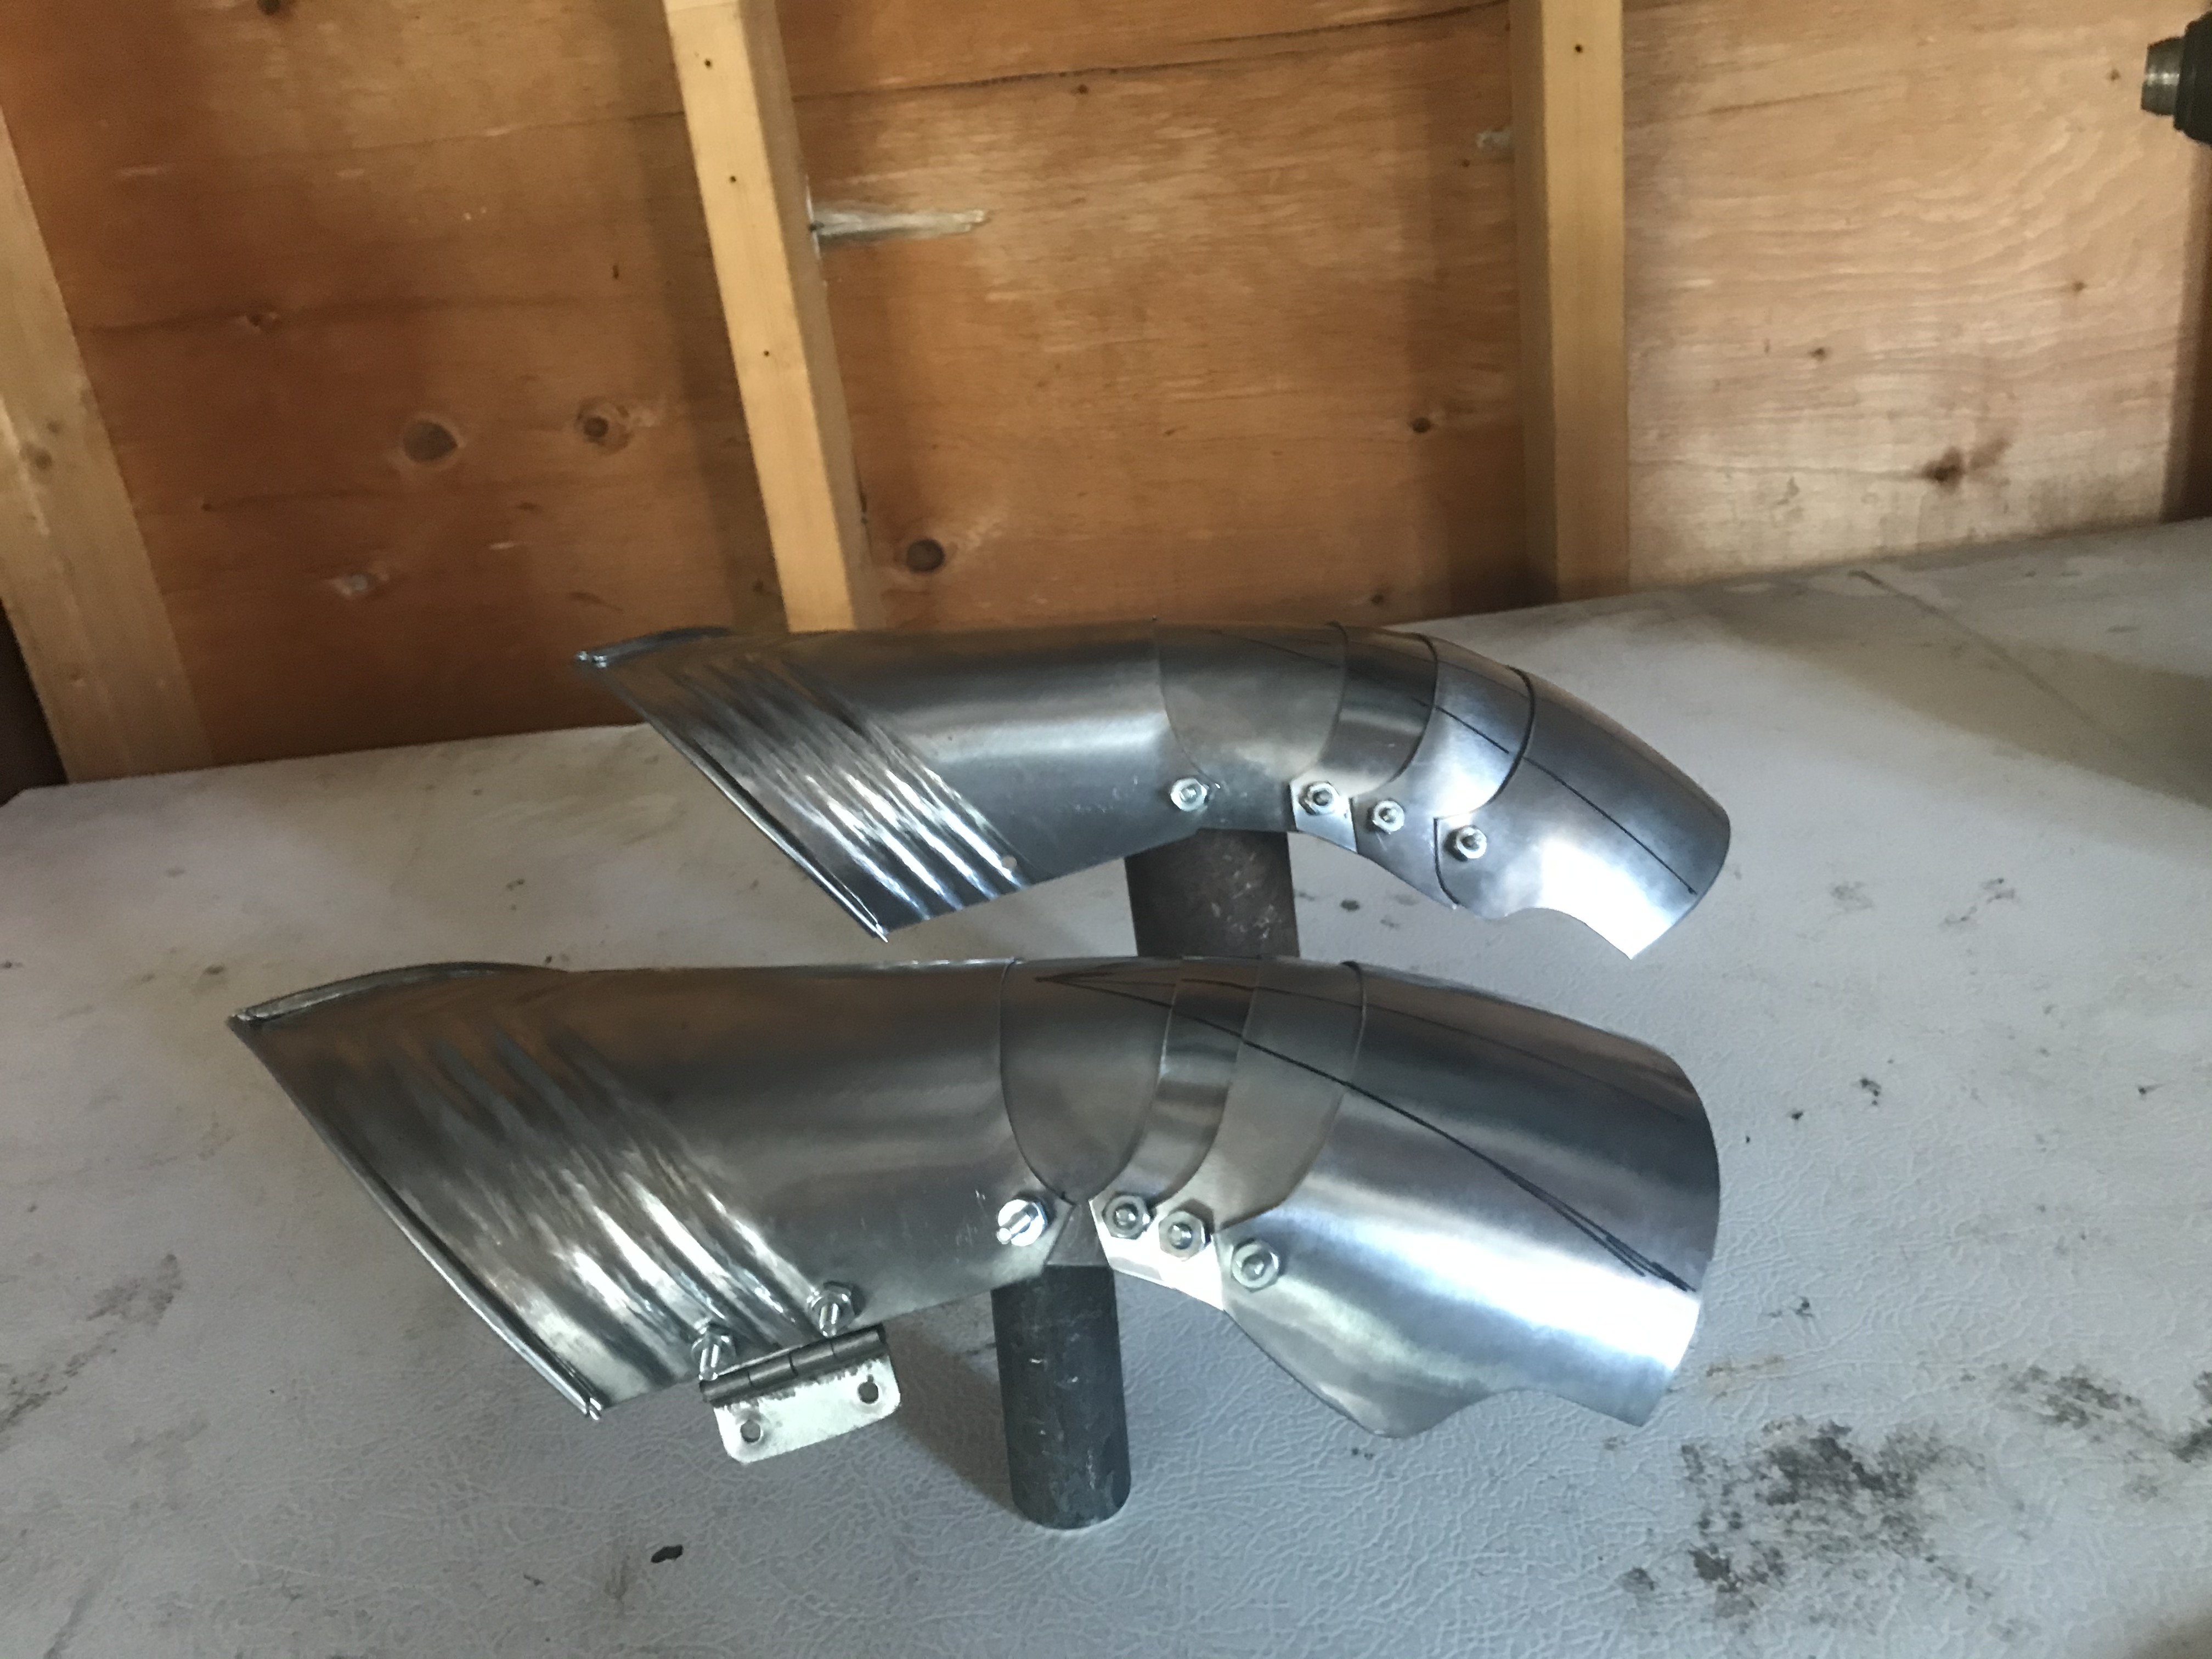
As a spoiler, here are the gauntlets assembled with (mostly) fluted cuffs. The gauntlet in the foreground is assembled using the “fully compressed” holes, while the one in the background is assembled using the “fully extended” holes. You will note that there is less “droop” in the compressed gauntlet in the foreground because the plates are overlapping more (and there is thus less curvature “distance” available. In practice this isn’t really an issue since if you need the droop the gauntlets will simply pull down to allow it, but it’s interesting to note
I’ll wrap up this post here, as the next stage is either building all of the finger pieces, the thumb plates, or embossing (fluting) the body, each of which is worthy of a post of its own.