There is a common misconception that once you hit a certain level of ability, it’s suddenly easy to make patterns for armour. Another common misconception is that once you have the pattern for a piece of armour it’s easy to make that piece. Neither of these is true, and in one way I am fortunate that when I was learning to build armour there weren’t any armourers in the area that I could get patterns from.
I’ll take these in reverse order. To build armour from a pattern, you need the pattern and the methodology used to build armour. In the early days or armour reproduction when the techniques were simple, it was reasonable to be able to take anyone’s pattern and be able to build their armour. As more advanced techniques developed, it started to be important to know how the armour was built. The pattern for a raised sallet is generally some variation on a circle – a milanese sallet will be close to a circle, while a gothic sallet with a tail will be a teardrop. The reason that I don’t generally provide armour patterns is because without having a set of instructions, they are really a bit of an exercise in frustration. That said, I’m workng on providing patterns and instruction sets so that it is possible for people to learn from my numerous mistakes and save a considerable amount of time (years) from their development as a plattner.
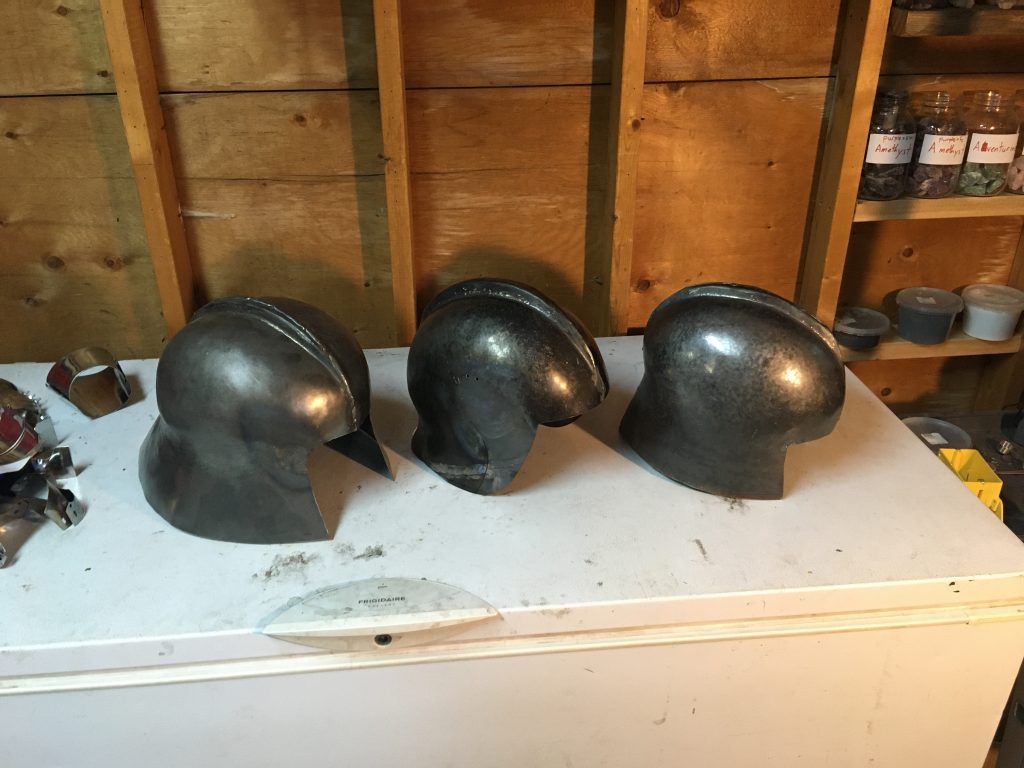
Here are some pictures of the last 3 sallets I have built, as I have been working on a 2-piece sallet pattern for a number of years:

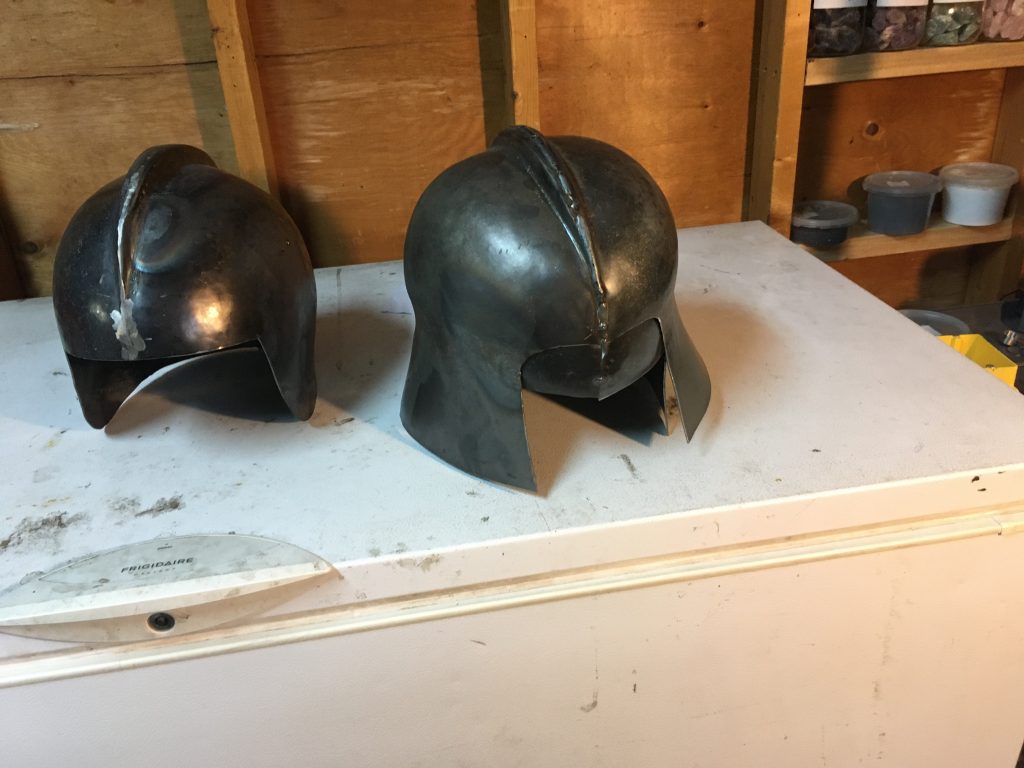
These don’t seem too bad, because there is no sense of scale. Here is another picture with the first (oldest) helm on top of the third:

I got the shape grossly correct with this pattern revision (the 5th or so in this series) but instead of checking to see if the proportions were correct, I added material where it was “missing” and then hammered out the helmet. It looked OK from a distance, but if I want to play Dark Helmet from spaceballs for Halloween I’m most of the way there. The third helmet is actually very close to my final pattern, the final prototype is identical except for being roughly 1″ shallower.
So how long did it take to generate this pattern (which I am now working on making a tutorial for)? I could talk in terms of “years” or I could give a more useful metric, since many of those “years” were more focussed on earning a living and trying to be a good dad rather than building armour.

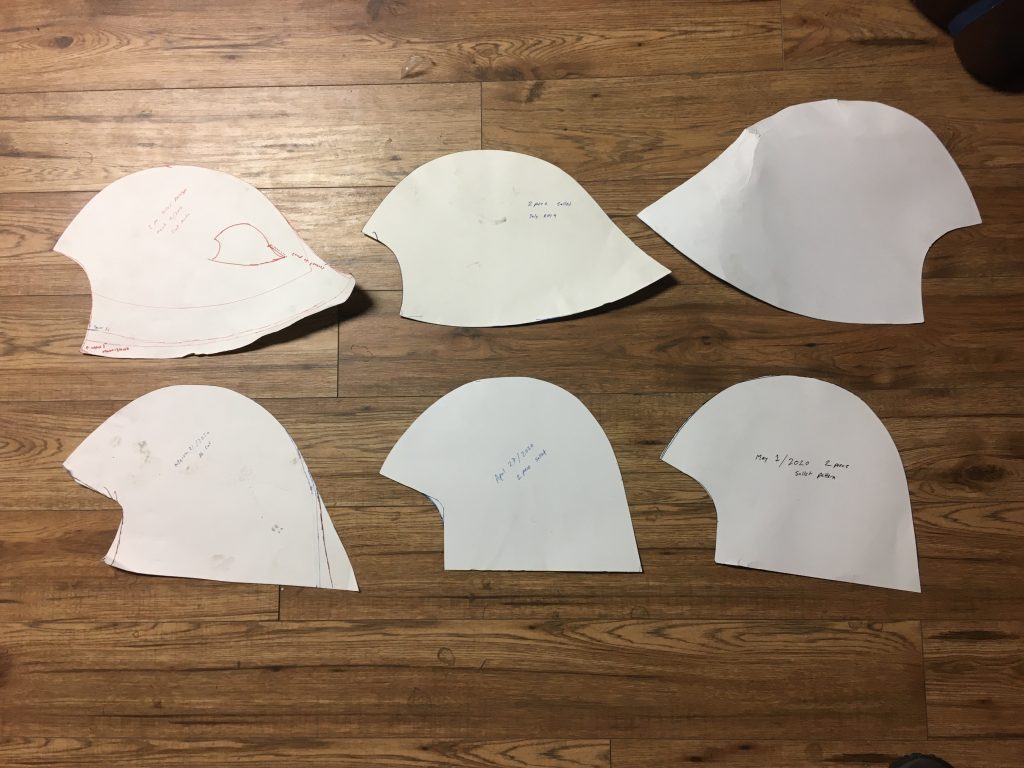
These are the patterns of the last 6 prototypes. the one on the upper right is the enormous helmet pictured above, while the one in the middle of the bottom row is the one that was inside that helmet. The helm on the bottom right is sitting in my shop waiting for me to finish some gauntlets and weld it up. Note the change in the face opening, which resolves cracking issues due to compression in the corner of the opening. These are the patterns that I have kept – I have prototypes or pieces of 8 prototype helmets in my shop dating over 10 years. While it is possible that taking these patterns will allow people to build a sallet, these are fairly complex, and involve raising into the occipital area to get the classical “tuck”, and the (bellows) visor is also somewhat complex to build.
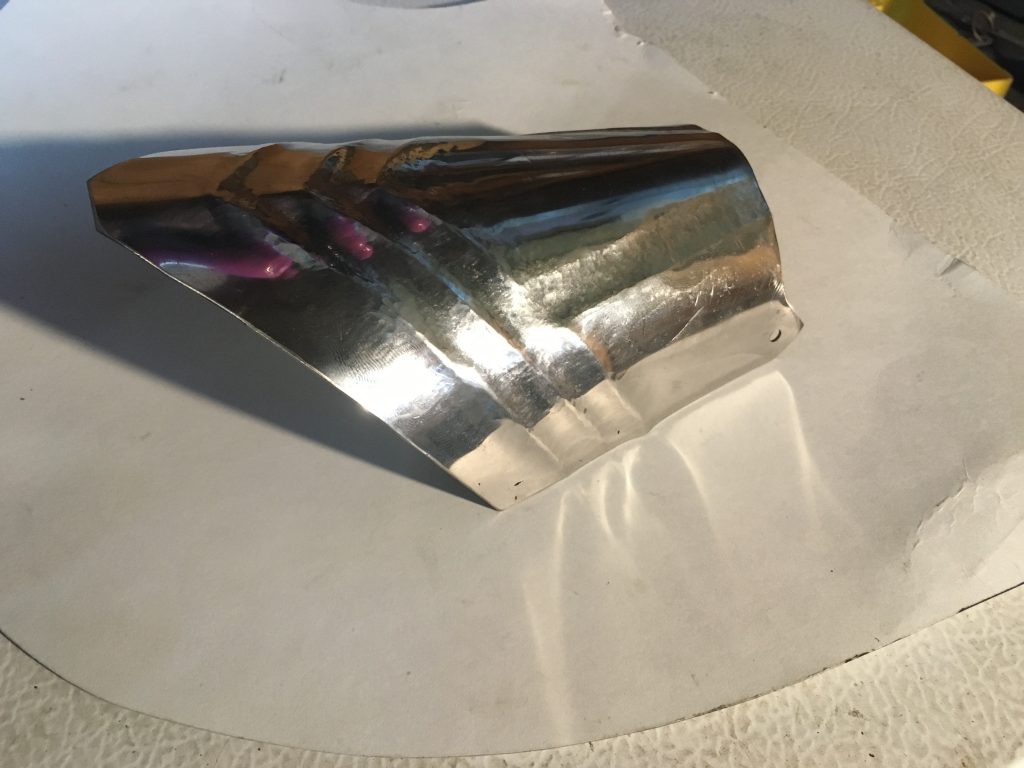
For another example of a piece that I am still working on, here is a photo of a gothic gauntlet cuff. It is important to know which flutes are “half flutes”, which act as a drop in the depth of a plate, and which are full flutes, which are a ridge on both sides. In this case, I realized that I needed half flutes on the leading part of this gauntlet after I had put in full flutes. I anticipated that it would be more work to “fix” this (once I had partially fixed the first section) than it would be to make a new one. I will roll the back edge to determine how much material I need, and then use this as an illustration of the difference in strength between a flat bend, something with a rolled edge, and a fluted piece. Spoiler alert – I weigh over 250 lbs (115 kg) and can stand on the fluted piece, which is made of 20 Ga (1mm) material.
